 bluename
If you're here because you want to pick stackable fabric-bag rack systems for easy Balcony Rose-collection rearrangement, the short answer is this: pick racks with adjustable-width frames, rust-proof powder-coated steel, and modular tiers that you can lift and re-stack in under a minute without emptying every bag. That's what actually made my balcony rose rotation workable. Everything else is noise.
I grow climbing roses on a narrow city balcony. Twelve pots, eight varieties, and a rotating seasonal collection that I move around way more often than any normal person should. For two years I fought with wooden shelves, plastic crates, and one very stubborn wire trolley that rusted into a single lump.
Then I switched to stackable fabric-bag rack systems. I tracked every change for two weeks straight. Some things worked beautifully. Others failed so badly I had to start over.
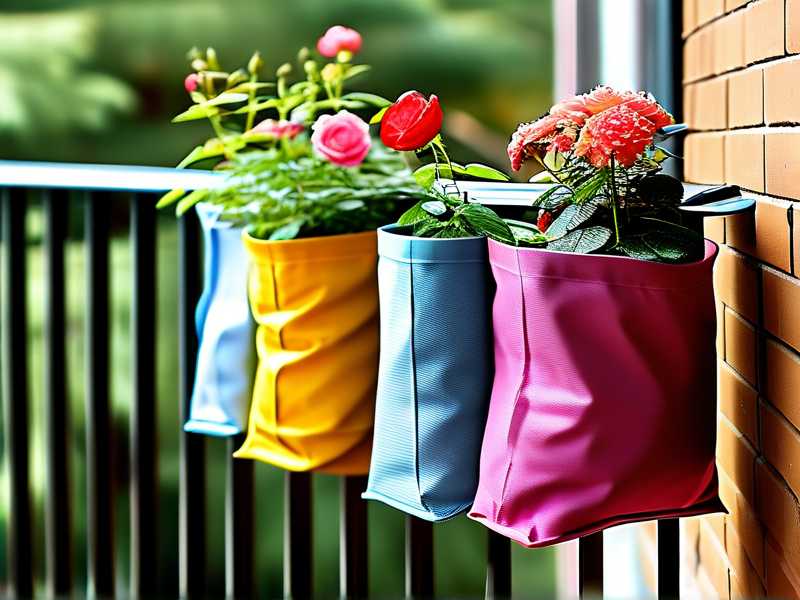
This is that story, plus the buying checklist I wish someone had handed me on day one.
Why My Balcony Rose Collection Needed a Better Rack System
Roses on a balcony are not like roses in a garden bed. They're crammed, they compete for light, and they need airflow between bags or black spot moves in fast.
The RHS is pretty clear that container roses need good drainage and spacing to reduce disease pressure. I learned that the hard way. My first arrangement was a dense wall of green with zero air moving through it.
Every time I wanted to rotate a rose to a sunnier spot, I had to physically unload bags one by one. Twenty minutes of work for a five-minute job.
So my real goal wasn't "looks nice." It was rearrangement speed. I wanted to grab a bag, slide it out, and re-slot it somewhere else without dismantling the whole setup.
That single requirement changed how I judged every rack on the market.
The Three Rack Features That Actually Matter for Rose Rotation
Let me be blunt. Most stackable rack listings hype weight capacity. Weight capacity is the least of your problems with fabric bags. A 10-gallon bag of damp soil weighs maybe 40 to 50 pounds, and any decent steel frame handles that.
What matters more:
Adjustable Tier Heights
Fabric bags come in wildly different heights. My 7-gallon tomato-style bags are short and squat. My 15-gallon rose bags are tall cylinders.
If your rack has fixed shelf spacing, half your bags won't fit. I measured every bag I owned before buying. Turns out my tallest bag was 17 inches and my shortest was 9 inches. No fixed rack handles both well.
Open-Frame or Wire Base Design
Solid shelves trap moisture underneath fabric bags. Fabric is breathable — that's the whole point. But put it on a solid board and you've killed the airflow advantage.
Open frames let air move under the bag. The AHS points out that root health in containers depends heavily on drainage and oxygen at the root zone. Solid shelving quietly sabotages that.
Modular Stacking Without Tools
This is the one people ignore. If stacking a new tier requires bolts and a wrench, you will never rearrange it. I promise you.
Clip-together or slot-in designs win. Every time.
My Two-Week Test: What I Actually Did
I bought two systems and rotated roses between them for 14 days.
System A was a powder-coated steel rack with clip-on tiers and open wire shelves. System B was a cheaper painted-steel unit with bolted tiers and a solid metal base.
Day 1 to 3: I loaded both with fabric bags and marked each bag's position with tape.
Day 4 to 7: I rotated the sun-hungry roses toward the balcony edge and moved shade-tolerant ones inward. System A took me about 90 seconds. System B took close to 8 minutes because I had to unbolt a tier to slide a tall bag out.
Day 8 to 10: Rain hit. I checked rust spots.
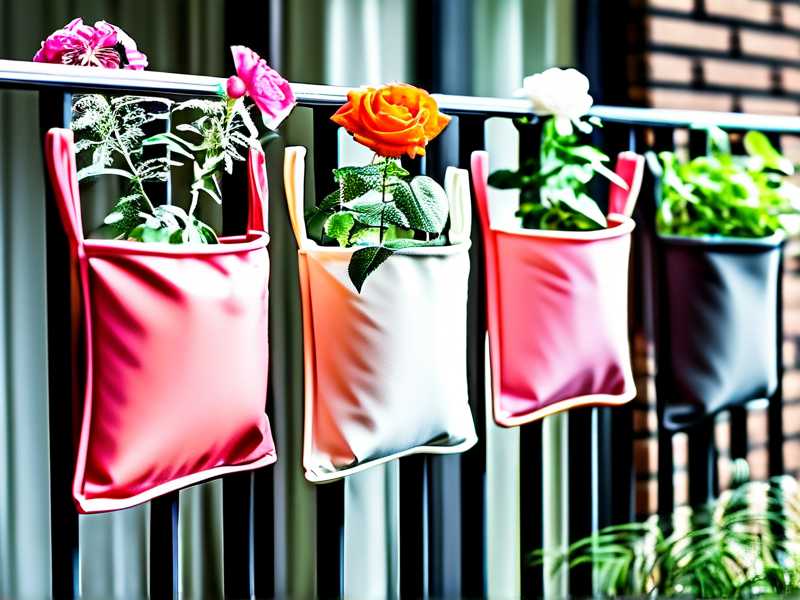
Day 11 to 14: I swapped two full tiers' worth of bags between positions and watched how the frames held up.
By day 14, System A was still clean and stable. System B had rust blooming at three bolt points, and one tier had started to sag under a heavy bag.
The Newbie Mistakes I Made So You Don't Have To
Honestly, my rack problems were downstream of my plant problems. Fix the plant basics first or no rack saves you.
Here are the three fatal beginner errors, and yes, I committed all of them.
1. Overwatering
Here it is, plain: 90% of indoor plants die from overwatering. Balcony roses aren't immune either. I drowned my first two roses in fabric bags because I assumed fabric bags couldn't be overwatered. Wrong.
Fabric bags drain fast, but if the bag sits in a saucer of standing water, you've built a swamp. I killed a beautiful 'Desdemona' that way. Two weeks of soggy roots and it was done.
Fix: Water by weight, not by calendar. Lift the bag. If it feels heavy, skip the watering. If your rack has drainage trays, empty them.
2. Light Misplacement
I once stacked my rack five tiers high and put my best rose on the bottom. On a balcony with a railing, the bottom tier gets maybe 40% of the light the top gets.
That rose etiolated in three weeks. Long pale stems, no buds.
Fix: Put your most sun-hungry roses on the top tier. Rotate every 10 to 14 days. This is exactly why you need a rack you can rearrange fast.
3. Wrong Containers
I started with glazed ceramic pots on a rack. Beautiful. Also heavy, non-breathable, and a nightmare to move.
Move to fabric bags and your whole rotation becomes easier. But not all fabric bags are equal. Cheap ones with thin seams split when wet. I lost a bag of soil through a split seam onto my neighbor's balcony. Not my proudest moment.
Fix: Buy fabric bags with reinforced handles and double-stitched seams.
How to Pick the Right Stackable Fabric-Bag Rack System, Step by Step
Here's my actual process now.
Step 1: Measure your tallest and shortest bag. Write both numbers down. Add 3 inches of clearance. That's your minimum tier gap.
Step 2: Count your current bags, then add two. You will buy more roses. Everyone does. Leave room.
Step 3: Check the coating. Powder-coated steel or galvanized. Painted steel rusts at every scratch. My System B taught me that in under two weeks.
Step 4: Test the stacking mechanism in your head. Can you add or remove a tier with one hand while holding a bag in the other? If not, keep looking.
Step 5: Confirm the base is open. Wire mesh, slats, anything breathable. Solid bases are a no.
Step 6: Check foot design. Rubber or plastic feet protect your balcony tiles and stop wobble. Cheap racks have bare metal feet that scratch everything.
Step 7: Verify load rating per tier, not total. A 200-pound total rating means nothing if each tier holds 30. Do the math per shelf.
Rearrangement Tips That Saved My Back
A few small habits made my rose rotation genuinely pleasant.
I label each bag with a waterproof marker. Variety name on one side, sun need on the other.
I keep the heaviest bags on the lowest tier. Sounds obvious. I ignored it once and watched a tier bow.
I rearrange early morning or evening, never midday. Wet soil plus hot sun equals stressed roots.
I leave a 2-inch gap between bags on each tier. Airflow between bags cuts black spot dramatically in my experience.
And I do a full rotation every 10 days. Not every day. Roses hate being fussed over constantly.
What Two Weeks of Testing Taught Me
By the end, I'd cut my rearrangement time from over 20 minutes to under 3.
The rack wasn't the star. The rack just removed friction. When moving a rose takes 30 seconds instead of 5 minutes, you actually do it. And doing it is what keeps every rose in its best light.
I also learned that a cheap rack is expensive. System B is in my storage closet now, rusting quietly. System A is still on the balcony, holding ten bags of roses through wind and rain.
If you take one thing from my mess: buy for rearrangement speed first. Everything else is secondary.
FAQ
Can I use stackable fabric-bag rack systems for other plants besides roses?
Absolutely. I use mine for herbs and peppers too. The key is matching tier height to bag height. Tall bags on tall tiers, short bags up top or on the bottom depending on light needs. The system is generic. Your plant list isn't.
How often should I rearrange a balcony rose collection?
Every 10 to 14 days worked best for me. More frequent movement stresses roses. Less frequent movement and one side of the plant gets leggy. Pick a schedule and stick to it.
Do fabric bags really need open-shelf racks?
Yes, in my experience. Fabric bags breathe. Solid shelves block the bottom airflow and keep moisture trapped. I noticed a clear difference in root health after switching to open wire tiers. It's a small design detail with a big payoff.





