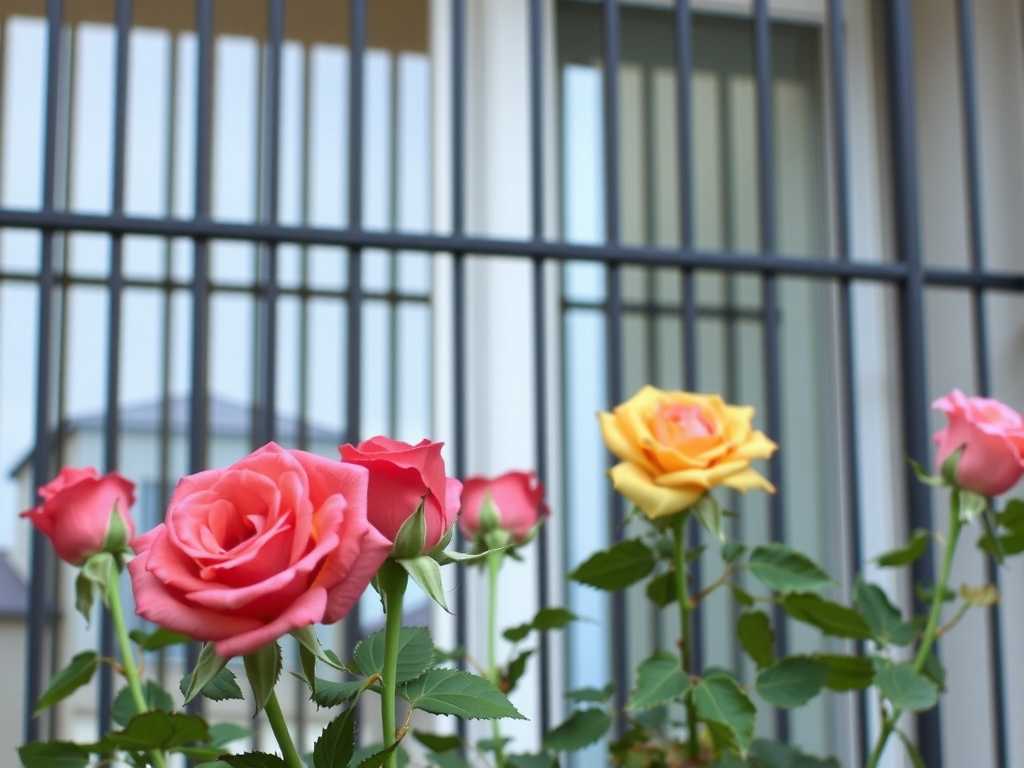
How to Rotate Rose Planting Positions on the Balcony to Prevent Soil Fatigue
I love my balcony rose garden. It’s my little slice of paradise, bursting with color and fragrance. But a few seasons ago, I noticed a troubling pattern. My roses, once vigorous and floriferous, started looking lackluster. The blooms were smaller, the leaves sometimes yellowed, and growth seemed stunted—even with regular feeding and watering. After some research and consultation with fellow enthusiasts, I pinpointed the likely culprit: soil fatigue. Specifically, I learned that rotating rose planting positions on my balcony was not just a good idea, but essential for long-term health. This is my hands-on guide, born from trial, error, and a successful two-week turnaround experiment.
Understanding the Silent Thief: Soil Fatigue in Containers

Soil fatigue isn't just about nutrients being depleted. It's a complex issue. When the same plant, or plants from the same family, occupies the same soil year after year, several things happen. Root exudates—chemicals released by the roots—accumulate and can act as auto-toxins, inhibiting new root growth. Pathogens and pests specific to roses build up in the soil. The physical structure of the potting mix breaks down, compromising aeration and drainage. The American Rose Society (ARS) often highlights that preventing rose soil depletion is a cornerstone of sustainable rose care, especially in the confined space of containers where soil ecosystems are more fragile.
")
On a balcony, we can't rely on the vast, self-regulating web of life found in garden soil. Our pots are closed systems. Without intervention, we’re essentially asking our roses to thrive in a tired, imbalanced, and potentially hostile environment.
My Two-Week Balcony Rose Rotation Experiment
I decided to tackle this head-on with a focused rotation plan. My balcony has space for six large rose containers. I documented the process over two weeks, observing immediate and short-term effects.
Week 1: Assessment and The Great Balcony Reshuffle
My goal wasn't just to move pots around randomly. I wanted to refresh the soil system for each plant. Here was my step-by-step process:
Step 1: The Pre-Rotation Health Check. Before moving a single pot, I tagged each rose with its variety name and took notes on its current state. I photographed leaves, buds, and overall form. One 'Queen of Sweden' rose showed mild chlorosis (yellowing leaves with green veins), a classic sign of potential nutrient lock-up linked to tired soil. This gave me a clear baseline.
Step 2: Partial Soil Replacement and Amendment. This is the critical step that makes rotation effective. Simply swapping pot locations does little if the soil itself is exhausted. For each rose:
- I gently tipped the pot and slid the root ball out.
- I shook off and removed about one-third of the old soil from the root ball's periphery, being careful not to damage major roots.
- I disposed of this old soil—not in my compost, to avoid recycling any pathogens.
- I prepared a fresh, high-quality potting mix, blending a store-bought rose mix with 20% well-rotted compost and a handful of granular, slow-release organic fertilizer.
- In the original container, I placed a layer of this new mix. Then, I placed the rose (with its two-thirds old root ball) back in, filling the gaps around it with the fresh mix. I watered thoroughly to settle.
Step 3: Strategic Repositioning. Now for the rotation. My balcony gets morning sun on one side and afternoon sun on the other. I moved each rose to a different spot. The 'Queen of Sweden' from the east side went to the west. A healthy 'Lady of Shalott' from the center went to the east. This changed their light exposure and air circulation patterns, disrupting any localized pest or disease cycles.
The First Week's Observations: The immediate effect was, frankly, a bit of stress. Some plants drooped slightly for a day or two—a normal response to root disturbance. I kept them well-watered but not soggy. By day 5, they had all perked up. Notably, the yellowing leaves on 'Queen of Sweden' stopped spreading. This wasn't a cure yet, but the progression had halted.
Week 2: Signs of Revival and a Critical Lesson
Step 4: Monitoring and Adjustment. I resisted the urge to fertilize again, letting the slow-release feed and compost do their work. My daily routine involved checking soil moisture and inspecting leaves.
The Two-Week Results: By the end of the second week, the change was encouraging. The overall foliage on all roses looked brighter and more turgid. The 'Queen of Sweden' showed tiny, new green growth at the base of the stems where yellowed leaves had been—a sure sign the plant was redirecting energy to healthy growth. Buds that had seemed stalled began to swell. The soil in the pots also seemed to drain better after watering, a sign of improved structure from the new mix.
The Pitfall I Encountered (And How I Fixed It): My big mistake came with one rose, a deep red 'Munstead Wood.' In my zeal to refresh its soil, I was too aggressive. I removed closer to half of the old soil, damaging more fine roots than I should have. It went into severe shock, wilting dramatically and losing several leaves.
- The Solution: I immediately moved it to a shadier, sheltered corner to reduce transpiration stress. I trimmed back the top growth by about 20% to balance the reduced root system. I used a liquid seaweed extract as a gentle root stimulant, applying it as a soil drench. Most importantly, I left it alone—no more poking, prodding, or moving. Within a week, it stabilized and put out its first new red shoot. The lesson was clear: be gentle. Removing one-third of the soil is ample; the goal is supplementation, not root demolition.
Building a Sustainable Balcony Rose Rotation Schedule
Based on this experience, I now follow a simple calendar to maintain healthy rose soil:
- Annual Full Rotation: Every early spring, just as buds break, I perform the full process described above. This sets them up for the peak growing season.
- Seasonal Mini-Boost: In mid-summer, after the first major bloom flush, I top-dress each pot with an inch of fresh compost mixed with worm castings. This feeds the soil biology without major root disturbance.
- Container Switching: Every 2-3 years, I upgrade pots entirely, giving the rose a completely new home. This is the ultimate reset for combating rose replant disease, a severe form of soil fatigue.
Expert Insight for Lasting Success The Royal Horticultural Society (RHS) advises that crop rotation for roses is a key preventive measure against soil-borne issues like specific root rots. While they speak of garden beds, the principle is magnified for containers. By rotating positions and refreshing soil, we mimic the benefits of rotation in a small space, breaking pest and disease cycles and revitalizing the root zone environment.
Your Questions, Answered
Can I just replace all the soil instead of rotating positions? You can, and a complete soil change every few years is excellent. However, rotating positions adds another layer of benefit. It changes the plant's micro-environment—light angles, wind exposure, and heat retention from walls—which can help disrupt issues like powdery mildew or spider mites that prefer specific conditions.
What if my balcony only gets sun from one direction? Even if full sun location rotation isn't possible, the soil refreshment process is 90% of the battle. You can still "rotate" by swapping pots within the same sunny area. The physical movement can help with air circulation. Focus your efforts on the partial soil replacement and amendment step.
I have climbing roses in fixed planters. How do I rotate those? For fixed planters, rotation in the traditional sense isn't feasible. Your strategy must focus entirely on soil care. Annually, remove the top 6-8 inches of soil and replace it with fresh, amended mix. Every 3-4 years, consider carefully digging up the rose during dormancy, refreshing all the soil in the planter, and replanting. It's a bigger task, but crucial for the plant's decades-long health.
Seeing my balcony roses rebound in just two weeks was profoundly satisfying. Soil fatigue is a slow, creeping problem, but the solution can trigger a relatively quick response. The combination of strategic repositioning and thoughtful soil renewal gave my roses a new lease on life. It’s a simple, sustainable practice that honors the needs of these magnificent plants, ensuring my small urban balcony continues to be a haven of vibrant, healthy blooms season after season.

发表评论