bluename
How to Prepare Pre-Soaked Calcined-Gravel Drainage for a Balcony Rose Pot Setup
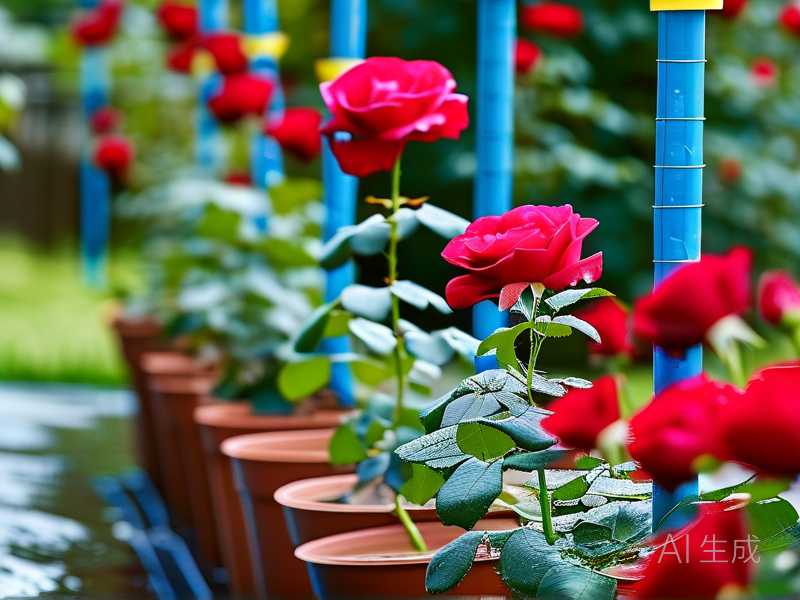
If your balcony roses keep sulking after watering, the fix usually isn't more fertilizer or a bigger pot. It's the drainage layer. I layer pre-soaked calcined-gravel drainage under balcony rose pots, and that single change stopped the root rot that killed my first three container roses. The short answer: rinse the gravel until the water runs clear, soak it 12–24 hours in dechlorinated water, drain it fully, then build a 2–3 inch layer with landscape fabric between gravel and soil. That's it. Simple, cheap, and it works.
I learned this the hard way. My first balcony rose, a David Austin 'Olivia Rose Austin', died in six weeks. The potting mix stayed soggy for days. I blamed the plant. Then I blamed myself. Finally I cut the root ball open and found brown, mushy roots sitting in a puddle. The pot had one tiny drainage hole and nothing else. That was lesson one.
Why calcined gravel and not just any rocks
Calcined gravel is clay or shale fired at very high temperatures. It becomes porous and lightweight. Unlike river pebbles, it holds a little moisture on its surface while still letting excess water fall through fast. That's the balance container roses need.

According to the RHS, container roses demand free-draining compost and "will not tolerate waterlogging." I take that seriously now. Calcined gravel helps because it doesn't compact. It keeps a permanent air gap under the soil, and air is what roots actually breathe.
The AHS also stresses drainage as the top factor in container plant health. Honestly, once you see a root ball suffocating, you never forget it.
What you actually need before you start
Gather everything first. Running around mid-repot with wet hands is miserable.
- Calcined gravel, roughly 1 gallon per 12–14 inch pot
- A bucket or tub for soaking
- Dechlorinated water (let tap water sit out overnight, or use filtered)
- Landscape fabric or a coffee filter
- Your rose pot with drainage holes
- Gloves
顺带一提, don't skip the fabric. I tried without it once. The potting mix sifted down into the gravel within two weeks and the whole layer turned into mud. Lesson learned.
Step-by-step: pre-soaking the gravel
Step 1: Rinse first, soak second
Pour the dry gravel into a bucket. Run water through it and stir with your hand. You'll see cloudy, milky water at first. That's dust from the calcining process.
Keep rinsing until the runoff is mostly clear. This takes maybe three or four rounds. Skipping this step means dusty, alkaline water sitting against your rose roots. I made that mistake on my second attempt and the leaves yellowed within days.
Step 2: The 12–24 hour soak
Now fill the bucket so the gravel is fully submerged. Let it sit 12 to 24 hours. I usually start this the evening before repotting day.
Why soak at all? Dry calcined gravel wicks moisture away from the soil above it at first. Pre-soaking evens out that pull so the drainage layer doesn't steal water from your rose in the first week. It also flushes out any remaining soluble dust.
Step 3: Drain fully
Tip the bucket and let it drain. Don't rush this. Wet gravel that's still dripping will make a mess and shift your soil layer. I spread mine on a tray for 20 minutes. Patience here saves cleanup later.
Building the drainage layer in the pot
Put the pot on a level surface. Place a piece of landscape fabric over the drainage holes. This stops soil from washing down but still lets water pass.
Add the gravel to a depth of 2–3 inches. Shake the pot gently to settle it flat. Don't press it down hard. You want structure, not a brick.
Lay a second piece of fabric over the gravel before adding soil. This is the layer most people skip. It keeps the potting mix from migrating down into the gravel over months of watering.
Then add your rose-friendly potting mix and plant as normal.
My two-week observation after switching to this method
I set up two pots side by side. One with the pre-soaked calcined gravel layer, one with plain soil and no drainage layer. Same rose variety, same balcony, same watering schedule.
Day 1–3: No visible difference. Both looked fine.
Day 4–6: The no-gravel pot's soil surface stayed dark and damp for two full days after watering. The gravel pot's surface dried noticeably faster. 你会发现 the difference is subtle at first.
Day 7–10: New growth appeared on the gravel pot. The no-gravel rose stalled. Its lower leaves started drooping.
Day 11–14: The gravel pot pushed out two new shoots. The no-gravel pot showed yellowing lower leaves and soggy soil at the bottom when I checked with a moisture meter. That matched everything I'd read and everything I'd killed before.
Honestly, two weeks isn't a full season. But it told me enough. The drainage layer was doing its job.
The three beginner mistakes that kill balcony roses
Mistake 1: Overwatering
This is the big one. 90% of indoor plants die from overwatering, and balcony roses in containers are just as vulnerable. A drainage layer helps, but it doesn't make your rose waterproof.
I water when the top inch of soil feels dry. In summer that's often daily on a hot balcony. In spring and fall, every two or three days. Winter? Maybe once a week, sometimes less. Stick a finger in. Don't water on a schedule. Water on a feel.
Mistake 2: Wrong light
Roses want sun. Most varieties need six or more hours of direct light. I once put a pot in a "bright" corner that actually got about three hours of filtered light. The rose grew tall and spindly with almost no blooms. It looked sad, and I felt stupid.
Balcony orientation matters. South and west-facing balconies usually win. East is workable. North is a struggle unless you pick a shade-tolerant variety, and even then, expect fewer flowers.
Mistake 3: The wrong pot
A pretty ceramic pot with no drainage hole is a death sentence. I tried it once because it matched my balcony decor. The rose drowned in three weeks. Never again.
Look for pots with at least one large drainage hole, ideally several. Terracotta breathes and dries faster, which helps. Glazed pots hold moisture longer, so be more careful with watering if you use them. Size matters too. A rose in a pot that's way too small dries out constantly. Too big and the soil stays wet around the roots. Match the pot to the root ball, roughly 12–14 inches for most compact balcony roses.
Common questions I get asked
Can I reuse calcined gravel between repottings?
Yes, usually. Rinse it well, pick out old roots and fabric bits, and re-soak it. I've reused mine for two seasons without issues. If it crumbles or turns slimy, replace it.
How often should I check the drainage layer?
Twice a season is enough. Lift the pot, look at the holes, and make sure water flows freely. If the gravel looks clogged with soil, the fabric failed. Rebuild the layer.
Does this work for other container plants on a balcony?
Absolutely. I've used the same setup for lavender, rosemary, and even a small fig. Anything that hates wet feet benefits. The rose just shows the results fastest.
Final thoughts
Pre-soaking calcined gravel takes one evening of prep. Building the layer takes ten minutes. The payoff is a rose that doesn't drown, and that's worth more than any fancy fertilizer. Start with clean gravel, soak it properly, layer it with fabric on both sides, and water by feel, not by habit. Your balcony rose will tell you it's happy with new growth. Mine did, and I'm finally not killing them anymore.