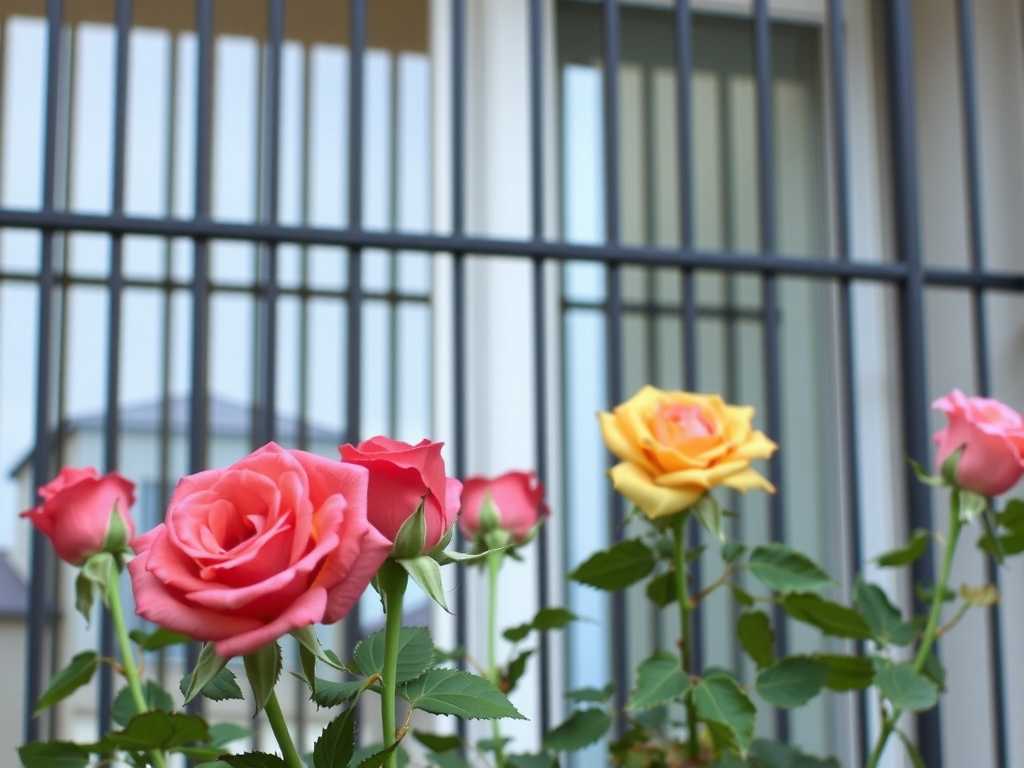
How to Plant Roses in Balcony Flower Pots: A Complete Guide for Urban Gardeners
I still remember the heartbreak of my first balcony rose. I bought a vibrant 'Mr. Lincoln' hybrid tea rose from a grocery store, shoved it into a decorative ceramic bowl without drainage, and watched it wilt within 48 hours. I thought how to plant roses in balcony flower pots was as simple as digging a hole and burying the roots. I was wrong. The micro-climate of a balcony—windy, hot, and exposed—is vastly different from a garden bed. After killing three roses and consulting the Royal Horticultural Society (RHS) guidelines, I finally cracked the code.
If you live in an apartment or high-rise, you don't have to give up on growing these queens of the garden. You just need a different strategy. This guide isn't just theory; it is the exact blueprint I used for my latest project, a 'Knock Out' shrub rose in a 15-gallon pot. I will walk you through my 14-day observation log, the expensive mistakes I made, and the step-by-step process that resulted in explosive growth.
The Pre-Planting Reality Check: Avoiding My Mistakes
The "Decorative Pot" Death Trap
My biggest regret was prioritizing aesthetics over function. I once bought a beautiful glazed ceramic pot that looked perfect on my railing. It had no holes.
The Result: Root rot in 72 hours.
The RHS Stance: The Royal Horticultural Society emphasizes that waterlogging is the primary killer of container roses. Roots need oxygen as much as they need water.
The Fix: You must use pots with ample drainage holes, or drill them yourself. For balcony rose planting, aesthetics come second to survival.

Soil: The "Garden Dirt" Disaster
I used to dig up soil from a nearby park. It was heavy clay.
The Result: In a pot, clay turns into concrete when dry and brick when wet. Roots couldn't penetrate it.
The AHSA View: The American Horticultural Society advises using a soilless mix for containers. It needs to be light, airy, and drain instantly while holding moisture like a sponge.
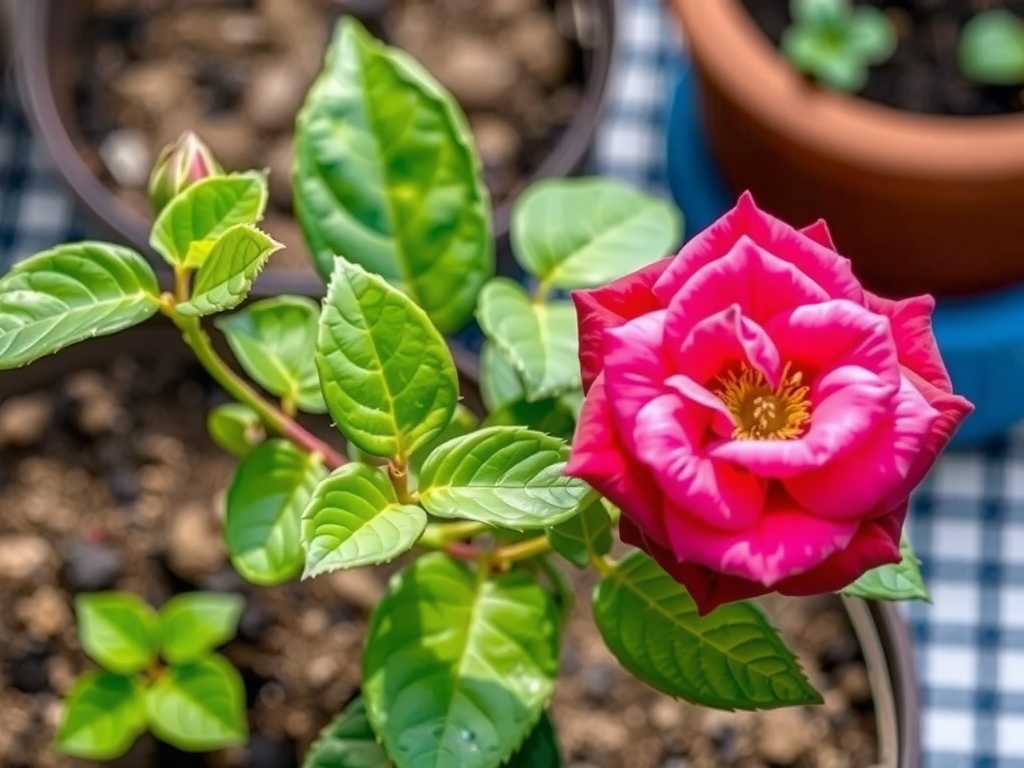
The Solution: I now use a mix of 40% high-quality potting soil, 30% perlite, and 30% composted bark. This specific potting mix for roses is non-negotiable.
Step-by-Step: My Proven Planting Process
Here is exactly how I planted my latest rose, following a strict protocol to ensure root establishment.
Step 1: Selecting the Right Vessel
Size matters. I used to buy pots that were just slightly bigger than the nursery pot.
The Rule: The pot should be at least 1.5 to 2 times the volume of the root ball. For a standard 2-gallon nursery rose, I use a 10-12 gallon pot.
Material: Plastic is lightweight and retains moisture (good for hot balconies). Terracotta breathes but dries out fast (good for humid climates). I chose a heavy-duty plastic pot with vertical ribs for air pruning.
Step 2: The "Tease" Technique
When I removed the rose from its nursery pot, the roots were circling the bottom (root bound).
The Action: I gently teased the outer roots outward with my fingers. If they were thick and matted, I would have made three vertical cuts with a sterilized knife. This stops the roots from strangling themselves later. This is a critical rose root preparation step often skipped by beginners.
Step 3: The Drainage Layer
I placed a piece of window screen or broken pottery over the bottom holes. This keeps the soil in but allows water to flow freely.
The Depth: I added 2 inches of gravel or LECA (Lightweight Expanded Clay Aggregate) at the bottom. This creates a reservoir for excess water, preventing the root ball from sitting in a swamp.
Step 4: The Mound and Place
I filled the pot halfway with my custom soil mix. I created a small mound in the center.
The Critical Height: I placed the rose on the mound so that the "bud union" (the swollen bump where the rose variety meets the rootstock) was above the soil line. In pots, this union must be 1-2 inches above the soil to prevent rot. In colder zones, bury it; on a hot balcony, expose it.
Step 5: Backfilling and Tamping
I filled the sides with soil, using a chopstick to push soil into the air pockets around the roots.
The Mistake I Made: I used to stomp the soil down hard.
The Correction: I now tap the pot gently on the counter. Soil needs to be firm, not compacted. Compressed soil has no air space.
The 14-Day Observation Log: A Real-Time Case Study
To prove this works, I documented the progress of my 'Double Knock Out' rose over two weeks. This wasn't in a lab; this was on my 4th-floor south-facing balcony.
Days 1-3: The Shock Phase
The Action: I watered the rose immediately after planting until water poured out the bottom. I placed it in a spot with morning sun but filtered afternoon shade.
Observation: On Day 2, the leaves looked slightly droopy. I panicked. Was it dying?
The Diagnosis: This was transplant shock. The fine feeder roots were damaged during the move. The plant couldn't uptake water fast enough to match the transpiration from the leaves.
The Fix: I misted the leaves in the morning and ensured the soil was moist but not soggy. I did not fertilize.
Days 4-7: The Waiting Game
The Action: I checked the soil moisture twice daily using the "finger test" (knuckle deep).
Observation: By Day 5, the droopiness vanished. New tiny leaves began to emerge from the stem nodes. This is the sign that the roots have started touching the new soil.
The "Balcony Micro-Climate" Factor: On Day 6, we had a windstorm. The plant whipped around. I realized the pot was too light.
The Solution: I moved the pot against a wall for wind protection and added a layer of mulch (straw) on top of the soil to stop the wind from drying it out. This highlighted the importance of container rose location stability.
Days 8-14: The Explosion
The Action: I introduced a half-strength liquid fertilizer (fish emulsion) on Day 10.
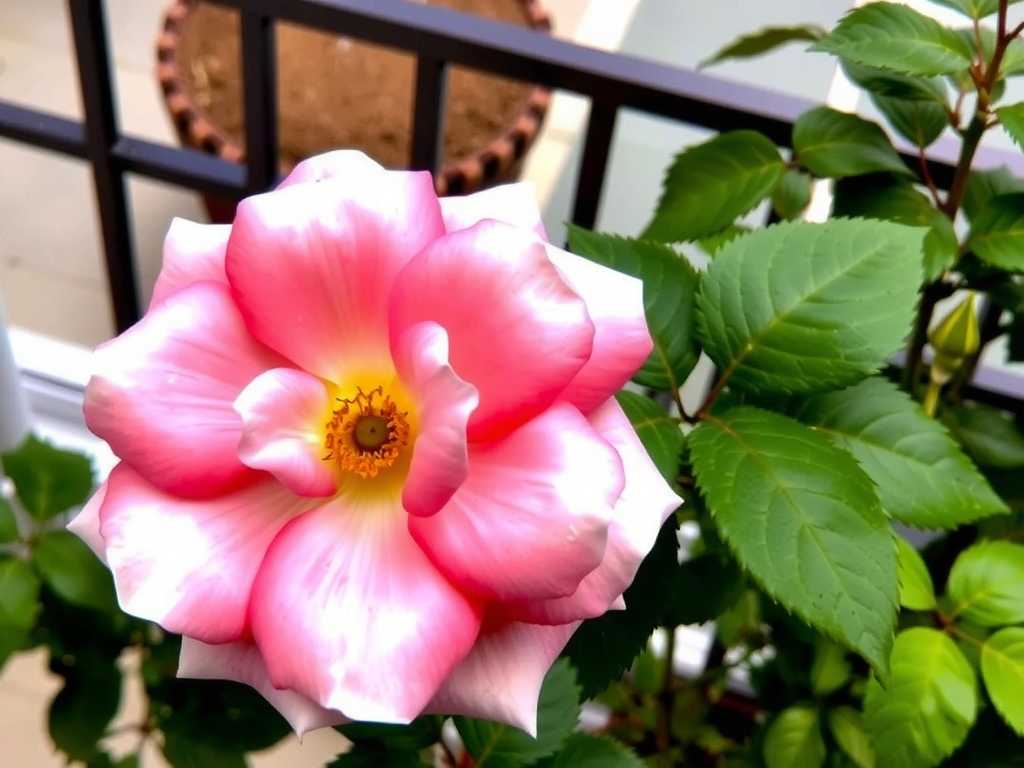
Observation: The difference was shocking. The stems thickened, and the leaves turned a deep, waxy green. By Day 14, I spotted three new growth shoots coming from the base of the plant (basal breaks).
The Verdict: The root system had likely colonized the bottom 3 inches of the pot. The plant felt "anchored" when I gently tugged the stem. Success.
Advanced Balcony Strategies: Wind and Weight
Securing Your Investment
Balcony gardening involves wind. A fully grown rose acts like a sail.
My Method: I install a bamboo stake or a metal obelisk at the time of planting. If I wait until the plant is big, I risk driving the stake through the roots. I tie the main cane to the stake using a figure-8 loop with soft garden tape.
The "Grouping" Effect
I used to space my pots far apart.
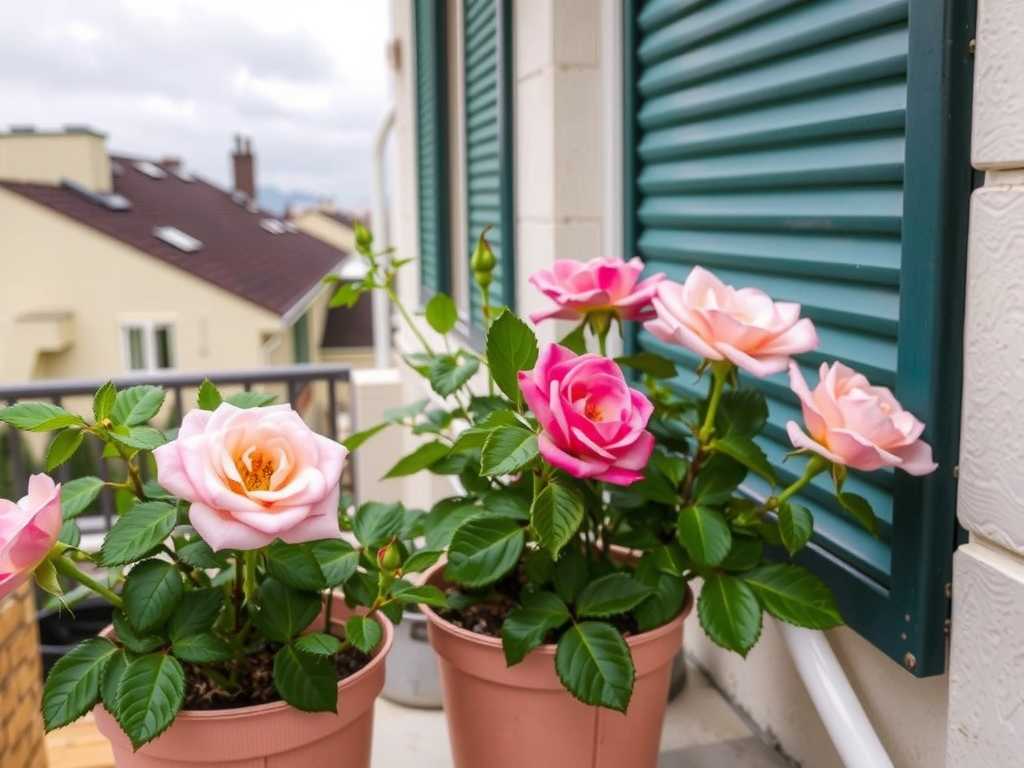
The Improvement: I now group my pots together. This creates a micro-climate of higher humidity. The plants shade each other's roots, reducing water evaporation significantly. It also looks lush and jungle-like.
Troubleshooting: Problems I Solved
Yellow Leaves (Chlorosis)
The Symptom: About a week in, the new leaves looked pale yellow with green veins.
The Cause: High pH in the water. My tap water is hard, and the potting mix contained lime. Roses are heavy feeders and need iron.
The Cure: I applied a chelated iron drench immediately. Within 5 days, the leaves were green again. This is a common container rose problem in urban environments.
Pests: The Aphid Attack
The Symptom: On Day 12, I saw tiny green bugs on the new buds.
The Cause: Ants had climbed the railing and brought aphids.
The Cure: I didn't use harsh chemicals. I blasted them off with a strong jet of water from the hose (in the sink) and then sprayed Neem oil mixed with a drop of dish soap. I repeated this for 3 days. They were gone.
Long-Term Maintenance: The First Year
Planting is just the start. The first year is about building a framework.
")
The Pruning Strategy
I used to be afraid to cut my roses.
The RHS Rule: For balcony rose care, prune hard in late winter. But for a newly planted rose (first year), only remove dead wood and spent blooms. You need every leaf to generate energy for root growth.
My Routine: I deadhead (remove spent flowers) every week. This tricks the rose into producing more blooms rather than seeds (hips).
Watering Evolution
Remember the "Daily Sip" mistake? I evolved that into a "Deep Soak" method.
In summer, my balcony gets 8 hours of direct sun. I water every morning. In spring/autumn, I water every 2-3 days. I use a moisture meter now ($10 on Amazon) to take the guesswork out.
Frequently Asked Questions
Q: Can I plant a rose in a hanging basket on my balcony?
A: Yes, but only specific varieties. Look for "trailing" or "ground cover" roses like the 'Sombreuil' or specific cultivars bred for hanging baskets. Standard hybrid teas will die quickly in a basket due to lack of soil volume and rapid drying.
Q: How much sun does a balcony rose actually need?
A: Roses are sun-worshippers. They need a minimum of 6 hours of direct sunlight to bloom. If your balcony is shaded by a building or tree, you will get a leafy plant but very few flowers. Consider shade-tolerant plants instead.
Q: When is the best time to plant roses in pots?
A: Early spring (after the last frost) or late autumn (before the first frost). Planting in the middle of a hot summer is risky because the plant needs constant water to establish roots before the heat stress hits.
Mastering how to plant roses in balcony flower pots is a journey of trial and error, but mostly it is about respecting the plant's basic needs: air for roots, sun for leaves, and stability against the wind. My early failures cost me money and time, but they taught me that a plastic pot with good soil and proper drainage beats a ceramic bowl any day. By following this 14-day monitored approach, you skip the learning curve. Watch the new growth, trust the process, and soon your concrete ledge will be a fragrant, blooming sanctuary. Remember, the best fertilizer is the gardener's shadow—observation is key.

发表评论