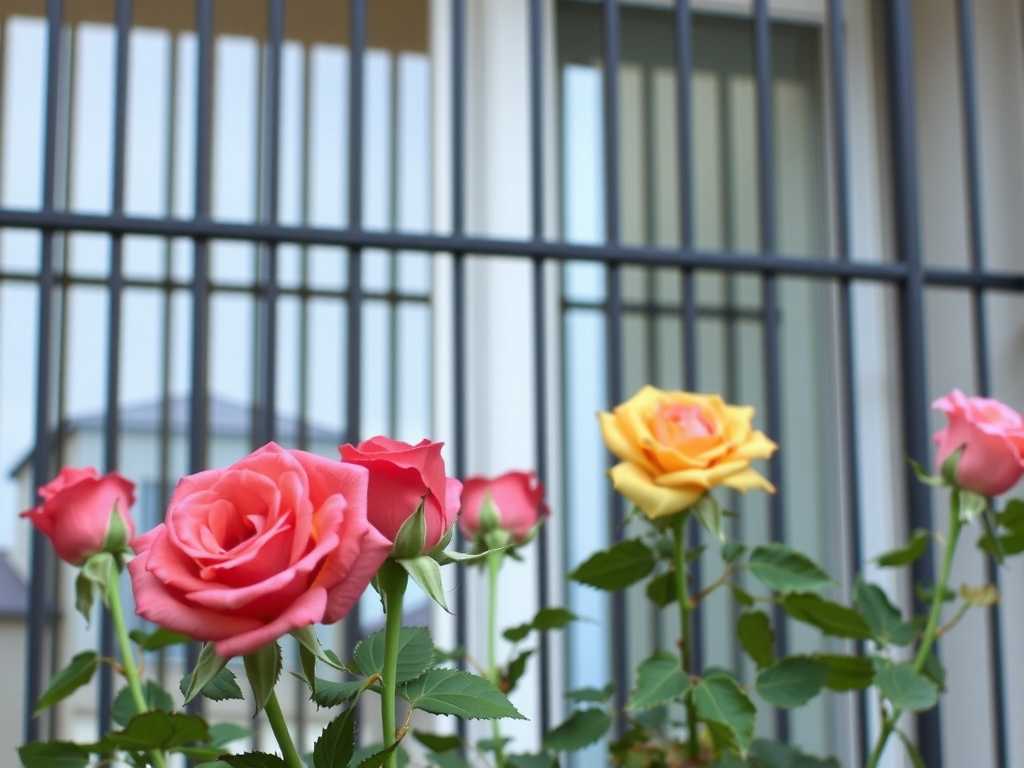
How to Clean Balcony Rose Planting Tools Regularly: A Gardener's Hard-Won Guide
There's a quiet satisfaction in tending to balcony roses, but it can quickly turn to frustration. For years, I struggled with mysterious black spots on my leaves, stunted growth on new plants, and tools that seemed to rust almost overnight. I'd blame the weather, the soil, or my own "black thumb," until I finally connected the dots: my dirty gardening tools were likely spreading disease from one pot to another. Learning how to clean balcony rose planting tools regularly became my mission, transforming not just my toolshed, but the health of my entire miniature rose garden. This is the practical, step-by-step system I developed through trial, error, and two weeks of meticulous observation.
Why Clean Tools Are Non-Negotiable for Balcony Roses
We often focus on water, sun, and fertilizer, but overlook the vectors of disease—our secateurs, trowels, and pots. The American Horticultural Society (AHA) emphasizes that "plant pathogens can survive on contaminated tools for extended periods, making disinfection a critical first line of defense." On a confined balcony, where plants live in close quarters, the risk of cross-contamination is exceptionally high. A single cut with a dirty pruner can introduce fungal spores like black spot or bacterial diseases into the plant's vascular system.

My core long-tail focus became establishing a weekly tool cleaning routine for potted roses. A related semantic variant, maintaining sterile equipment for container gardening, is just as crucial. Ignoring this is an invitation for trouble.
My Two-Week Deep Clean Protocol: A Step-by-Step Journey
I committed to a rigorous 14-day process to break the cycle of neglect and establish a new habit. Here’s exactly what I did.
")
Week 1: The Initial Purge and Assessment
I gathered every tool used for my balcony roses: bypass pruners, a hand trowel, a transplanting spade, a few old pots slated for reuse, and even my gardening gloves. The state of my pruners was a wake-up call; sticky sap and faint rust speckles coated the blades.
Step 1: Dry Brush & Pre-Clean. I started by dry-brushing all loose soil and organic matter into a compost bin. This prevents gunk from clogging the sink later. For my pruners, I used an old toothbrush to scrub at the caked-on sap around the pivot point.
Step 2: The Warm, Soapy Soak. I filled a basin with warm water and a squirt of dish soap. Every metal tool was submerged for 15 minutes. This loosened the remaining grime significantly. For wooden handles, I used a soapy cloth to wipe them down without soaking, to prevent warping.
Step 3: Scrubbing and Inspecting. After the soak, I used a scrubbing pad (the gentle side of a sponge) on all surfaces. This revealed pitting and early rust I hadn't seen before. I paid special attention to the nooks where the blades meet.
Step 4: The Disinfection Stage. This is the heart of the process. I prepared two solutions:
- A bleach solution (1 part household bleach to 9 parts water) for a 5-minute soak of metal tools.
- A white vinegar bath (undiluted) for a 30-minute soak for tools with heavier rust spots, as vinegar is a mild acid.
The Royal Horticultural Society (RHS) advises that "disinfecting tools between plants is essential, especially when pruning." I followed this, moving tools from the disinfectant to a clean towel.
Step 5: Drying and Oiling. I learned this lesson the hard way. Initially, I air-dried my tools. Big mistake. By day two, a thin film of new rust had already formed on my trowel. The fix was immediate and simple: after disinfecting and rinsing (if using bleach), I meticulously dried every tool with an old, clean towel. Then, I applied a light coat of food-grade mineral oil to all metal surfaces with a cloth. This creates a protective barrier. I also oiled the pivot point of my pruners, which immediately made them operate smoother.
Step 6: Sharpening. Using a basic handheld sharpener, I ran it along the cutting bevel of my pruners a few times. The difference was audible—a clean "snip" instead of a crushing "crunch."
Week 2: Implementing the "Clean-as-You-Go" Routine
The goal for the second week was to integrate cleaning into my actual gardening sessions, focusing on preventing disease transmission between balcony plants. After each use, especially after pruning a potentially diseased leaf, I adopted a quick wipe-down protocol.
I kept a small spray bottle filled with isopropyl alcohol (70%) and a roll of paper towels in my balcony storage box. After making cuts, I would spray the pruner blades and wipe them clean before moving to the next plant. At the end of the weekend gardening session, I would give all used tools the full dry, oil, and store treatment. This took less than five minutes but was a game-changer.
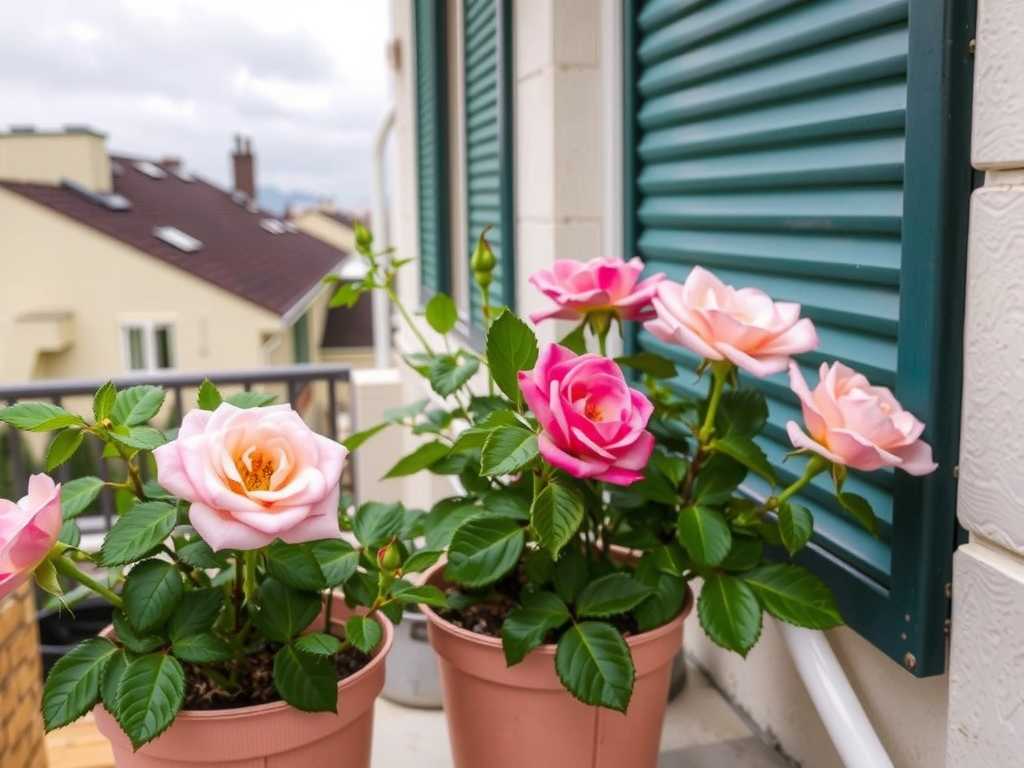
The Observable Results: Healthier Roses, Happier Gardener
The effects of this two-week focus were visibly clear.
By the End of Week 1: My tools looked and felt like new. The pruners closed with a satisfying, precise action. The psychological boost of using clean, sharp tools cannot be overstated—it made gardening feel more professional and effective.
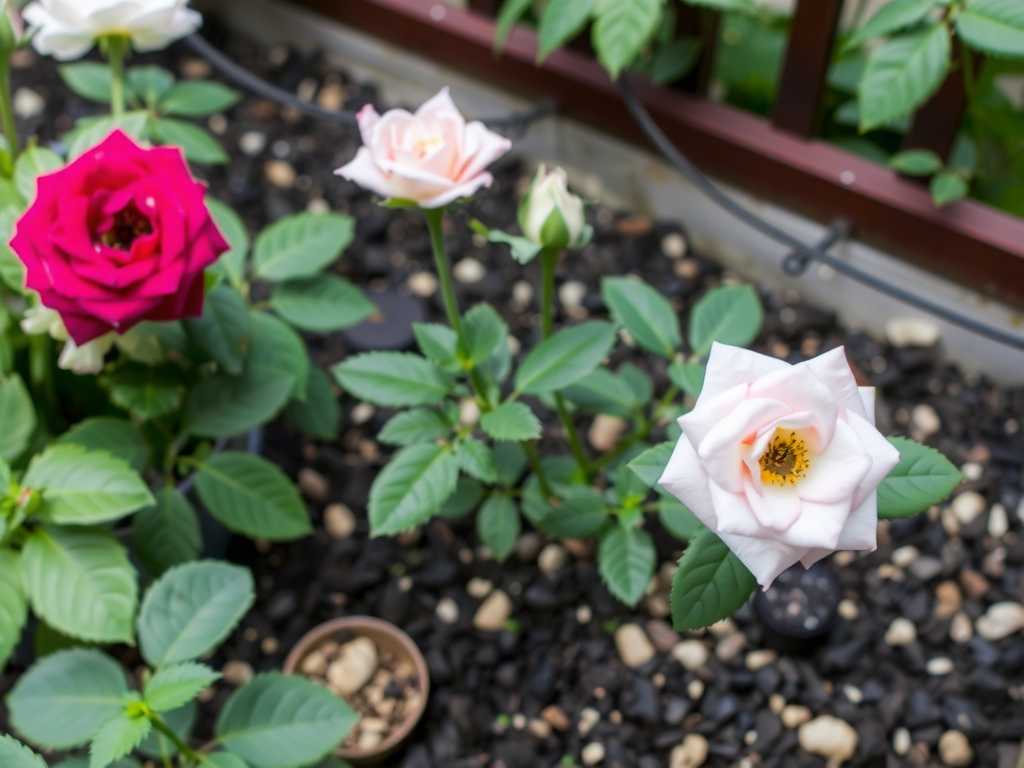
By the End of Week 2: On my roses, I observed a key change. I had been battling a minor case of powdery mildew on one 'Iceberg' rose. After pruning the affected areas with my newly sterilized pruners and being diligent about cleaning between cuts, I saw no new spread of the mildew to adjacent stems or other plants. New growth on recently pruned stems appeared clean and healthy, with no signs of die-back at the cut sites, which can indicate a bacterial infection introduced during pruning.
The routine had stuck. The maintenance of gardening shears for rose care shifted from a chore to a mindful, rewarding part of the process.
The Pitfalls I Encountered (And How You Can Avoid Them)
My path wasn't perfectly smooth. Here are the stumbles and their solutions.
Pitfall 1: Assuming "Clean" Means "Disinfected." I once washed my tools with just soap and water, thinking it was enough. Soon after, I noticed lesions on several stems. Soap removes dirt but doesn't kill all pathogens. The fix is to always include a disinfectant step—whether bleach, alcohol, or a commercial product.
Pitfall 2: Letting Tools Air-Dry. As mentioned, this promotes rust. The solution is immediate, thorough hand-drying followed by a light oiling. It adds one minute to your routine but saves hours of scrubbing rust later.
Pitfall 3: Neglecting the "Invisible" Tools. I focused on pruners but forgot about my potting mat and the saucers under my pots. These can harbor pathogens too. Now, I wipe down my potting surface with a vinegar solution after repotting, and I scrub and disinfect saucers during my weekly tool clean.
Pitfall 4: Using Abrasives on Coatings. In my zeal to remove rust, I once used steel wool on my pruners, which scratched off the protective coating and made them more susceptible to rust. Now, I use a nylon brush or a paste of baking soda and water for gentle abrasion.
Your Questions, Answered
Can I use vinegar to disinfect my rose tools? Vinegar is excellent for descaling and light rust removal, but it is not a reliable, broad-spectrum disinfectant against all plant pathogens. For true disinfection, use isopropyl alcohol (70% or higher) or a diluted bleach solution. Alcohol is my go-to for quick "between-plant" wipes.
How often should I sharpen my pruning shears? It depends on use. For a balcony gardener with a dozen roses, a sharpening every 2-3 months is likely sufficient. The real sign is performance. If the blade is crushing stems instead of making a clean cut, it's time to sharpen. A sharp blade causes less damage to the plant, which helps it heal faster.
Do I need to clean brand-new tools before first use? Absolutely. New tools often have residual oils from the manufacturing process to prevent rust in storage. These can hinder performance and potentially introduce contaminants. Give them a wash with soapy water, dry, oil, and sharpen if needed before their first use.
Establishing a regular cleaning ritual for your balcony rose tools is an act of care—for your investment in the tools themselves, and more importantly, for the health and beauty of your roses. It transformed my small balcony garden from a battleground against disease into a thriving, resilient oasis. The few minutes spent maintaining your equipment pay exponential dividends in vibrant blooms and peace of mind. Start this weekend; your roses will thank you.

发表评论