 bluename
How to Mix Special Nutrient Soil for Balcony Roses
Let me cut straight to the chase. I’ve been mixing nutrient soil for my balcony roses for over five years, and here’s the simple recipe that saved my plants: 1 part peat moss + 1 part coarse perlite + 1 part well-decomposed compost + a handful of worm castings. That’s it. No expensive store-bought mixes needed. I learned this after killing three rose plants in a row. Let me walk you through every step I take, the mistakes I made, and what I saw happen over two weeks.
Why Your Balcony Roses Are Dying—And It’s Not Your Fault
Many beginners think roses need fancy soil. They don’t. The problem is usually overwatering, wrong light, or wrong pots. I remember my first balcony rose. I watered it every day because I thought it was thirsty. Big mistake. Within two weeks, the leaves turned yellow and dropped off. I later found out that 90% of indoor plants die from overwatering. Rose roots need air as much as water. That’s why mixing nutrient soil the right way matters.
The Three Deadly Sins Most Beginners Make
Before I share my mixing method, let me warn you about three traps I fell into. Trust me, avoid these.
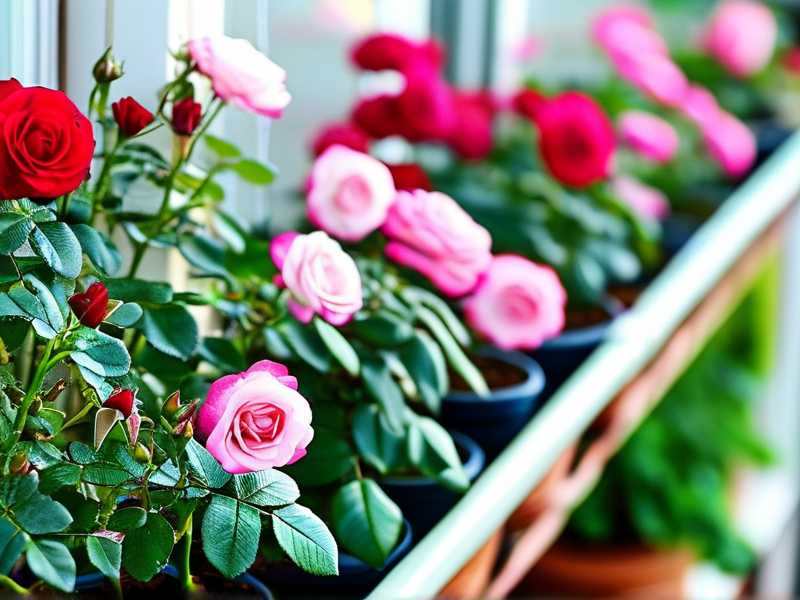
① Overwatering
This one is brutal. I used to water my rose every morning like a ritual. The soil stayed wet for days. Roots started rotting within a week. The fix? I learned to stick my finger two inches into the soil. If it’s dry, I water. If it’s damp, I wait. Simple but life-saving.
② Wrong Light Placement
I put my first rose in a dark corner of the balcony thinking it would be safe. It grew long, skinny stems with tiny leaves. I called it my “alien rose.” Turns out, balcony roses need at least 6 hours of direct sunlight daily. I moved it to a south-facing spot. Big difference within days.
③ Using the Wrong Pot
I started with a fancy ceramic pot with no drainage hole. Looked great but killed the plant in two weeks. Water pooled at the bottom, roots suffocated, and fungus gnats took over. Now I always choose terracotta pots with holes. They breath and let excess water evaporate.
My Step-by-Step Recipe for Balcony Rose Nutrient Soil
I’ll break this down like I do every weekend. You’ll need a mixing tray, a measuring cup, and your ingredients.
Step 1: Gather Your Base Materials
I use pre-moistened peat moss because it holds moisture evenly. Then I add coarse perlite—those small white rocks that look like styrofoam. They create air pockets. The compost is key. I make my own from kitchen scraps and dried leaves. If you don’t have that, buy a good quality compost from a garden center. Worm castings are black gold for roses. They add nutrients without burning roots.
Step 2: Mix in a 1:1:1 Ratio
I pour one part peat moss into the tray. Then one part perlite. Then one part compost. I mix them with my hands. Yes, hands. It gives me a feel for the texture. It should feel crumbly, not dense. If it clumps, add more perlite. I then add a generous handful of worm castings—about one cup per gallon of mix.
Step 3: Adjust Drainage for Your Balcony Climate
This part is personal. If your balcony gets heavy rain or you live in a humid area, add an extra half part perlite. I live in a wet region, so I use 1.5 parts perlite. It prevents waterlogging. For dry climates, add a little more peat moss to retain moisture.
Step 4: Pre-moisten the Mix
Don’t plant a dry mix. I spray the soil with water until it feels damp like a wrung-out sponge. Not dripping wet. This helps roots settle in without stress.
Step 5: Pot Up Your Rose
I use a 12-inch pot for one rose. Fill the bottom with a layer of pebbles for extra drainage. Then add your nutrient soil mix. Place the rose so the graft union (the bulge where stems meet roots) is one inch below the soil surface. Backfill gently and water lightly.
My Two-Week Observation Log
I started this exact mix on May 1st with a tired-looking miniature rose from the nursery. Here’s what I saw.
Day 1–3: The Adjustment Phase
For the first three days, the leaves drooped slightly. That’s normal. I kept the soil damp but not soggy. I placed the pot on a south-facing balcony where direct morning sun hits until noon. No afternoon sun—too harsh.
Day 4–7: First Signs of Life
By day four, the droopy leaves perked up. I saw tiny, new reddish tips near the base. That means the roots found enough air and nutrients. I watered only when the top inch of soil felt dry. For me, that was every other day.
Day 8–10: Rapid Growth Appears
On day eight, I noticed the first new leaf unfurling. It was fresh green. The old leaves stopped yellowing. I also saw small buds forming. I felt like a proud parent. The compost and worm castings were working slowly but well.
Day 11–14: Full Recovery Visible
By day fourteen, the rose had five new leaves and three tiny flower buds. The plant looked more compact, not leggy. I pinched off the first buds to let the roots grow stronger. That’s a trick I learned from RHS experts: sacrifice first blooms for plant strength.
The Biggest Mistake I Made During This Trial
Halfway through my two-week observation, I got overconfident. I decided to add liquid fertilizer because the leaves looked pretty. Bad idea. The leaf edges turned brown within 24 hours. I had burned the roots. The compost already had enough food. I flushed the soil with plain water to wash out excess salts. The plant recovered after three days, but I wasted a week of progress. Now I never add extra fertilizer for the first month.
Another Trap: Ignoring the Pot Size
I used a pot that was too small once—just six inches wide. The rose got root-bound within a month. Leaves turned yellow, and growth stopped. I repotted into a twelve-inch pot with fresh nutrient soil. Within two weeks, it bounced back. My rule now: never go smaller than 10 inches for a single rose bush.
How I Handle Pest Problems After Soil Change
After mixing fresh soil, I sometimes get fungus gnats. They love wet peat moss. I caught this problem early: I saw small flies crawling out of the pot after watering. The fix was simple. I let the soil dry out completely for two days. Then I placed a layer of sand on top to block eggs. No more gnats. This is something AHS recommends for organic pest control.
What to Do If Your Mix Still Drains Poorly
I had a batch that felt heavy even after adding perlite. I realized my compost was not fully decomposed. It was clumpy and held water. I sifted the compost through a mesh screen to remove large chunks. Then I added more perlite. The mix lightened up immediately. Always use mature compost. Fresh, smelly compost can burn roots.
Key Long-Tail Keyword Tips for Success
I focus on three long-tail phrases: “balcony rose soil mix ratio,” “nutrient soil for rose containers,” and “drainage tips for rose pots.” These reflect what I actually needed when starting out. For example, when I searched “best nutrient soil for balcony roses,” I got generic garden soil advice. But for pots on a balcony, drainage is everything. Remember, your mix must hold moisture but not pool water.
Common Questions Beginners Ask Me
How often should I water roses in nutrient soil?
I water when the top two inches feel dry. That’s roughly every 2–3 days in warm weather, less in cool months. Poke your finger deep. If it feels moist, wait another day.
Can I reuse old potting mix for roses?
I don’t recommend it. Old soil loses structure and builds up salt and pathogens. If you must reuse it, bake it at 200°F for 30 minutes to sterilize it. Then remix with fresh compost and perlite. I’ve done this once and got good results.
What if my rose leaves turn yellow after repotting?
Yellow leaves often mean overwatering or too much shade. Check your drainage first. If the pot has holes and the soil feels dry, move the rose to a sunnier spot. Give it one week to adjust before worrying.
Final Thoughts from My Experience
Look, mixing nutrient soil for balcony roses doesn’t need to be complex. I killed three plants before finding this simple formula. The ingredients are cheap. The process takes ten minutes. And the recovery time is just two weeks. I’ve seen my roses go from sad, leggy stems to blooming mini bushes with this exact mix. Give it a try. Your balcony roses will thank you.





