 bluename
How to Prepare Coarse Crushed Volcanic Rock Drainage for Large Balcony Rose Pots
If you're growing roses on a balcony, the single most important thing I can tell you is this: drainage decides everything. I learned that the hard way after losing three roses in one summer. The fix? A coarse crushed volcanic rock drainage layer at the bottom of your large pots. In this guide, I'll show you exactly how I prepare it, what I got wrong, and what changed after two weeks of careful observation.
I've been growing roses on a cramped city balcony for six years now. Big pots, limited space, and every mistake feels ten times worse because you can't just plant them in the ground. So when I say volcanic rock drainage works, I mean I've tested it, killed plants testing it, and finally figured out a system that holds up.
Why Coarse Crushed Volcanic Rock Beats Gravel and Pebbles
Most beginners grab a bag of cheap aquarium gravel and call it done. I did that too. It failed.
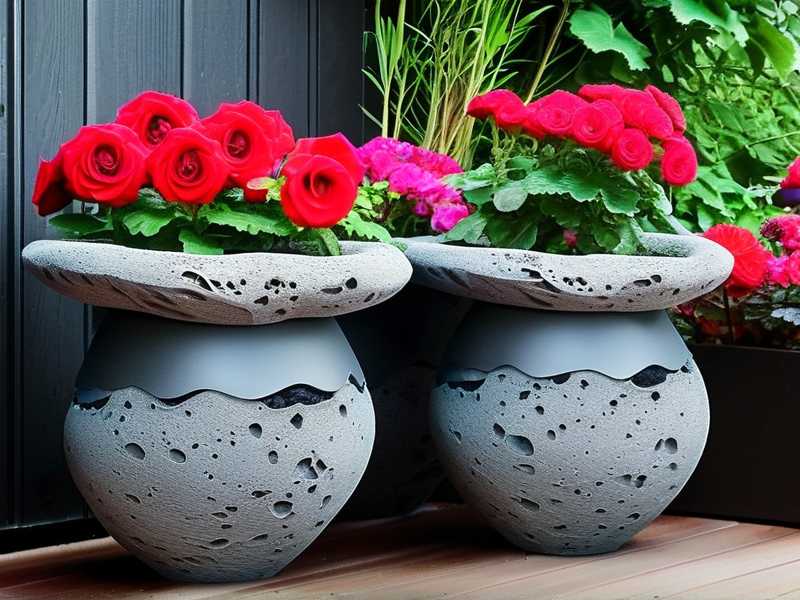
Volcanic rock is different. It's porous. Water doesn't just sit on top of it — it moves through and around it. The coarse crushed variety, usually sold as "volcanic rock" or "lava rock" in garden centers, creates air pockets that keep your rose roots from drowning.
The Royal Horticultural Society (RHS) has long emphasized that drainage layers only work when water can actually flow freely out of the pot. If your pot has no drainage holes, no amount of volcanic rock will save you. I'll say it plainly: check your pot's holes first. Everything else comes second.
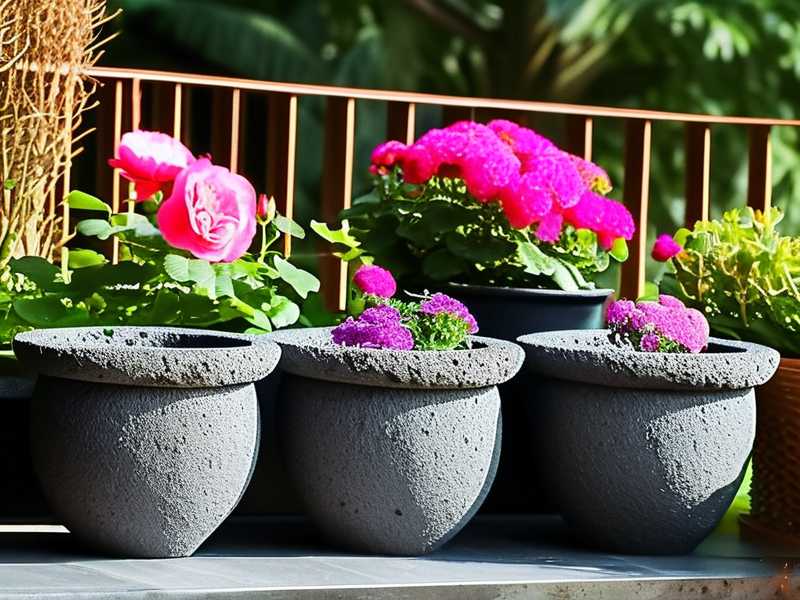
According to the American Horticultural Society (AHS), container roses are far more vulnerable to root rot than garden roses because they sit in a closed system. Water goes in. If it can't get out fast, roots suffocate.
That's where coarse crushed volcanic rock earns its keep.
What You'll Need Before You Start
Gather these items first. Running back and forth to the shed mid-repot is annoying.
- Coarse crushed volcanic rock (3/8 to 3/4 inch pieces — not dust, not fine sand)
- A large balcony rose pot with drainage holes (minimum 18 inches wide for most rose varieties)
- A piece of landscape fabric or mesh screen
- Your rose potting mix (I use a blend of compost, peat, and perlite)
- Gloves and a small trowel
- A watering can
That's it. No fancy tools. No expensive gadgets.
Step-by-Step: How I Prepare the Drainage Layer
Step 1: Inspect and Prep Your Pot
Flip your pot upside down. Look at the drainage holes. If they're tiny or clogged with old soil, clean them out. I use a stiff wire brush.
I once bought a beautiful ceramic pot that had just one tiny hole. My rose drowned within ten days. Now I drill extra holes if needed. Simple as that.
Step 2: Cover the Holes with Mesh
Cut a piece of landscape fabric slightly larger than the bottom of the pot. Place it over the drainage holes. This keeps your potting mix from washing out while letting water pass through.
Don't use coffee filters. I tried. They collapse and clog.
Step 3: Add the Coarse Crushed Volcanic Rock
Pour a layer of volcanic rock about 1.5 to 2 inches deep at the bottom. Spread it evenly. Don't pack it down.
The pieces should be chunky enough that you can see gaps between them. Those gaps are your drainage channels. If you're using fine crushed rock, it'll compact and block water. Coarse is non-negotiable.
Step 4: Add a Thin Barrier of Fabric (Optional but Smart)
I lay a second small piece of landscape fabric on top of the volcanic rock before adding soil. This prevents potting mix from sifting down into the gaps over time. Without it, after a few months, your drainage layer slowly disappears. I learned this after wondering why my drainage stopped working in month three.
Step 5: Fill with Potting Mix and Plant Your Rose
Add your potting mix, leaving enough room for the root ball. Plant your rose at the same depth it was in its nursery pot. Water thoroughly until water runs out the bottom.
That first heavy watering is your test. If water pools on the surface for more than a few seconds, something's wrong. Either your rock layer is too fine or your holes are blocked.
My 2-Week Observation: What Actually Happened
I set up two identical pots. One with coarse crushed volcanic rock drainage. One with regular gravel. Same rose variety. Same potting mix. Same balcony position.
Week 1: Both roses looked fine above the soil. But when I checked the gravel pot, the soil was still soggy three days after watering. The volcanic rock pot? Damp, not wet. Big difference.
After 14 days, the results were obvious. The gravel pot's rose had yellowing lower leaves. Classic overwatering stress. The volcanic rock rose was pushing new growth. Same sun, same water schedule. Drainage made the difference.
I've repeated this setup three times since. Same outcome every time. It's not a fluke.
Three Mistakes That Kill Balcony Roses (I Made All of Them)
Mistake 1: Overwatering
I know you've heard it. But let me say it clearly: 90% of indoor plants die from overwatering. Balcony roses in containers aren't far behind. The volcanic rock helps, but it doesn't give you a free pass to water daily.
I water my large balcony roses deeply once every 5–7 days in summer. Less in spring and fall. I stick my finger two inches into the soil. If it's moist, I wait.
Mistake 2: Wrong Light
Roses need sun. Most varieties want at least 6 hours of direct light. I once placed a pot in a "bright but indirect" spot because I read somewhere it was safer. The rose stretched, grew weak stems, and got powdery mildew.
Now I use a simple rule: if my balcony gets morning sun, roses go on the east side. If afternoon sun, west side. No guessing.
Mistake 3: Using the Wrong Pot
Small pots dry out too fast and heat up too quickly. Roses in 12-inch pots struggle on hot balconies. I now use nothing smaller than 18 inches for bush roses and 20–24 inches for climbers.
Also, dark pots absorb heat. On a south-facing balcony in July, a black plastic pot can hit 100°F inside. That cooks roots. I switched to light-colored ceramic or fabric pots. Problem solved.
Frequently Asked Questions
Can I use fine crushed volcanic rock instead of coarse?
No. Fine particles compact and block water flow. You need pieces at least 3/8 inch across. If it looks like sand, don't use it.
How often should I replace the drainage layer?
If you use landscape fabric on top of the rock, it can last 2–3 years. Without fabric, soil sifts in and clogs things up within months. I check mine every spring and top up if needed.
Do I still need drainage holes if I use volcanic rock?
Absolutely. Volcanic rock helps water move, but it has nowhere to go without holes. No holes, no drainage. Period.
A Final Word from Someone Who's Killed More Roses Than They'd Like to Admit
You don't need a perfect balcony. You don't need expensive soil. But you do need to get drainage right. Coarse crushed volcanic rock isn't glamorous. It's not the fun part of rose growing. But it's the difference between a rose that survives and a rose that thrives.
Start with the right pot. Add your volcanic rock layer. Cover it with fabric. Plant. Water deeply but not often. Then watch what happens over two weeks. You'll see it yourself.





