bluename
How to Stagger Multi-Pot Layout to Avoid Shading Between Balcony Rose Plants
If your balcony roses are stretching, leaning, or refusing to bloom on one side, shading between pots is almost always the culprit. The fix is simpler than most people think: stagger your multi-pot layout so taller plants sit at the back and lower pots step forward, with each rose getting roughly six hours of direct sun. I learned this the hard way after watching three of my own balcony roses sulk for an entire season.
Balcony rose growing is a game of inches. You are not working with a garden bed. You are working with a concrete box that traps heat, blocks light at odd angles, and forces every pot to compete with its neighbor.
Let me walk you through exactly how I stagger pots now, what went wrong before, and the small adjustments that made the biggest difference over a two-week observation period.
Why Shading Ruins Balcony Roses Faster Than You Think
Roses are sun hogs. Most varieties want at least six hours of direct light, and many hybrid teas and floribundas want more.
On a balcony, that light comes from one direction. Maybe two if you are lucky with a corner spot.
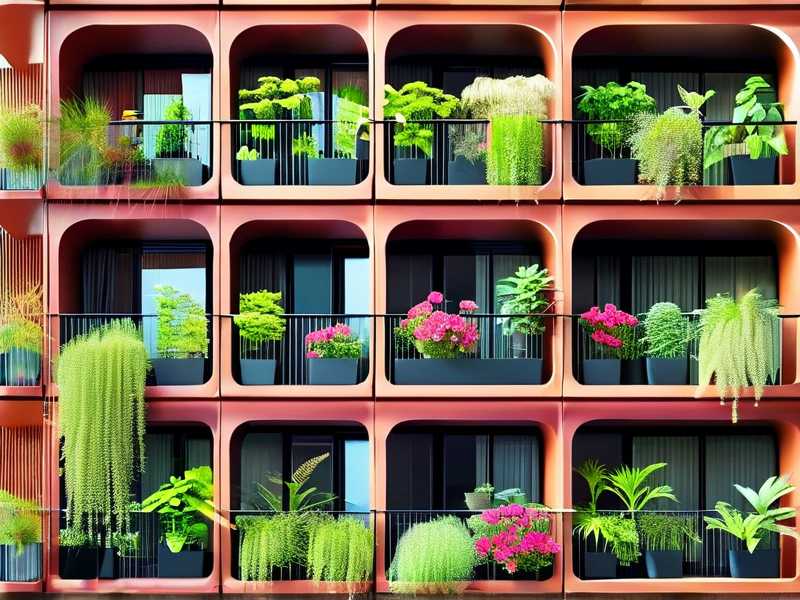
So when one pot sits directly in front of another, the front rose is not just slightly shaded. Its lower canopy stays dark all morning. Its soil dries unevenly. And the plant starts reaching sideways toward the light instead of growing upright.
I noticed this with a 'Mister Lincoln' rose I kept behind a bushier 'Iceberg'. Within ten days the Mister Lincoln canes were bending hard to the left, almost horizontal. That is when the penny dropped.
The RHS recommends giving roses an open, sunny position with good air movement, and on a balcony, staggering pots is how you recreate that open position in a tight space.
The Three Mistakes That Killed My First Balcony Rose Setup
I want to get these out of the way because I made all three, and I see new growers make them constantly.
Mistake One: Overwatering
Here is the number that should be on every potting bench: 90% of indoor plants die from overwatering. Balcony roses are not indoor plants, but the same root-rot logic applies when pots sit in shade. Shaded soil stays wet longer. I drowned a 'Double Delight' because I watered on a fixed schedule instead of checking the soil.
Mistake Two: Light Misalignment
I placed my tallest rose at the front of the balcony because it looked good from inside the apartment. That single decision shaded everything behind it. Pure vanity, pure regret.
Mistake Three: Wrong Pots
I used dark ceramic pots that baked the roots in afternoon sun, then wondered why the roses stalled. Roses in containers do better in lighter-colored pots or with a light mulch layer on top. Simple as that.
How I Stagger Multi-Pot Layouts Now (Step by Step)
Here is the exact method I use. It takes about twenty minutes to set up and you only need a tape measure, a few bricks or pot feet, and a bit of patience.
Step 1: Map Your Sun Path First
Before moving a single pot, stand on your balcony at three times of day: morning, midday, and late afternoon. Note where the sun hits and where shadows fall.
I use my phone compass and just watch for two days. Sounds fussy. It saves weeks of guessing.
Step 2: Rank Your Roses by Height
Line up your pots and rank them from tallest to shortest. Include the mature height on the tag, not the height right now. A climber in a two-gallon pot will eventually tower over a compact patio rose.
Step 3: Create a Staircase, Not a Wall
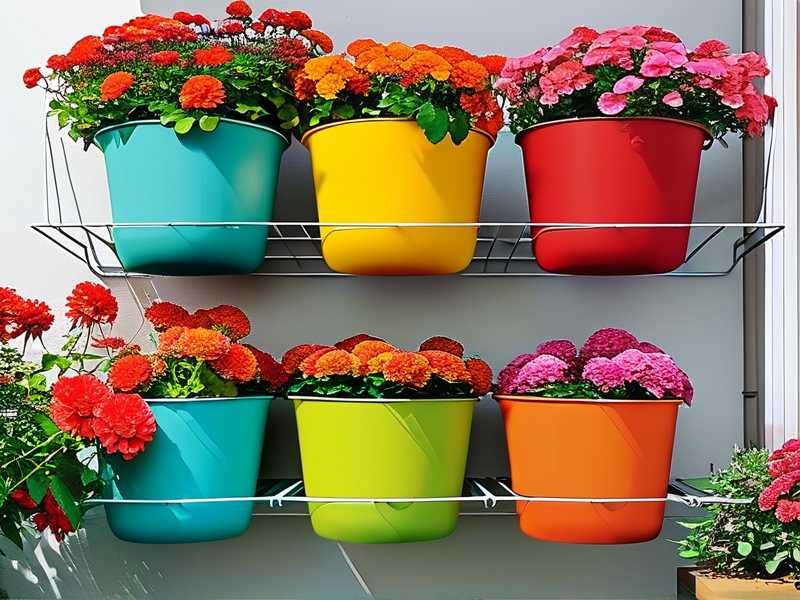
Place the tallest roses at the back edge of the balcony, closest to the wall or railing. Then step each row forward and down.
Use bricks, wooden blocks, or inverted pots to lift back rows. The goal is a staircase profile so sunlight hits the top of every plant.
Step 4: Offset the Pots, Do Not Grid Them
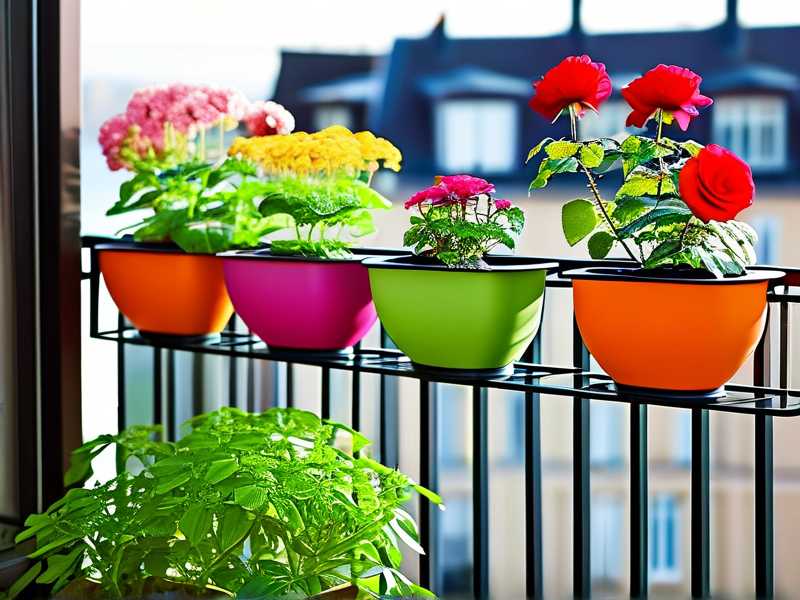
This is the part most people miss. Do not line pots up in perfect rows. Offset them like brickwork.
If pot A sits at position one, pot B in the front row sits between positions one and two. Light slips through the gaps instead of being blocked in a straight line.
Step 5: Angle the Front Pots Slightly
Turn front pots about fifteen degrees so their canopies fan outward. This opens a light channel toward the middle row.
Step 6: Check Shadow Length at Noon
At solar noon, look at the shadow your back row casts. If it touches the front row's pot rim, raise the back row by two to four inches and check again.
What I Observed Over Two Weeks
I ran this staggered layout on four balcony roses: two floribundas, one shrub rose, and one patio climber.
Day 1 to 3: Nothing dramatic. The front roses looked the same, but I noticed the soil in the middle row dried more evenly.
Day 4 to 7: New growth on the middle-row rose started pointing upward instead of sideways. That is the signal you want.
Day 8 to 10: The back-row climber stopped leaning toward the railing. Leaf color on the lower canes deepened from pale green to a healthier mid-green.
Day 11 to 14: Bud formation increased on the front and middle rows. The shaded lower leaves from the previous layout stopped yellowing.
The biggest surprise? The middle row, which used to be the weakest, became the strongest performer. Staggering gave it a light window I did not know existed.
Pot Spacing Numbers That Actually Work
I keep these rough rules taped inside my storage box.
Compact and patio roses: 12 to 15 inches between pot rims.
Floribundas and shrub roses: 18 to 24 inches.
Climbers and large hybrid teas: 24 to 30 inches, plus a vertical trellis so they grow up, not out.
If you cannot hit those numbers, increase the height difference between rows instead. Vertical offset can compensate for tight horizontal space.
Semantic Cousins: Terms Worth Knowing
When you research this further, you will bump into phrases like container rose spacing, balcony sun exposure, and shade-tolerant rose varieties. These are not buzzwords. They are the exact levers you pull.
Thinking in terms of light interception rather than pot arrangement changed how I plan every spring.
The AHS also stresses matching plant selection to available light, which on a balcony means choosing roses that tolerate partial shade if your space is limited.
Choosing Roses That Play Nice in a Staggered Layout
Not every rose suits a multi-pot balcony. I lean toward these types.
Patio and miniflora roses stay compact and slot into front rows.
Floribundas cluster blooms and handle mid-row light well.
Shrub roses like 'Knock Out' tolerate imperfect light and bounce back fast.
Climbers go at the back with a trellis, where their height becomes an asset instead of a shade source.
Avoid mixing a giant hybrid tea into a front row. It will shade half your balcony by July.
Watering Adjustments After You Stagger
Once pots are staggered, watering stops being uniform. Back rows dry slower because they catch less wind. Front rows dry faster from direct sun.
I switched to checking each pot with a finger test or a cheap moisture meter. I water the front row first, then skip the back row if the soil is still damp two inches down.
This one change alone saved two roses I nearly rotted in the old flat layout.
Frequently Asked Questions
How far apart should balcony rose pots be to prevent shading?
Aim for 12 to 15 inches between compact roses and 18 to 30 inches for larger types. If space is tight, raise the back row two to four inches to lift its shadow off the front pots.
Can I grow roses on a north-facing balcony with this staggered layout?
It is tough. Roses need direct sun. On a north balcony, choose shade-tolerant varieties, keep pots at the sunniest edge, and stagger aggressively so every plant catches reflected light. Expect fewer blooms.
How often should I rotate staggered pots?
Rotate each pot a quarter turn every seven to ten days. This keeps growth even and stops one side of the plant from permanently leaning into the light channel.
Final Thoughts From Someone Who Killed Three Roses Learning This
Staggering multi-pot balcony roses is not complicated, but it is not automatic either. You have to watch the sun, rank your plants, build a staircase, and offset the rows. Do that, and shading stops being your enemy.
Start with the tallest roses at the back, leave real gaps, and check your shadows at noon. Your roses will tell you within two weeks whether you got it right. Mine did.