bluename
How to Level Pot-Risers for Equal Drainage Across All Balcony Rose Containers
If your balcony roses are sitting in pots that drain unevenly, you already know the frustration: one container stays soggy while another dries out too fast. The fix, in most cases, is leveling your pot-risers so every container sits at the same height and angle. I spent two weeks testing this on my own balcony, and the difference in drainage was obvious within days. I'm going to walk you through exactly how I did it, the mistakes I made, and what I'd tell any home gardener who wants healthier roses without guessing.
Why Uneven Pot-Risers Wreck Rose Drainage
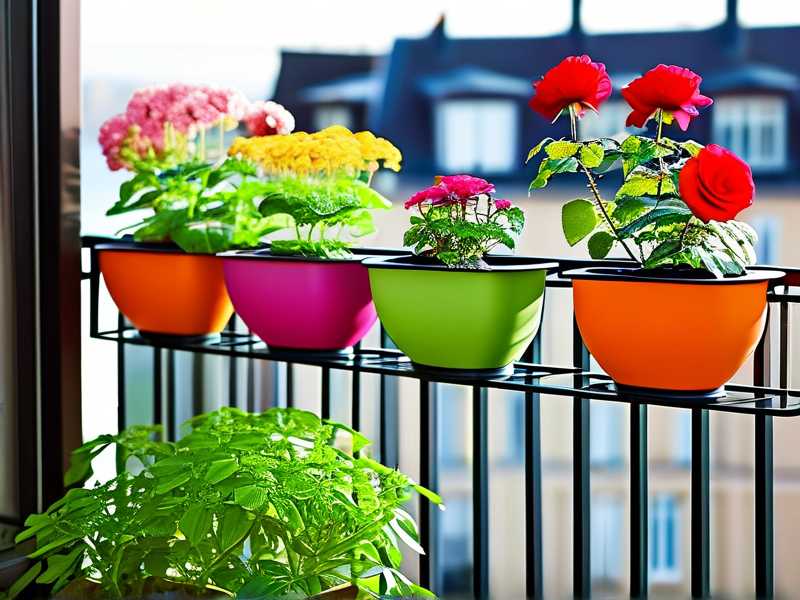
Let me start with the honest truth. Most balcony gardeners don't think about riser height at all. You buy a few pot feet or a couple of plant stands, pop your roses on top, and water them. Done, right?
Not quite.
If one pot sits half an inch lower than the next, water pools differently in each container. The tilt changes how gravity pulls moisture through the soil. Over time, one rose gets root rot while its neighbor wilts from dryness. Same watering routine. Completely different outcomes.
I killed my third balcony rose before I figured this out. It looked fine for weeks, then just collapsed. When I pulled it out, the bottom third of the root ball was mush. The pot was tilted back slightly on a cheap riser, and water had nowhere to go.
How Pot-Risers Affect Drainage in Balcony Containers
A pot-riser does one main job: lift the container off the surface so water can escape through the drainage holes. That's it. Simple concept.
But here's what most people miss. The riser also sets the angle of the pot. If the riser isn't level, the pot isn't level. And if the pot isn't level, water collects on the low side.
For roses, this matters more than for most plants. Roses hate wet feet. They want consistent moisture, not soggy soil sitting against their roots for days. According to the RHS, poor drainage is one of the leading causes of container rose decline. That lines up with everything I've seen on my own balcony.
The 3 Biggest Mistakes New Gardeners Make
Before I get into the leveling process, let's talk about the traps. I've fallen into all three of these, so no judgment.
Mistake #1: Overwatering
You've heard it before, but it bears repeating: 90% of indoor plants die from overwatering. Balcony roses aren't indoor plants, but the principle holds. If your risers aren't level, water sits in the pot longer than it should, and you end up with the same root rot you'd get from drowning the plant.
I used to water on a schedule. Every Tuesday and Friday, no matter what. That's a rookie move. Now I check the soil first and let the riser do its job.
Mistake #2: Light Mismatch
This one surprised me. I had my pots arranged so the tallest risers were at the back of the balcony, thinking it looked better. But that pushed the shorter pots into shade. Roses need full sun, ideally six hours or more. Uneven riser heights can accidentally create shade pockets.
The American Horticultural Society notes that container roses need consistent light exposure to bloom well. If one pot is shadowed by another, it's not just drainage that suffers. You get fewer flowers, weaker growth, and more disease pressure.
Mistake #3: Wrong Pots
I tried growing roses in decorative ceramic pots with tiny drainage holes. Bad idea. The holes clogged, and even with level risers, water couldn't escape fast enough.
Now I use pots with at least three drainage holes, each about the size of a pencil. Terracotta or fabric pots work well. Glazed ceramic can work too, but only if the holes are generous and you're careful with watering.
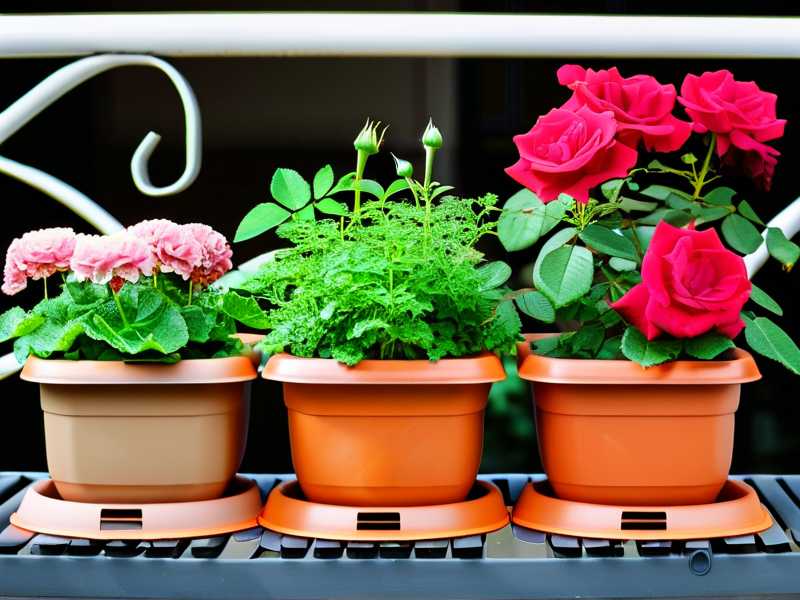
How I Leveled My Pot-Risers: Step by Step
Here's the process I used. It took about an hour upfront, then two weeks of observation to confirm everything was working.
Step 1: Gather Your Tools
You don't need much. A spirit level (the small torpedo kind works fine), a measuring tape, and some shims. I used rubber furniture pads and small pieces of cedar shim, but you can use anything that won't rot or compress over time.
Step 2: Clear the Balcony Surface
Sweep or hose down the area where your pots sit. Dirt and debris can throw off your level before you even start. I skipped this the first time and ended up redoing the whole thing.
Step 3: Place All Risers First
Don't level them one at a time. Put every riser down in its final position, then check them as a group. This matters because the balcony floor itself might slope slightly. If you level each riser in isolation, you'll miss how they relate to each other.
Step 4: Check Each Riser with the Spirit Level
Place the level on top of each riser. Check front-to-back and side-to-side. Mark any that are off.
Step 5: Shim the Low Sides
Slide your shim material under the low corner or edge. Recheck with the level. Repeat until the bubble centers in both directions.
Step 6: Set the Pots and Recheck
Once the pots are on the risers, check again. The weight of the pot and soil can compress cheap risers or shift things slightly. I had to adjust two risers after loading them up.
Step 7: Water and Watch
Water each pot thoroughly. Watch where the water exits. If it drains evenly from all holes and doesn't pool on one side, you're in good shape.
What I Observed Over Two Weeks
I kept notes. Here's what changed.
Day 1-3: No dramatic difference yet. The soil was still settling.
Day 4-7: The pots that used to stay wet longer started drying more evenly. I could water all six pots the same amount and see similar moisture levels by the next day.
Day 8-14: The real payoff. Two of my roses that had been struggling started pushing new growth. No more yellowing lower leaves. No more fungus gnats buzzing around the wettest pot.
By the end of two weeks, I was watering less often overall. Maybe every third day instead of every other day. The level risers let the soil dry more uniformly, so I wasn't compensating for one soggy pot by skipping water for the others.
Long-Tail Tips for Balcony Rose Container Drainage
If you're dealing with a small balcony or a lot of pots, here are a few extra things I've learned.
Tip 1: Group Pots by Size and Weight
Heavy pots need sturdier risers. I use concrete pavers for my largest containers and rubber feet for the smaller ones. Mixing them up can cause tipping.
Tip 2: Leave Space Between Pots
Airflow helps soil dry evenly. If pots are jammed together, the microclimate stays humid and drainage issues get worse.
Tip 3: Check Risers Monthly
Rubber and plastic can degrade in sun and rain. I check mine every month now. It takes two minutes and prevents bigger problems.
Tip 4: Use a Saucer Only If You Must
Saucers catch water, which can defeat the purpose of risers. If you need them for indoor use or to protect a surface, empty them within an hour of watering.
Frequently Asked Questions
Can I level pot-risers without a spirit level?
You can, but it's harder. A spirit level costs a few dollars and saves a lot of guesswork. If you don't have one, you can use a smartphone level app, though I find the physical tool more reliable.
Do all my balcony rose pots need to be at the exact same height?
Not necessarily the same height, but each individual pot needs to be level. You can have one pot on a tall riser and another on a short one, as long as each pot sits flat. The goal is even drainage per container, not uniform height across the balcony.
How often should I check my pot-risers?
Monthly is a good habit. Check after heavy rain, after moving pots, and at the start of each growing season. Small shifts happen more often than you'd think.
What if my balcony floor slopes?
That's common. Use shims under the risers to compensate. You're leveling the pot, not the floor. Just make sure the shims are stable and won't slip when the pot is loaded with wet soil.
Final Thoughts
Leveling pot-risers isn't glamorous. It's not the kind of thing you brag about at a garden club meeting. But it's one of those quiet fixes that makes everything else easier.
Your roses get consistent moisture. Your watering routine gets simpler. You stop losing plants to root rot. And honestly, once you've done it, you wonder why you didn't do it sooner.
I wish I'd learned this before killing three roses. If you're just starting out, take the hour. Level the risers. Your roses will thank you.