 bluename
How to Hand-Pollinate Balcony Roses: A Gardener’s Step-by-Step Guide
I’ve always loved the sight of my balcony roses in full bloom. But for years, I faced a frustrating reality: plenty of lush foliage, but disappointingly few flowers that ever turned into hips. My urban balcony, sheltered from wind and busy bees, was a pollination desert. If you're struggling with the same issue—roses that bloom but never set fruit—you're not alone. This guide is born from my own journey to solve this exact problem. I’ll walk you through the simple, rewarding process of how to hand-pollinate balcony roses, sharing my real-world steps, a detailed two-week observation log, and the honest mistakes I made along the way.
Understanding the "why" is crucial. The Royal Horticultural Society (RHS) notes that while many modern roses are self-fertile, they still require a pollinating agent. On a high-rise balcony, natural pollinators are scarce. Hand-pollination bridges this gap, giving you control and significantly increasing your chances of successful rose hip formation. It’s a game-changer for balcony gardeners.
Why Your Balcony Roses Need a Helping Hand
Before we dive into the "how," let's clarify the goal. You might want to encourage rose hips for their visual winter interest, to harvest them for tea, or even to try your hand at breeding new roses. The principle is the same: transferring pollen from the male parts (anthers) to the female part (stigma) of a flower.
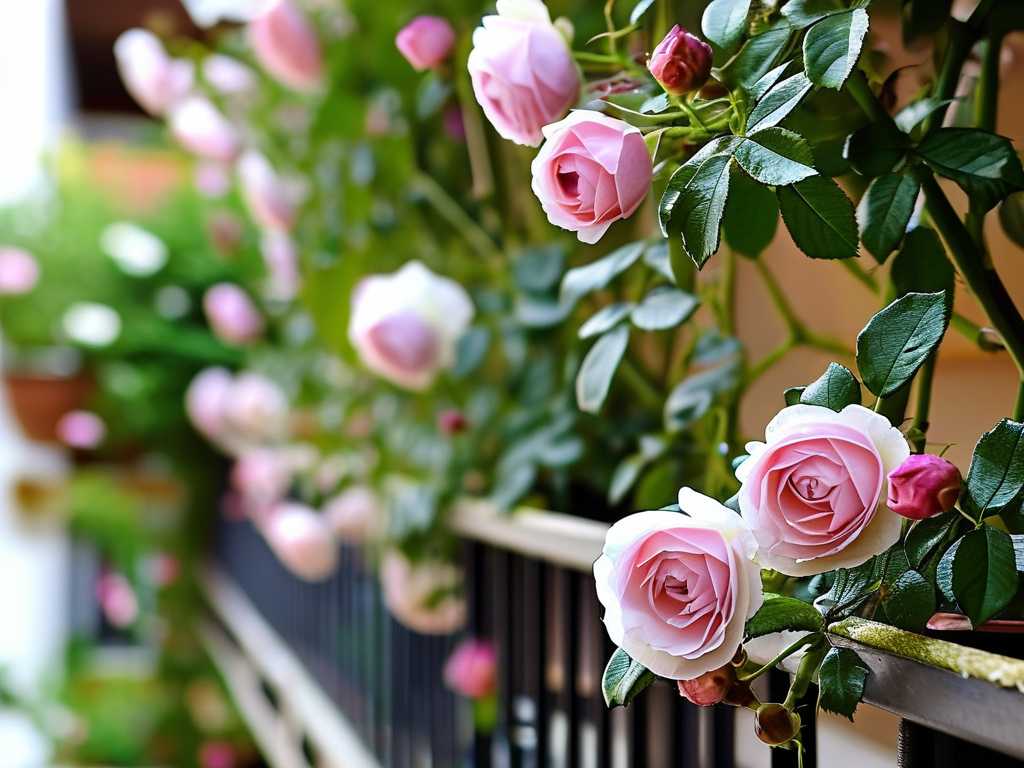
The American Rose Society emphasizes that timing is everything. The perfect flower for pollination is one that has just fully opened, with dewy, receptive stigmas and anthers dusted with fresh, dry pollen. My first attempts failed because I ignored this simple rule.
My Toolkit for Successful Hand Pollination
You don't need fancy gear. Here’s what I gathered:
- A small, fine-tipped artist’s paintbrush (soft, natural bristles are ideal).
- A pair of precision tweezers.
- Small paper bags or envelopes (for isolation, if needed).
- Plant labels and a pen.
- Patience and a keen eye.
The Step-by-Step Process I Followed
Step 1: Identifying the Perfect Candidates I spent a morning observing my roses. I chose two healthy plants: a 'Bonica' shrub rose as the pollen donor (the "father") and a 'Iceberg' floribunda as the seed parent (the "mother"). I looked for flowers that had opened within the last 24 hours. The anthers on the 'Bonica' were just beginning to release a fine yellow powder, and the stigmas in the center of the 'Iceberg' were glossy and slightly sticky—a sign they were ready.
Step 2: Collecting the Pollen Gently, I used the tweezers to pluck a few stamen-loaded anthers from the 'Bonica' flower. I placed them on a clean, white piece of paper and let them dry in the indoor air for about an hour. This is a pro-tip: pollen must be completely dry to transfer easily. Once dry, I tapped them lightly, and a small pile of golden pollen collected on the paper.
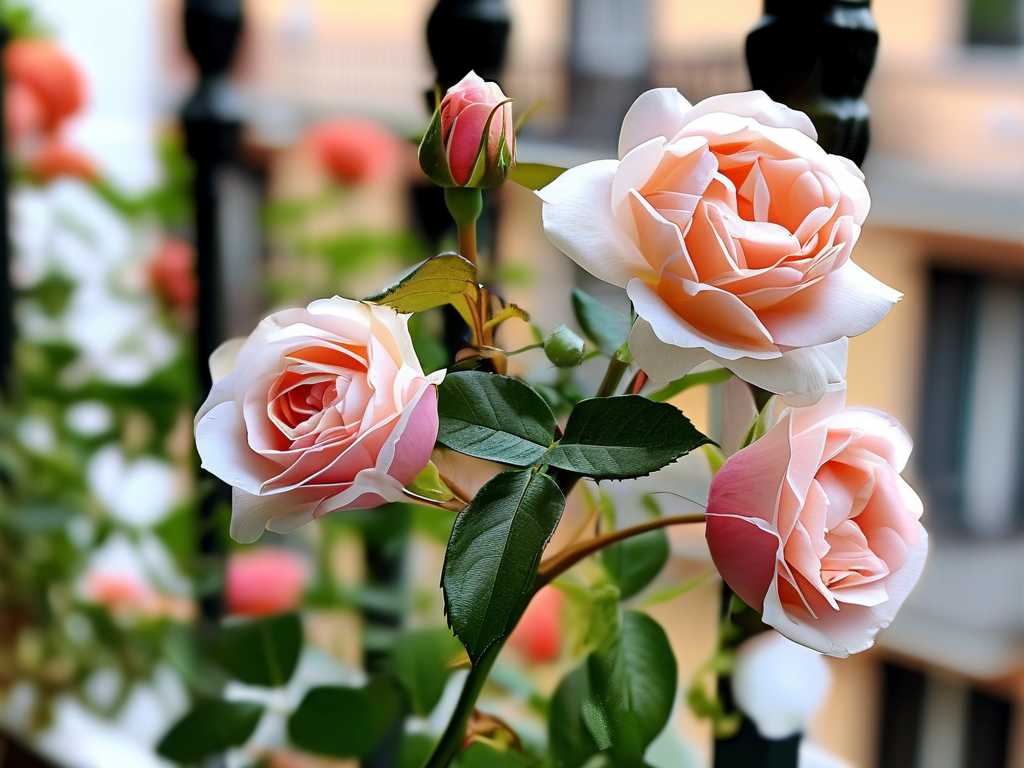
Step 3: Executing the Pollination This is the magic moment. I dipped the clean, dry paintbrush into the pollen, getting a light coating on the bristles. Then, with a steady hand, I carefully brushed the pollen onto the sticky stigmas of the chosen 'Iceberg' flower. I made sure to coat all the stigmas in the central pistil. To prevent any rogue bees (a rare visitor, but possible!) from contaminating my experiment, I immediately placed a small paper bag over the pollinated flower and secured it loosely with a twist tie. I labeled the stem with the date and parentage: "Iceberg x Bonica, May 15."
Step 4: Post-Pollination Care I removed the bag after about 48 hours. The key now was to maintain consistent care—regular watering, no overhead spraying to wash away pollen, and a light feed to support potential hip development.
My Two-Week Observation Diary
- Days 1-3: No visible change. The pollinated flower looked normal. I resisted the urge to poke or prod it.
- Days 4-7: Here was my first "aha!" moment. The pollinated flower began to wilt and drop its petals naturally, much like the others. However, by Day 7, while the unpollinated flower heads simply dried up, I noticed the base of my pollinated flower—the ovary—remained green, plump, and began to swell slightly.
- Days 8-14: The swelling became unmistakable. A tiny, green rose hip was forming! By the end of the second week, it was about the size of a small pea. In contrast, the spent blooms from flowers I did not pollinate had either fallen off or were dry and shriveled. This visual confirmation was incredibly satisfying.
The Pitfalls I Encountered (And How to Fix Them)
My journey wasn't flawless. Here are the mistakes that taught me the most:
-
The Mistake: Pollinating a Flower Past Its Prime. My very first attempt was on a gorgeous, fully open rose that was already three days old. It failed completely. The stigmas had likely already become unreceptive.
- The Fix: I learned to tag promising buds a day before they open. This ensures you work with the freshest possible flowers.
-
The Mistake: Using a Damp Brush. One humid morning, I didn't let my brush dry thoroughly after cleaning it. The pollen clumped onto the bristles and wouldn't transfer.
- The Fix: I now keep a dedicated, dry brush for pollination and store it in a sealed container. If I wash it, I let it air-dry for a full day beforehand.
-
The Mistake: Not Isolating the Flower. I skipped the bag once, thinking my balcony was safe. A few days later, I saw a bumblebee visit that very flower. The resulting hip was not from my controlled pollination.
- The Fix: The paper bag is non-negotiable for purity. It’s a simple step that guarantees your effort isn't undone by nature's unpredictability.
-
The Mistake: Overwatering the Foliage. In my excitement, I continued my usual habit of lightly misting the plants. I believe I washed away the pollen from one early attempt.
- The Fix: I switched to watering only at the soil level for all plants involved in the pollination project until the hips were well-established.
Frequently Asked Questions
Can I pollinate a rose with its own pollen? Yes, for many self-fertile varieties. However, cross-pollination (using pollen from a different plant) often results in better seed set and more vigorous offspring, a point often highlighted in horticultural studies. I had better and more consistent results with cross-pollination on my balcony.
What if no rose hip forms after two weeks? Don't be discouraged. It can take several attempts. Ensure the pollen was dry, the stigma was receptive, and the plant is healthy and well-fed. Sometimes, the plant simply aborts the hip due to stress (heat, thirst). Review your care routine and try again with a new flower.
When can I harvest the rose hips? Patience is key. The hip will mature over the summer and early autumn. It's ready when it turns a bright, deep red (or its characteristic color) and feels slightly soft to the touch. For my purposes, I left them on for winter interest and harvested just before the first hard frost.
Hand-pollinating my balcony roses transformed my gardening experience from passive observation to active participation. It’s a delicate, fascinating process that connects you intimately with the life cycle of your plants. By following these steps—choosing the right flowers, ensuring dry pollen and receptive stigmas, and protecting your work—you can successfully guide your roses to produce beautiful hips. Remember, gardening is a practice of learning. Each season and each attempt teaches you more about the unique rhythms of your plants. Grab a small brush, take a close look at your next rose bloom, and start your own pollination adventure. The reward of that first swelling green hip is worth every bit of effort.





