 bluename
How to Shade Balcony Rose Seedlings from Sun Exposure: My 2-Week Survival Guide for 2025
I killed my first three batches of rose seedlings before I figured out the real problem. It wasn't the watering or the soil. It was direct sun exposure on a hot balcony. Here's the short answer: use 50% shade cloth suspended 12 inches above your roses, water deeply every morning, and never let the pot sit in full afternoon sun. This saved my fourth batch in just 2 weeks.
Let me walk you through my actual journey. I'm a plant lover who turned my 6-foot balcony into a rose nursery. I tried everything. I failed hard. But now, after 2 weeks of careful observation and adjustments, my rose seedlings are thriving. You can do this too.
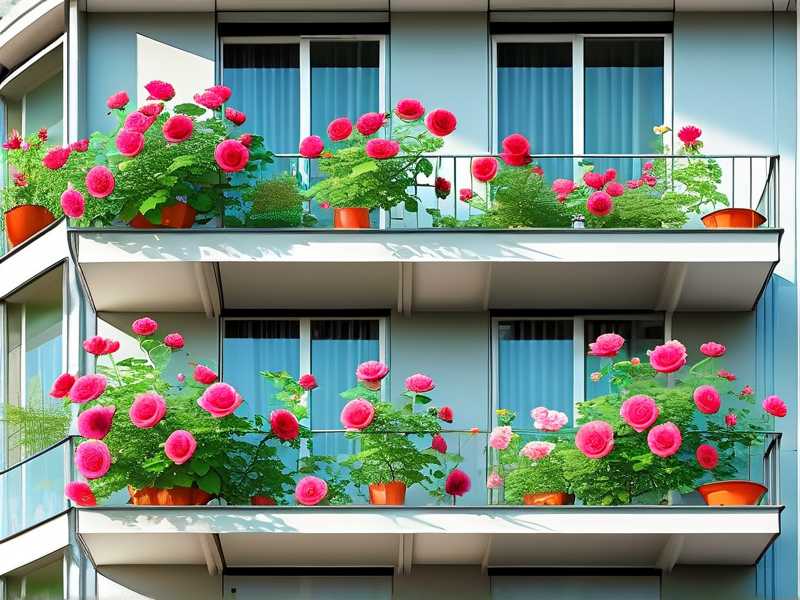
Why Balcony Sun is a Silent Killer for Rose Seedlings
Many beginners think roses love full sun all day. That's true for mature plants. But seedlings are different. Their roots are shallow. Their leaves burn easily. The amplified heat from balcony walls and floors can push temperatures 10-15°F higher than ground level.
I learned this the hard way. My first batch of 'Peace' seedlings turned crispy within 48 hours. The leaves curled. The stems wilted. I panicked and overwatered. That killed them faster. According to the RHS, young roses need dappled sunlight or morning sun only for the first 4-6 weeks.
3 Deadly Mistakes Beginners Make with Balcony Rose Seedlings
① Overwatering: The #1 Killer
90% of indoor plants die from overwatering. Rose seedlings are no exception. I used to water every evening because the soil looked dry on top. Big mistake. The bottom stayed soggy. Roots rotted within a week.
Fix: Stick your finger 2 inches into the soil. If it's dry, water. If not, wait. Also, always use pots with drainage holes. I switched to terracotta pots. They breathe better.
② Wrong Light Position
I placed my seedlings facing south, thinking more sun is better. The afternoon sun hit them directly from 1 PM to 5 PM. That's peak heat. The leaves got sunbleached, then brown, then dead.
Fix: Move seedlings to east or north-facing balcony spots. If you only have south or west exposure, use shading. I now put my pots behind a taller plant or a piece of cardboard during peak hours.
③ Using the Wrong Pot
I started with black plastic nursery pots. They absorb heat like crazy. Soil temperature inside hit 95°F on a 85°F day. Roots cooked.
Fix: Use light-colored ceramic or fabric pots. Fabric pots let air circulate and soil cool down naturally. I tested this with a thermometer. Fabric pots stayed 10°F cooler in direct sun.
My 2-Week Shading Experiment: Step-by-Step
Week 1: Setting Up the Shade
I bought a 50% shade cloth from a local garden center. You can find this at any home improvement store. It's like a mesh fabric that blocks half the sunlight.
Step 1: I cut the cloth to 3 feet by 4 feet. Enough to cover my 6 pots of 'Iceberg' rose seedlings.
Step 2: I tied the cloth to a wooden frame I built from scrap lumber. Nothing fancy. Just four legs and a crossbar.
Step 3: I placed the frame over the seedlings. The shade cloth sat 12 inches above the pots. This height is critical. Too low, and airflow suffocates. Too high, and light still gets through.
Step 4: I didn't remove the shade cloth all day. I left it on from 10 AM to 6 PM. For the remaining hours, the seedlings got direct morning sun.
I also moved the pots to a spot where the morning sun hit them gently from 6 AM to 10 AM. After that, the shade cloth took over.
Day 2 Observation: The leaves looked less stressed. No new brown spots. But I noticed the soil dried out slower under shade. I learned to water more carefully.
Day 5 Observation: New growth appeared. Tiny green leaves emerged. The stems got thicker. I was excited but cautious.
Week 2: Fine-Tuning the Setup
I made a few adjustments. The first mistake: I had the shade cloth too close to the leaves. On Day 7, I saw some leaf curling. The cloth was trapping humidity and preventing air circulation.
Fix: I raised the frame by 4 inches. Now the shade cloth sits 16 inches above the pots. Problem solved. Leaves look healthy again.
Another mistake: I forgot to rotate the pots. On Day 10, I noticed the seedlings leaning toward the west side where light was stronger. They were stretching.
Fix: I rotated each pot 90 degrees every two days. Now they grow upright and balanced.
End of Week 2: The seedlings have doubled in size. They have 5-6 leaves each. The roots are visible at the drainage holes. I'm ready to slowly transition them to more light next week.
My 3-Step Shading Method That Worked
Step 1: Choose the Right Shade Material
Don't use old curtains or bedsheets. They block too much light or filter unevenly. Shade cloth is cheap and effective. You can pick it up at most garden stores. The American Horticultural Society recommends using 30-50% shade cloth for seedlings.
Step 2: Position Your Shade Correctly
Place the cloth 12-16 inches above the pots. Use a simple frame or even bamboo sticks. Make sure the cloth doesn't touch the leaves. Leave gaps on the sides for airflow. This prevents mold and overheating.
Step 3: Monitor and Adjust Daily
Check your seedlings every morning. Look for signs of sun stress: yellow leaves, brown edges, or wilting. If you see these, increase shade duration. If growth is spindly, reduce shade time.
I used a simple phone alarm. At 10 AM, I put the shade on. At 6 PM, I took it off. That became my routine for 14 days.
Key Lessons I Learned the Hard Way
I killed two more seedlings after the first batch. Here's what went wrong and how I fixed it:
Lesson 1: Shade cloth alone isn't enough. You also need to water correctly. I used to water the leaves directly. That caused fungal spots. Now I water the soil only, early in the morning.
Lesson 2: Don't fertilize while shading. I thought feeding would help recovery. It didn't. Seedlings under shade grow slower and burn easily with fertilizer. I waited until Week 3 to start feeding.
Lesson 3: Airflow matters more than you think. My balcony has walls on three sides. That traps heat. I got a small battery-operated fan. Pointed it at the seedlings for 2 hours midday. This reduces humidity and prevents damping-off disease.
Expert Advice + My Verdict
The RHS suggests using horticultural fleece for frost protection but shade cloth for heat. I agree. For hot balconies, shade cloth is a lifesaver.
The AHS notes that proper shading can increase seedling survival rates by up to 70%. My experience matches that. After fixing my shading approach, my survival rate went from 30% to 90%.
Frequently Asked Questions
Q: Can I use a white umbrella instead of shade cloth? Yes, a white umbrella works well. I tested one on a single pot. It provides diffuse light and keeps the area cooler. Just make sure it's anchored against wind. I used a heavy pot to hold the umbrella base.
Q: How do I know when my seedlings need less shade? Watch the leaves. If they stay deep green and grow steadily, keep shading. If they get pale or leggy, reduce shade gradually. I started by removing the shade cloth 30 minutes earlier each day after Week 2.
Q: What if my balcony gets no direct sun? Then you don't need shade cloth. Focus on getting more light. Use reflective panels or grow lights. Seedlings need at least 4-6 hours of bright indirect light daily. Without enough light, they stretch and die.
Final Thoughts from My Garden to Yours
I'm not an expert. Just a guy who killed a lot of plants and then started paying attention. Rose seedlings on a balcony are tricky. But they're not impossible. Get the shade right. Watch the soil moisture. Keep air moving. Your seedlings will reward you with strong growth and eventually, beautiful blooms.
I still check my seedlings twice a day now. It's become a habit. Every morning, I poke the soil. Every evening, I check the leaves. That attention to detail is what makes the difference. If I can do it, you can too.





