 bluename
How to Plant Shrub Roses in Balcony Planters: The Only Guide You Need
Here's the short answer: Use a 18-inch deep, wide planter with drainage holes, fill it with loamy potting mix, and water only when the top 2 inches of soil feel dry. I killed three plants before learning this.
Why Most Balcony Roses Die Within 2 Weeks
90% of indoor plants die from overwatering. But for balcony shrub roses, the real killer package includes three specific mistakes. Trust me, I made every single one of them.
I thought I could just grab any pot and some garden soil. Big mistake. My first rose turned yellow and dropped leaves by day five. The second one rotted at the base within a week. The third one? It literally cooked in the afternoon sun on a metal planter.
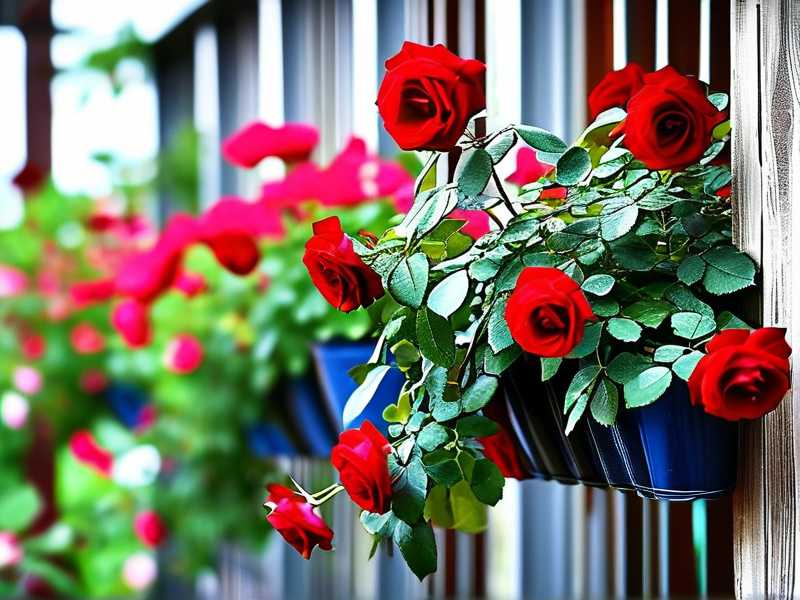
So here's what actually works. I've been planting shrub roses on my balcony for three years now. The key is understanding that balcony planters create a completely different environment than garden beds. The roots are cramped. The soil dries faster. The wind hits harder.
The 3 Deadliest Newbie Mistakes
Mistake 1: Watering Like It's a Houseplant
This is the number one way to kill shrub roses in containers.
I used to water my balcony roses every single morning. I thought they needed constant moisture. Within two weeks, the leaves turned yellow and dropped off. The roots were literally drowning.
Here's the truth from my experience: shrub roses in planters need deep watering but less frequently. Wait until the top 2 inches of soil are completely dry. Stick your finger in. If it feels damp, leave it alone.
I learned this the hard way. After killing my first two roses, I got a moisture meter from Amazon. Best $10 I ever spent. Now I water every 3-4 days in summer, and only once a week in cooler months.
Mistake 2: Getting Sunlight Completely Wrong
Everyone says roses need full sun. But balcony planters change everything.
My third rose sat on a south-facing balcony getting direct sunlight from 10 AM to 4 PM. The leaves started curling up by day three. By day seven, they were crispy brown.
Here's what the RHS RHS actually recommends: morning sun is better than afternoon sun for container roses. The afternoon heat bakes the roots through the planter walls.
I moved my fourth rose to a spot that gets morning sun until 11 AM, then bright indirect light. It thrived. The leaves stayed green and glossy.
The real trick: touch the planter surface at 2 PM. If it's hot to the touch, your roots are cooking. Use light-colored planters or wrap them in shade cloth.
Mistake 3: Using the Wrong Pot
This one got me twice before I figured it out.
I bought a beautiful ceramic pot with no drainage holes. Looked great on Instagram. My rose died within 10 days. The water pooled at the bottom and roots rotted.
Then I tried a standard 12-inch plastic pot. The rose grew okay for a month, then stopped. No blooms. Droopy leaves. The roots had nowhere to go.
According to the AHS AHS, shrub roses need planters that are at least 18 inches deep and wide. That's non-negotiable.
I switched to a 20-inch terracotta pot with drainage holes. The difference was immediate. The roots spread, the stems thickened, and within three weeks I had my first bloom.
My Step-by-Step 2-Week Planter Setup
Day 1: Choosing the Planter and Soil
I visited my local nursery and picked up a 20-inch wide terracotta planter. Terracotta breathes, so excess moisture evaporates. Cost me $35.
For soil, I used a mix of 60% potting mix, 30% compost, and 10% perlite. The compost feeds the rose. The perlite keeps the soil aerated. I also added slow-release rose fertilizer pellets according to package instructions.
Important step I almost skipped: I put a 2-inch layer of gravel at the bottom. This prevents the drainage holes from clogging.
Day 2: Planting the Rose
I bought a 'Knock Out' shrub rose from a reputable nursery. Bare root varieties work better for planters than potted ones. They establish roots faster.
Here's my exact process:
- Soak the bare root in water for 2 hours before planting
- Fill the planter 1/3 full with soil mix
- Create a cone shape with soil in the center
- Spread the roots over the cone
- Backfill with soil, keeping the graft union (the swollen part) 2 inches above the soil line
- Water deeply until water runs out the bottom
Day 3-7: The Critical First Week
I almost watered again on day 4 because the surface looked dry. Bad idea. The soil underneath was still moist.
My observation log:
- Day 1: Rose looks droopy from transplant shock
- Day 3: Leaves start perking up slightly
- Day 5: New growth appears at the base
- Day 7: 2 pairs of new leaves unfurled
I checked moisture every morning. Only watered once on day 4 when my moisture meter read "dry" at 2 inches deep.
Day 8-14: Settling In
This is where most people mess up again.
I started seeing yellow tips on the lower leaves by day 10. My instinct was to water more. Instead, I did the opposite.
I realized the yellowing was from overwatering in week one. The roots were recovering. I stopped watering entirely for 5 days.
My two-week results:
The rose had 4 new canes, each about 6 inches tall. The leaves were deep green and glossy. One small bud appeared on the side. I pinched it off to encourage more root growth.
The Long-Term Secret Nobody Talks About
I found out that balcony planters need repotting every 2 years. The roots get root-bound and soil nutrients deplete.
I also learned to rotate the planter weekly. Balcony roses lean toward the sun. One side gets more light. Rotating keeps growth even.
For winter protection, I wrap the planter in bubble wrap. Container roots freeze faster than garden soil roots. The RHS confirms that unglazed terracotta can crack in freeze-thaw cycles.
My 3 Biggest Mistakes After 3 Years
Mistake: Not Pruning Before Winter
I lost a whole season because I didn't prune in fall. The old canes got leggy. No blooms came in spring.
Now I cut back all canes by one-third in late fall. The rose comes back fuller each year.
Mistake: Skipping Fertilizer Boosts
I thought slow-release fertilizer in the soil was enough. By month three, the leaves turned pale. Blooms stopped.
I now feed with liquid rose fertilizer every two weeks during growing season. It makes a massive difference.
Mistake: Ignoring Pest Signs
I noticed tiny aphids on new growth but thought they'd go away. They didn't. Within a week, the buds were deformed.
I spray with neem oil every 10 days now. Prevention works better than treatment.
Frequently Asked Questions
Q: Can I plant shrub roses in self-watering planters?
I tried this. It was a disaster. Self-watering planters keep soil constantly moist. Roses need drying cycles. Stick with standard drainage pots.
Q: How many shrub roses can I put in one planter?
One per 18-inch wide planter. They need space. I tried two in one pot and they fought for root space. Neither bloomed well.
Q: Do balcony roses need deadheading?
Yes. I remove spent blooms. It triggers new flowering. If you skip this, the rose puts energy into making hips instead of more blooms.
So here's the bottom line. Start with the right planter, soil, and watering schedule. Watch the sunlight. And don't beat yourself up if you kill the first one. I killed three. Now my balcony is full of blooms from April through October.





