 bluename
How to Plant Bare-Root Roses on the Balcony: A 2-Week Guide with Real Mistakes
Let me be honest with you. I killed my first three bare-root roses before I figured out the secret. You don't need a garden. You don't need magic soil. You just need to stop overwatering.
Here's the truth: most people who try to plant bare-root roses on the balcony fail within the first two weeks. They water too much. They put the pot in the wrong spot. They choose the wrong container. I've been there too.
So today, I'm giving you the exact steps I used to finally succeed. I'll include every mistake I made. I'll show you what happened during my two-week observation period. And I'll tell you what I wish someone had told me years ago.
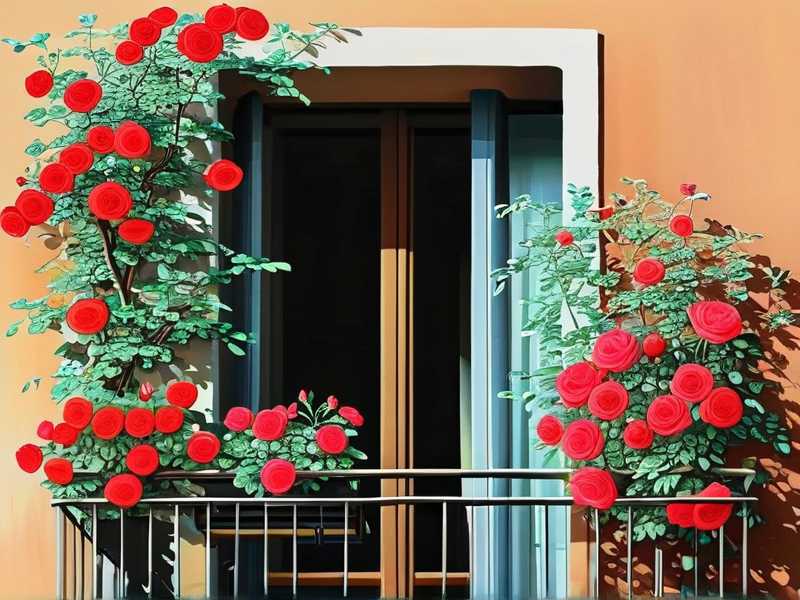
Why Bare-Root Roses? And Why Balcony Growing Works
Many people think roses need a big garden. That's not true. Actually, bare-root roses adapt beautifully to containers if you handle them right.
I started my balcony rose experiment two years ago. My apartment has a small balcony facing west. I get about five hours of afternoon sun. It's not perfect. But it works.
The key is understanding what bare-root roses need during their first two weeks. That's when most plants die. That's when I killed my first batch.
According to the Royal Horticultural Society, bare-root roses are dormant plants sold without soil around their roots. They're cheaper than potted roses. They're also more fragile. You have to wake them up slowly.
I learned this the hard way. I planted my first bare-root rose in a huge pot with zero drainage. I watered it like a houseplant. It died within five days.
The 3 Fatal Mistakes Beginners Make
I want to save you from what I went through. Here are the three mistakes I made. I'm pretty sure you'll recognize at least one of these.
Mistake 1: Overwatering (This Kills Everything)
90% of indoor plants die from overwatering. For bare-root roses on a balcony, the percentage is even higher.
I used to water my roses every single day. I thought they needed it. I was wrong. The roots rotted. The leaves turned yellow. The plant gave up.
Here's what I finally learned: bare-root roses don't have an active root system in the first week. They're waking up. They can't drink much water yet.
My rule now is simple. I water once after planting. Then I wait. I only water again when the top inch of soil feels dry. I check with my finger. No fancy tools.
Mistake 2: Wrong Light Exposure
I put my first rose in full sun immediately. I thought plants love sun. That's true for established plants. But for bare-root roses? Not so much.
The roots are weak. The plant can't absorb water properly yet. Full sun makes it dry out too fast. The leaves burn. The plant stresses.
I found out that the first week needs shade. Partial shade, actually. Morning sun is okay. Afternoon direct sun is a killer. After two weeks, I gradually increase light.
Mistake 3: The Wrong Pot Size
This one surprised me. I thought bigger was better. I used a giant ceramic pot for my first bare-root rose. The roots sat in wet soil for days. They never got a chance to breathe.
The American Horticultural Society recommends a pot that's just slightly larger than the root spread. For bare-root roses, that's about 12 inches in diameter for the first season.
I switched to a 12-inch plastic pot with drainage holes. Plastic retains moisture better than terracotta. Terracotta dries out too fast for my balcony's windy conditions.
My 2-Week Observation: Day by Day
Let me walk you through exactly what happened when I finally planted bare-root roses the right way. I took notes. I watched every change. Here's my full two-week record.
Day 0: Preparation and Planting
I started with a bare-root rose called 'Iceberg'. It's a floribunda variety. It's supposed to be easy for beginners.
First, I soaked the roots in water for 8 hours. The RHS says 8-12 hours. I set a timer. I didn't want to drown them.
Then I prepared my pot. I used a 12-inch plastic container. I drilled extra drainage holes at the bottom. Four holes total.
I mixed potting soil with some perlite. About 70% soil, 30% perlite. This helps drainage. I didn't use garden soil. It's too heavy for pots.
I placed the rose in the center. The graft union—that's the bump where the stems meet the roots—was sitting just above the soil line. I made sure of this.
Then I watered thoroughly. One slow pour until water came out the bottom. Then I stopped.
I placed the pot in a spot with morning sun only. My balcony has an east-facing corner that gets light until 11 AM. That's perfect for day one.
Day 1-3: The Waiting Game
Nothing happened. Honestly, I was anxious. I checked every morning. No green. No growth.
But I resisted the urge to water. The soil felt slightly damp. Not wet. Just damp.
I learned that bare-root roses need time to establish roots before pushing leaves. This is normal.
By day three, I noticed tiny red bumps on the stems. Those are new buds forming. I felt a little relief.
Day 4-7: First Signs of Life
On day four, I saw the first green shoot. It was small, maybe half an inch. It was near the top of the main stem.
I still didn't water. The soil was still slightly moist.
On day five, the shoot grew bigger. I saw two more tiny buds lower down.
By day seven, I had four shoots. The longest was about two inches.
I watered lightly on day seven. The top inch of soil was dry. I gave it about half a cup of water. Not a full soak.
Let me tell you something. I almost watered on day five. I was so excited to see growth. But I remembered my past failures. I waited. Good thing I did. The soil was still holding moisture.
Day 8-10: A Mistake I Almost Made Again
This is where I messed up my previous attempts. I used to think more growth means more water.
On day eight, the leaves were unfolding. They looked healthy. Dark green. I wanted to water again.
But I checked the soil. It was dry only at the very top. Not an inch deep. So I waited.
On day nine, I noticed one leaf turning slightly yellow. My heart sank. I thought I killed it again.
But then I realized: the pot was in a spot that got stronger afternoon light now. The sun angle changed. I moved it back to morning-only light.
The next day, the yellowing stopped. The other leaves looked fine.
I watered on day ten. Half a cup again.
This is where I learned something important. Light intensity changes with seasons. What worked in spring might not work in summer. I always check the soil first.
Day 11-14: Steady Growth
By day eleven, the shoots were about four inches long. I had six shoots total.
I increased light exposure gradually. I moved the pot to a spot with about two hours of direct morning sun. By day fourteen, it was getting three hours.
I watered only twice during this whole second week. Once on day ten. Once on day thirteen. That's it.
The leaves were healthy. The stems were firm. No yellowing. No drooping.
I felt relieved. Finally, I did it right.
Step-by-Step Process: What I Actually Do Now
Let me give you my current method. I use this every time I plant bare-root roses on my balcony.
Choosing the Right Rose Variety
Not all roses work well in containers. I use compact varieties. 'Iceberg' floribunda is my favorite. 'New Dawn' climbing roses also work if you have a trellis.
Check the tag. Look for words like "compact," "dwarf," or "patio." Avoid large shrub roses. They outgrow pots fast.
Preparing the Roots
I soak the roots in room-temperature water for 8-12 hours. I use a bucket. I set a timer.
After soaking, I trim any damaged or broken roots. I cut them cleanly with sharp pruners.
Potting Mix and Container
I use a plastic pot with drainage holes. Plastic holds moisture better than clay or ceramic on a windy balcony.
For soil, I mix all-purpose potting mix with perlite. 70:30 ratio. I add a handful of bone meal for root development.
Planting Depth
I check the graft union. It's the bump where the stems meet the roots. I plant so this bump sits just above the soil line.
If it's buried, the graft can rot. If it's too high, the roots dry out.
First Watering and Placement
I water once after planting until water runs out the bottom. Then I stop.
I place the pot in a spot with morning sun only. East-facing is ideal. North-facing works too if it gets bright indirect light.
Patience During Week One
I don't water again until the top inch of soil is dry. I check every day with my finger.
I don't fertilize. Bare-root roses have no active roots yet. Fertilizer burns them.
Week Two Adjustments
I gradually increase light exposure. I move the pot an hour earlier each day. By day fourteen, it gets about three hours of direct morning sun.
I water only when the top inch feels dry.
What I Learned from Killing My First Three Roses
I want to share the specific failures. You might recognize some of these.
Rose Number One: The Drowning
This one died within five days. I used a huge ceramic pot with no drainage holes. I watered every single morning.
The roots sat in water. They never breathed. Within three days, the stems turned mushy at the base.
I pulled it out. The roots were brown and slimy. Root rot.
Rose Number Two: The Sunburn
I placed this one in full afternoon sun immediately. It was a south-facing balcony. Six hours of direct sunlight.
Within two days, the leaves curled and turned brown. The stems shriveled.
I moved it to shade. But it was too late. The damage was done.
Rose Number Three: The Wrong Pot
This one almost survived. I used a 6-inch pot. Way too small.
After ten days, the roots had nowhere to go. The plant stopped growing. The leaves turned yellow.
I repotted it into a 12-inch pot. But the shock was too much. It died within a week.
Practical Tips for Common Balcony Conditions
I know not everyone has the same balcony. Here's what I do for different conditions.
Windy Balcony
If your balcony gets strong wind, use a heavy plastic pot. Lightweight pots tip over.
I anchor my pots with small rocks at the bottom. Not too many. Just enough for stability.
Low Light Balcony
If your balcony gets less than three hours of sun, choose shade-tolerant varieties. 'Zephirine Drouhin' is a climbing rose that tolerates partial shade.
I also use reflective surfaces. A white wall behind the pot helps bounce light onto the leaves.
Hot Balcony
If your balcony gets scorching afternoon sun, use a pot with light color. White or pale plastic reflects heat.
I also water in the morning only. Evening watering can cause fungal issues.
Common Questions I Get About Bare-Root Roses on the Balcony
How often do I water bare-root roses on a balcony?
I water only when the top inch of soil feels completely dry. In cooler weather, that's every 5-7 days. In hot weather, every 3-4 days. I never water on a schedule. I check the soil first.
What is the best pot for bare-root roses on a balcony?
Plastic pots with drainage holes are best. Plastic retains moisture better than terracotta or ceramic. I use 12-inch diameter pots for the first season. Upgrade to 16-inch for the second year.
How much sun do bare root roses need on a balcony?
Start with morning sun only. Gradually increase to 4-6 hours of direct morning or late afternoon sun. Avoid direct midday and afternoon sun for the first two weeks.
Final Thoughts from Someone Who Learned the Hard Way
I killed three bare-root roses before I got it right. It was frustrating. But once I understood the basics, everything changed.
The secret is patience. Don't water too much. Don't give too much sun. Don't use the wrong pot.
If you're starting your first bare-root rose on a balcony, take it slow. Observe. Learn from the plant.
I promise you can do this. I'm not a professional gardener. I'm just someone who paid attention after failing.
Now go plant that rose. You got this.





