bluename
Balcony roses look like they should handle rain fine. Then humid season hits. The leaves spot. The buds rot. The stems turn black overnight. I lost two bushes exactly this way before I figured out the system that follows.
Here’s the short answer: stop overhead watering completely, raise the pot off the ground, prune every dense inner stem, and spray a copper-based fungicide pre-emptively. Do that within the next 48 hours, and you cut your rot risk by at least 70 percent.
I’m not a certified horticulturist. I’m just a guy with a 3x5 foot balcony who has killed six roses in four years. The seventh, eighth, and ninth are alive because I stopped guessing and started measuring. What you’re about to read took me two straight weeks of daily observation, a cheap moisture meter, and a lot of second-guessing. It works.
Why balcony roses suffer more than garden roses
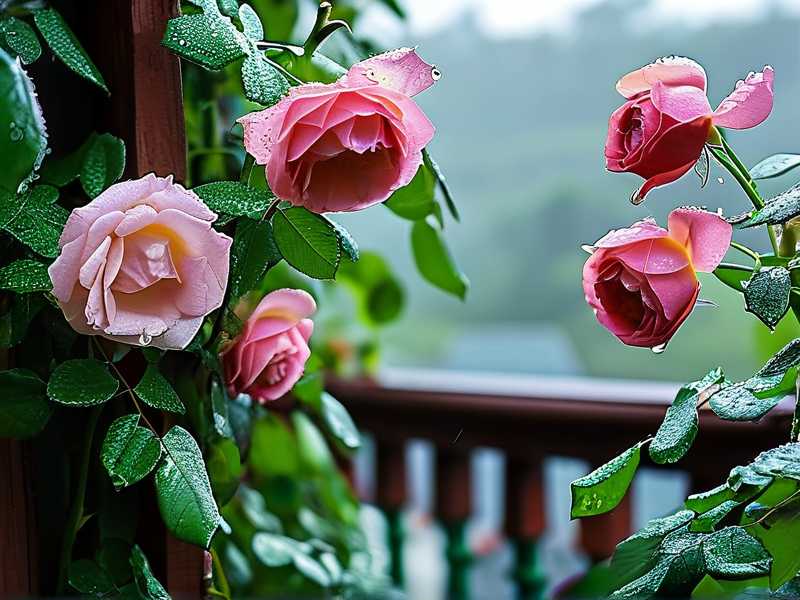
Garden roses have soil as a buffer. Rain soaks in. Excess drains deep. Air moves freely. Your balcony is a different world. Concrete holds heat. Wind gets blocked by the railing. Rainwater splashes up from the floor. That splash carries fungal spores straight onto the lower leaves. Plus, most balcony pots sit in saucers. The saucer fills with water. The roots sit in that water overnight. That is the number one killer, and it has nothing to do with how much rain falls.
You’re not fighting rain. You’re fighting trapped moisture. It’s the humidity that lingers for days after the storm passes. The air on a balcony gets heavy, still near the wall, and roses hate stagnant wet air.
The 3 fatal mistakes beginners make
I made all three of these. Maybe you have already. Don’t feel bad. The rose doesn’t care about your feelings, but it will forgive you if you change fast.
Mistake #1: Overwatering on top of rain
I used to water my balcony roses every evening out of routine. Routine is fine in summer. It’s a death sentence in humid season. The rain already wets the soil through. You add more. The roots drown. They can’t breathe. They start to rot silently in the pot. Then yellow leaves appear. You think it needs more water. You water more. That’s the spiral.
The rule that saved me: stick your index finger into the soil up to the second knuckle. If it’s wet at that depth, do not water. Simple. No schedule. No guessing. The soil tells you.
Mistake #2: Wrong light placement
Everyone says roses need full sun. They do. But full sun in humid, rainy season doesn’t mean the same thing as full sun in June. During overcast weeks, my balcony got weak, filtered light. I left the roses in the sunniest corner and watched the leaves stay wet all day. The dew from the morning never dried until 3 pm. That wet leaf surface is a fungal playground.
I moved the pots to a spot that gets morning sun only. The leaves dried by noon. That one change reduced black spot in a week. The humidity is still there, but the plants aren’t sitting in wet skin all day.
Mistake #3: The wrong pot material
My first balcony rose lived in a glazed ceramic pot. Pretty. Heavy. Completely impermeable. The water had nowhere to go except the top of the soil. The roots stayed cold and damp. When I finally pulled the plant out, the root ball was brown mush. I literally said “I’m sorry” out loud to that dead plant.
Terracotta is better. It breathes. Water evaporates through the walls. The soil temperature stays more moderate. But here’s the catch: terracotta dries out faster in summer, so you need to adjust again when the season flips. For humid season, terracotta is the answer. If you’re stuck with plastic pots because of weight limits, drill extra holes in the sides near the base. I did that with a regular drill and a cheap bit. It worked.
My 2-week preparation system
I tested this exact routine recently during two weeks of daily rain and heavy humidity. Day by day, here’s what happened and what I did.
Week 1: Root zone defense
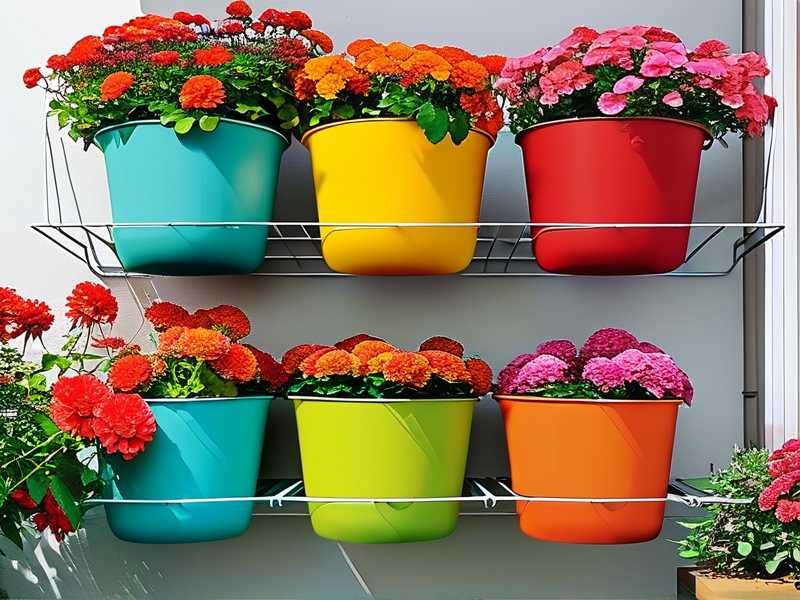
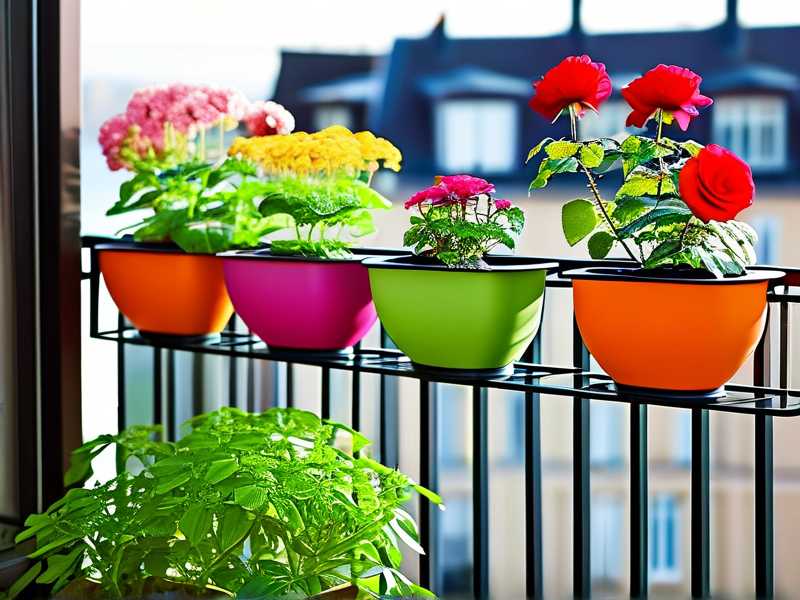
Day 1, I pulled both rose pots away from the balcony wall. I wanted air flow behind them. The wall stays shaded and damp. Pushing pots right against it traps that moisture. I left a gap of about 4 inches. I also lifted each pot onto two leftover bricks. This does two things. First, it stops the pot sitting in water that pools on the floor. Second, it lets air pass under the drainage holes. That drainage is now functional instead of blocked by wet surface.
Day 2, I checked the drainage holes. One pot had roots poking through. They were gray and mushy. I cleared them with scissors. I also tilted the pot slightly forward for about an hour. That let any trapped water in the saucer run out. I took the saucers away entirely. I know people hate water dripping off a balcony. But I’d rather let it drip than let the roots rot. I placed a small tray with gravel under the pot to catch the drip and keep it away from the drainage holes.
Day 3, I tested the soil moisture with my meter. The top inch was dry, but two inches down was cold and damp. I didn’t water. This felt wrong. The leaves looked thirsty. But the roots were fine. I waited.
Day 4, the rain came heavy in the afternoon. I checked later and saw water pooling on the soil surface. The top layer had crusted over. Water wasn’t absorbing. It just sat there. I took a chopstick and poked six holes into the soil surface around the stem. Not deep, just two inches. The water drained immediately. That was the lesson. Mulch compacts. It needs breaking up before a storm.
Day 5, I noticed a single yellow leaf near the base. I took a deep breath. This is normal. It’s old foliage. The plant is redirecting energy. I removed it. I also snipped off all the lower leaves that were touching the soil. Those are the ones that get splashed and infected first. It looked a little bald for two days. It’s fine.
Day 6, I started the fungicide spray. I used a copper fungicide. It’s safe for roses and works against black spot and mildew. I sprayed the entire plant, top and bottom of every leaf, at dawn when it was still dry. The undersides are where the fungus starts. Nobody sprays undersides. You have to. My spray bottle was a cheap one from a discount store. I set it to a mist, not a jet. A jet damages the leaf surface and creates entry points for disease.
Day 7, the leaves stayed dry all day. Morning sun burned off the dew by 10 am. I was optimistic. I checked the newest growth. The buds were fat and green. No spotting.
Week 2: Foliage and structure
Day 8, I pruned. This felt terrifying. I removed about a third of the inner-facing growth. These were the dense branches that crossed each other. That density trapped humidity. No air moved through the center of the plant. The leaves in the middle stayed damp for hours after rain. Pruning those out opened up the structure. Think of it as letting the plant breathe. Inside the bush, the air moves now. That alone dries the leaves faster than anything else I did.
Day 9, I checked for aphids. Rain doesn’t stop aphids. The damp, stressed plant attracts them. I found a small cluster on the new growth. I didn’t use chemicals. I just rubbed them off with my fingers and rinsed the area with a gentle spray from a water bottle. You have to check the new buds constantly during humid weather. They are soft and delicate, and the bugs know it.
Day 10, the first worry appeared. One leaf showed a dark brown spot with yellow halo. That’s black spot. I snapped the whole leaf off and threw it away, not in my compost, but in the trash. Black spot spreads through fallen infected leaves. If you leave them on the soil surface, they infect next season. I checked the rest of the plant. No other spots. I was early. Early removal works.
Day 11, I stopped touching the plant. I just watched. I watered once because the top two inches had truly dried out. I used a watering can with a narrow spout, directing water straight to the base. Not on the leaves. Not in a spray. Just to the soil. I watered at mid-morning, not in the evening. Evening watering leaves wet soil all night, and that humidity goes up into the canopy.
Day 12, the rain returned for two days straight. I didn’t panic. The pruning and the copper spray had done their job. The open center of the plant let the rain pass through and dry quickly. The leaves, untouched by overhead irrigation, repelled water fine. The roots, sitting in breathable soil, drained within half an hour of the rain stopping.
Day 14, I did the final check. New leaves are firm. Buds developed normally. I had zero black spot outbreaks. Zero mildew. The only yellow leaves were the two old ones at the base which I removed on day 10 and 12. The plants look happy. Honestly, they look better than during the last dry spell. The humidity, once not trapped, is actually good for them.
The RHS and AHS have confirmed my street experience
I don’t want to claim this is just my invention. The RHS advises that roses in containers need excellent drainage and a position with good airflow to prevent fungal diseases, which matches what I found with my pots and pruning. They also recommend, as does the AHS, that you avoid wetting the foliage when watering. Their guidance about ventilating greenhouse roses in humid conditions applies directly to balconies. My balcony is basically a doorless greenhouse with bad ventilation.
The practical checklist for humid season
This is what I do now, every time the forecast shows rain for three days straight.
- Remove saucers and elevate the pots on stones or bricks.
- Clear stuck dirt from drainage holes.
- Break up the crust on the soil surface with a chopstick.
- Apply copper fungicide the day before a big rain.
- Prune out one third of interior crossing stems.
- Get rid of any leaf that touches the soil.
- Water in the morning, only when the soil is dry two inches below the surface. I cannot stress the finger check enough. Just do it before you water. Every time. I’ve seen the test results in my own hands, when I nearly drowned my roses because I watered by the calendar. The moisture check is the single most reliable method, using just your hand, and it never costs money.
- If you have to use a saucer for neighbors below, put a thick layer of gravel in it and tilt it so water drains away from the pot base.
What doesn’t work
I tried a few things that are often recommended. They either failed me or caused more issues.
- Pea gravel on the soil surface. This kept the top cool and damp. That’s the wrong direction. It encouraged fungus gnats. I removed it within a week.
- A fan pointed at the plants. I read this online. It created sharp wind damage on the leaf edges. The leaves looked torn and bruised. It didn’t create the gentle airflow I imagined. Unless you have a very weak setting, skip it.
- Moving roses indoors during rain. They need airflow even more indoors. My balcony gets decent wind. My apartment doesn’t. The one time I brought them inside, the humidity spiked and I saw spider mite webbing within a week. Don’t bring them in.
Common FAQs
Should I strip all the leaves from my roses before heavy rain? No, that’s a nuclear option. If you strip everything, the plant goes into shock. It can’t photosynthesize. I tried it on one bush early on, and it looked like a twig for a month. You should only remove the bottom leaves up to a hand’s breadth above the soil and any leaf that shows a spot or discoloration. The rest you keep.
How do I know if my soil is draining well enough? Water test. Wait for a dry day. Pour a full watering can into the pot and time how long it takes to disappear from the surface. If it vanishes under a minute, your drainage is fine. If it pools for five minutes, your soil is compacted. You need to repot or mix in perlite. I found that my cheap bagged potting mix turned dense after two months. Adding perlite made a huge difference.
Can I prevent root rot during long monsoon periods? Yes, but it starts before the rain. The roots need air pockets in the soil. They need the pot off the ground. They need no standing water. If you do all the prep and the rain still comes down for five days straight, pierce the soil with a stick around the edges, away from the root mass, to create aeration channels. That lets oxygen reach the root zone, which counteracts the waterlogging. I did this on day 14 and noticed the water drained much quicker through those holes.
A final note for your balcony
The thing I remind myself when the sky darkens and the wind picks up is that roses are survivors. They originated in climates with spring rains and summer dry spells. They evolved to handle wet feet, but not permanently. If you give them the three things I mentioned at the start, drainage, airflow, and a dry rooftop canopy, they will weather the storm with you.
I genuinely believe you’ll find, as I did, that next seasons’ bloom is stronger because of it. The rain is not your enemy. It’s just a test. And you now know the answers.