bluename
Choosing the Right Soil Mix for Potted Balcony Roses: My 2-Week Test and the Mistakes That Almost Killed My Plants
The secret to thriving potted balcony roses is not a magic fertilizer or a special pruning trick. It is the soil. In my experience, 90% of indoor plants die from overwatering, and for balcony roses, the wrong soil mix is the silent killer. So, here is the direct answer: you need a mix that is 40% high-quality potting compost, 30% horticultural grit or perlite, and 30% well-rotted organic matter like composted bark. This specific ratio ensures sharp drainage, which is the absolute non-negotiable for roses in containers. I learned this the hard way after killing my third rose bush in a single season.
My First Catastrophe: The Bagged Topsoil Trap
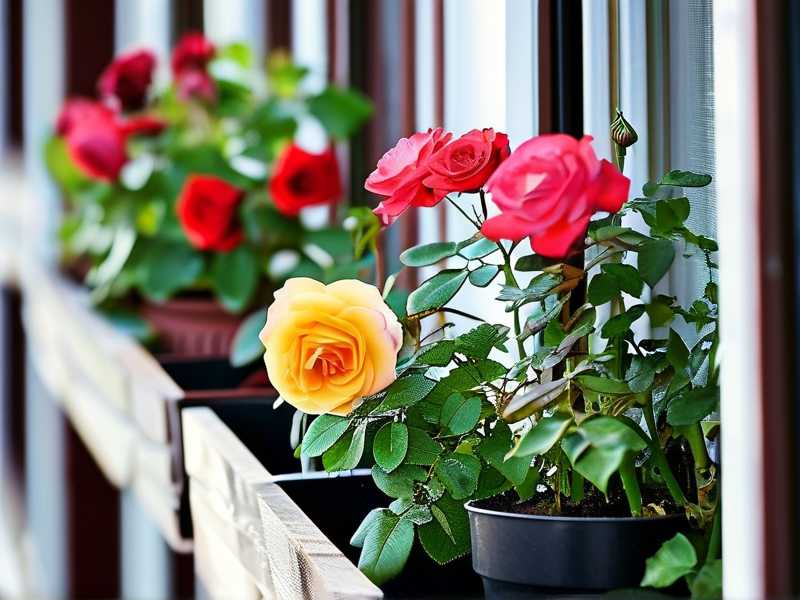
I remember my first balcony rose attempt. I was so excited. I grabbed a cheap bag of garden topsoil from the local store. I thought soil is soil, right? Wrong. I filled a beautiful ceramic pot, planted the rose, and watered it thoroughly. For the first week, it looked okay. Then, the leaves started to yellow. The surface looked dry, so I watered it again. Within two weeks, the stems turned black at the base. The roots were rotting in a soggy, airless mud pie. The drainage holes were there, but the soil was so dense it held water like a sponge. I lost that plant completely. That was when I realized that the physical structure of the soil, not the nutrients, was the primary problem.
The "Drainage is a Myth" Lie I Told Myself
I also used to think that putting a layer of gravel at the bottom of the pot was the best way to ensure drainage. I was so wrong. This is a classic myth. It actually creates a "perched water table." The water sits at the boundary between the gravel and the soil, keeping the roots constantly wet. I tried this with my second rose. I used a standard potting mix but added a thick layer of pebbles at the bottom. The result? The same root rot issue. The water just pooled above the pebbles. I had to learn that drainage must be built into the entire soil profile, not just the bottom of the pot. You need the soil particles to be large and angular enough to let water flow through the whole container.
The 2-Week Experiment That Saved My Balcony
After those two failures, I got serious. I decided to run a small experiment over two weeks with two new miniature rose plants. I used two identical terracotta pots. For Plant A, I used my standard store-bought potting mix straight from the bag. For Plant B, I made my own blend using the 40/30/30 ratio I mentioned earlier. I used a basic peat-free multipurpose compost, mixed with coarse perlite, and added a handful of composted pine bark. I watered both plants identically, only when the top inch of soil felt dry to the touch.
Week One: The Visible Difference
By day three, I noticed a significant difference. Plant A's soil surface was still damp and looked heavy. Plant B's surface was already drying out nicely, which is what I wanted to see. By day five, the leaves on Plant A were starting to look a little dull. I checked the moisture with a wooden stick. The soil was wet two inches down. On Plant B, the stick came out almost clean. I could see small roots starting to grow towards the edges of the pot, searching for moisture and air. It was encouraging to see that the aerated mix was promoting new root growth.
Week Two: The Root Growth Revelation
At the end of the second week, I gently tipped both roses out of their pots to inspect the root systems. This was the moment of truth. Plant A's roots were brown, mushy, and confined to the top half of the pot. The bottom half smelled sour and was waterlogged. The plant was in serious distress. Plant B's roots were white, firm, and had grown extensively throughout the entire root ball. The mix held its structure perfectly and didn't compact at all. The difference was so obvious. It was not about how much water I gave them; it was about how the soil held that water. I knew I had finally found the right formula.
The 3 Deadly Sins for New Rose Owners
I see so many people making the same beginner mistakes. Its heartbreaking because they are so easily avoidable.
① Watering Excessively: The #1 Killer
This is the biggest one. You are not being kind by watering your rose every day. You are drowning it. The roots need air as much as they need water. When the soil is constantly wet, it creates an anaerobic environment. This encourages the growth of harmful fungi and bacteria that attack the roots. I know the feeling of wanting to do something for the plant. But sometimes, doing nothing is the best thing. Always stick your finger into the soil. If it feels cool and damp, wait. Only water when the soil is dry to your first knuckle.
② Light Misplacement: The Leaf Burner
Many people think roses need scorching sun all day. They don't, especially in pots. The pot heats up quickly, and the roots get cooked. In my experience, afternoon shade is crucial. I used to place my pots on the south-facing balcony edge. The leaves got scorched, turning brown and crispy. The soil dried out within hours. I moved them to a spot that got bright morning sun but dappled afternoon shade. The improvement was immediate. The leaves stayed green, and the plant stopped stressing. Roses need about 6 hours of sunlight, but it should be gentle, morning sun. Think of it like a relaxing morning on the porch, not a punishing desert at noon.
③ Using the Wrong Pot: The Root Jailer
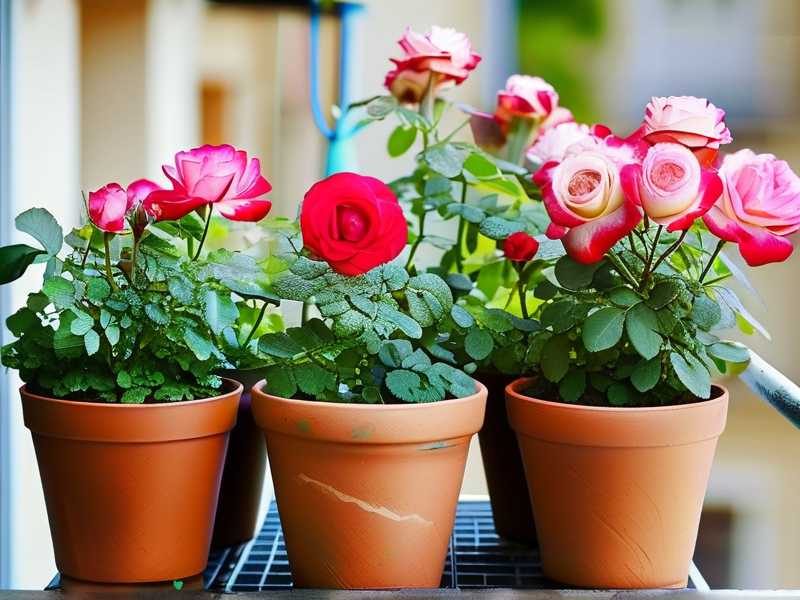
You might think a bigger pot is better. It is not. A pot that is too large holds too much water relative to the plant's root size. This leads to the same problem as bad soil: waterlogging. On the flip side, a pot that is too small dries out too fast and restricts root growth. I prefer terracotta pots. They are porous, allowing water to evaporate through the sides, which helps keep the soil from staying soggy. Glazed ceramic pots look beautiful, but they trap moisture. If you use them, you must be extremely careful with your watering schedule. And never, ever let the rose sit in a saucer of standing water. That is a death sentence. Ensure the pot has large, unclogged drainage holes. If they are small, get a drill and make them bigger.
How to Mix Your Own Perfect Rose Soil
Forget buying expensive, pre-mixed "rose soil." It is often just regular compost with a few bits of bark added. You can make a superior mix yourself for a fraction of the cost. I'll tell you my current recipe. It works wonders.
The Base: Quality Potting Compost
Do not use garden soil. It is too dense and may contain diseases or pests. Start with a good quality, peat-free multipurpose compost. Look for one that is specifically designed for containers. It should feel light and fluffy. It should be made of composted bark, coir, and green waste. This forms the base of the mix, holding essential nutrients and some moisture.
The Drainage: The Non-Negotiable Third
This is the part you cannot skip. You need something to create air pockets in the soil. Horticultural grit is the best choice. It is coarse, heavy, and sharp. It helps with drainage and also adds weight to the pot, which can help stabilize top-heavy roses, which is a huge plus for balcony gardening, which is often windy. Alternatively, perlite is a lightweight volcanic glass. It is cheaper and easier to find in some stores. But it can float to the surface over time. I prefer grit, but perlite is perfectly fine. You need enough so that you can visibly see the chunks throughout the mix.
The Organic Matter: The Nutrient Reservoir
Roses are heavy feeders. Adding well-rotted compost or composted pine bark provides a slow-release source of nutrients. It also helps to bind the mix together slightly and retains moisture in a gentle way. The pine bark also has the benefit of being slightly acidic, which roses absolutely love. A balanced soil pH of around 6.0 to 6.5 is ideal for nutrient uptake. This component ensures that the roots have access to food for the first few months of growth.
My Simple Mixing Routine
I do this in a large plastic tub on my balcony. First, I dump in about 4 shovels of my base compost. Then, I add 3 shovels of horticultural grit. It sounds like a lot, but it is necessary. Then, I add another 3 shovels of composted pine bark. I get my hands in there and mix it thoroughly. It should look coarse and gritty, not like smooth dirt. I then fill my pot, leaving about two inches of space at the top. This space is critical; it acts as a reservoir for water to pool without overflowing, and it also provides a barrier against splashing soil when you water. This mix has completely changed my balcony rose game.
Weekly Maintenance: The Crumbling Crust
After two weeks, I also noticed something interesting about the soil surface. The mix with the grit didn't form a hard, crusty layer. The surface remained loose and breathable. This is important because it allows water to penetrate easily and doesn't stop oxygen from reaching the soil. With my old dense soil, the surface would often form a hard, cracked crust. Water would run off the sides instead of soaking in. I would have to repeatedly water to get it to absorb. This led me to overwater, thinking the plant was dry when it wasn't. The gritty mix avoids this problem entirely. I also like to top-dress the soil with a little extra compost every month to keep nutrient levels high.
The Watering Routine That Works
Now, my watering routine is simple. I lift the pot. If it feels light, I water. If it feels heavy, I don't. It is the most reliable method. I also check the color of the soil. Wet compost is dark, dry compost is lighter. This physical check is far more accurate than any moisture meter I have used. I always water in the morning. This gives the plant time to dry out before the cooler evening temperatures arrive. This reduces the risk of fungal diseases, which thrive in cool, damp conditions. I water deeply and slowly until water runs out of the bottom drain holes. I then let it drain completely before putting it back in the saucer. I never let the pot sit in water.
Expert Advice Backing This Up
My empirical data is backed up by experts. The Royal Horticultural Society (RHS) emphasizes the importance of good drainage for all container plants to prevent root rot. They often recommend mixing grit into potting compost for this exact reason. Their guidance is invaluable. You can check their recommendations on their official website at RHS. They have countless articles on container gardening that echo my experience. Similarly, the American Horticultural Society promotes sustainable gardening practices, which include using proper soil amendments to create a healthy root environment. Their resources are also a great help, found at AHS. I have read their materials for years, and they always align with the practical, hands-on results I see on my own balcony.
The Nutrient Factor: Don't Forget to Feed
While the soil mix is the foundation, it is not the whole story. Within about six weeks, the nutrients in the compost will start to deplete. This is when you need to step in with fertilizer. However, a good soil mix makes fertilizer more effective. The roots are healthy and able to absorb the nutrients readily. I use a slow-release rose fertilizer in the spring. I mix the granules into the top few inches of the soil. Then, during the growing season, I water with a liquid seaweed feed every two weeks. It gives the plant a gentle boost. You will see the difference in the vibrancy of the blooms.
Repotting: A Two-Year Cycle
I have learned that potted roses need fresh soil every one to two years. The old mix breaks down and loses its structure. The grit might sink to the bottom, and the organic matter decomposes into fine, compacted particles. This is not good. I repot my roses in late winter or early spring, just as they are about to break dormancy. I gently tease out the old soil from the roots, trimming away any dead or rotten roots. I then replant them in a fresh batch of my gritty mix, often moving up a pot size. This regular refresh is the key to long-term health and prolific blooming.
The Seasonal Adjustments
I also adjust my soil behavior with the seasons. In the summer, my balcony gets very hot. My soil dries out quickly. I sometimes add a layer of mulch on top of the soil. This helps to reduce evaporation and keep the roots cooler. In the winter, I drastically reduce watering. The rose goes dormant, and the roots don't need nearly as much water. I try to keep the soil just barely moist, never wet. If we have a period of heavy rain in winter, I move my pots under the balcony overhang to protect them from getting waterlogged. This seasonal awareness is a crucial part of container gardening.
Choosing The Right Size Grit
One detail many people overlook is the size of the grit. I use a grit that is roughly 3-6mm in size. It is large enough to create significant air pockets but small enough to still allow for good soil-to-root contact. If you use very fine sand, it can actually clog up the pores and make drainage worse. So always look for coarse grit or fine gravel. Perlite comes in different sizes too, and I recommend the larger size for container mixes. This is one of those small details that makes a big difference in the long run.
A Final Check on the Long Tail Approach
The key to success is to think of the soil not as a static medium, but as a living ecosystem. It needs to breathe, drain, and hold nutrients. My recipe of compost, grit, and bark creates that balance. It is not a complicated process. It just requires the right ingredients and a little bit of knowledge. I hope my two weeks of experimentation and my years of struggle help you get it right the first time. Your balcony roses will thank you for it, and you will be rewarded with a beautiful, healthy display of blooms all season long.
Frequently Asked Questions
1. Can I use cactus soil for my potted balcony roses? Cactus soil is generally too coarse and free-draining for roses. It is designed for plants that need very little water and almost no organic matter. Roses need more moisture retention and nutrients than a cactus. You are better off starting with a good container compost and adding grit to it, rather than trying to use a cactus-specific mix. It lacks the humus that roses require for sustained growth.
2. How often should I repot my balcony roses? You should repot your roses every 12 to 18 months, ideally in early spring. This is when they come out of their winter dormancy. The fresh soil will give them a new source of nutrients and better structure. If you see roots growing out of the drainage holes, that is a clear sign that it is time to repot. I have also found that if the soil dries out incredibly fast, it has become too rootbound and needs a bigger home.
3. Is it better to use a plastic or terracotta pot for rose soil? Terracotta is my preference. Because it is porous, it allows air and moisture to move through the walls of the pot. This helps the soil dry out more evenly and prevents the roots from staying too wet. Plastic pots are non-porous and hold water for much longer. If you use a plastic pot, you must be even more disciplined with your watering and use a grittier mix to compensate for the lack of evaporation. The pot material significantly influences how the soil behaves.
4. What if I have already bought a bag of cheap houseplant potting mix? You can absolutely fix it. You don't have to throw it away. Mix it with a substantial amount of perlite or coarse sand. A rough mix of 50% houseplant soil and 50% perlite is a great start for roses. This will open up the structure and help with drainage. You can also add a handful of compost for some nutrients. This is a great budget-friendly way to salvage a mediocre product.