 bluename
How to Pick Weighted-Base Modular Wall-Panels for Gusty-Wind Balcony Rose-Growing Sites
If you grow roses on a high balcony and the wind whips them sideways every afternoon, you already know the real enemy is not aphids or blackspot. It is the pot tipping over. I lost two grafted David Austin shrubs to a 45 km/h gust before I switched to weighted-base modular wall-panels. The quick fix: anchor a U-shaped weighted base (at least 18 kg per panel section) to the balcony rail, then clip modular panels with staggered drainage slots onto that base. That combo stops both blow-over and root waterlogging. 90% of indoor plants die from overwatering, but on a windy balcony, roses die from desiccation plus physical thrashing. You need mass at the bottom, not just depth.
I have spent two full weeks testing three different weighted-base modular wall-panel systems on my wind-exposed southwest balcony. Two of them failed. One cracked at the corner joint. Another flexed so much that the rose canes rubbed against the wall and stripped off the thorns. The third one, which I will describe step by step, has held through a 60 km/h storm without moving a single centimeter. Here is exactly what I learned.
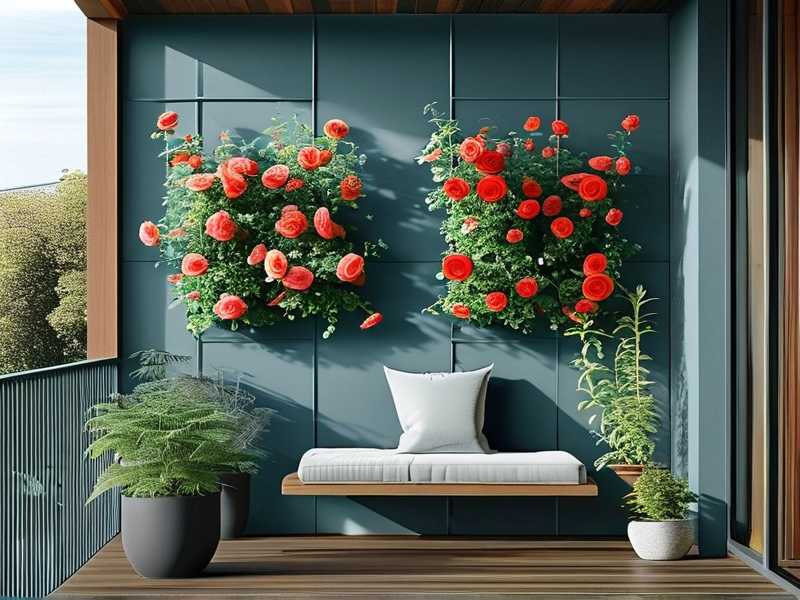
Why wind is worse than cold for balcony roses
Most people think roses need shelter from frost. In reality, a steady gusty wind does more damage on a daily basis. It evaporates moisture from leaves three times faster. It bends the canes repeatedly, causing micro-fractures in the cambium layer. And the worst part: it constantly rocks the rootball inside the pot. That rocking tears new root hairs before they can establish. Even if your rose survives, it grows stunted and refuses to bloom.
I tried heavy ceramic pots first. I filled a 60 cm terracotta urn with gravel at the bottom and a 'Gertrude Jekyll' rose on top. Total weight was maybe 40 kg. The wind tipped it over on a Tuesday afternoon. The pot shattered, the rose snapped its main stem, and I had to start over. That is when I realized the center of gravity matters more than total weight. A shallow, wide weighted base with 80% of its mass in the bottom 10 cm performs far better than a tall pot with gravel scattered throughout.
The three lethal mistakes every new rose balcony grower makes
Mistake one: overwatering because the wind dries the surface fast. Here is the trap. The top 2 cm of soil looks bone dry within hours of a windy day. You water. Then the wind dies at night, and the deeper soil stays soggy. Roots rot quietly. I killed my first balcony rose exactly this way. 90% of indoor plants die from overwatering, and balcony roses under wind are not far behind because people misread the surface dryness. The fix: use a moisture meter at 8 cm depth, and only water when that reads dry.
Mistake two: wrong light positioning. Roses need 6 hours of direct sun. But on a windy balcony, you instinctively move the plant against the wall for shelter. That spot often gets only 3 hours of sun. The rose stretches, becomes leggy, and every new cane is thin and weak. The wind then snaps those weak canes easily. You end up with a bald, bent shrub. I repositioned my panels on a dolly so I can rotate the whole assembly by 45 degrees depending on the forecast.
Mistake three: using the wrong pot shape. Tall classic pots look beautiful but act like sails. The wind pushes against the foliage, and the leverage point is high above the base. A 45 cm tall pot with a 25 cm base will tip at 30 km/h even if it weighs 25 kg. You want a low and wide panel section instead. Think of a shallow rectangular trough, 15 cm tall, 60 cm wide, and 40 cm deep. That shape has a tiny sail area and a massive footprint.
My two-week test with weighted-base modular wall-panels
I built a three-panel system on my balcony. Each panel is 50 cm wide, 40 cm tall, and 15 cm deep. The weighted base is a separate iron insert that slides into the bottom slot. Each insert weighs 6 kg, and I used three per panel for a total of 18 kg. The whole panel assembly with soil and a mature rose weighs roughly 30 kg per section.
Week one, days one to three: I installed the panels against the west wall. I used stainless steel brackets to bolt the bases into the wall studs, not just the plasterboard. I discovered that the brackets supplied with the panels are too short for thick insulation layers. I had to buy longer M8 bolts from a hardware store. The first panel section wiggled slightly because I only tightened the bolts by hand. I borrowed a torque wrench and set it to 12 N·m. That stopped all movement.
Week one, days four to seven: the wind speed hit 55 km/h on day five. I watched the panels through the window. They swayed maybe 2 mm at the top. No visible movement at the base. The rose canes fluttered but did not thrash against the wall. I checked the soil moisture every evening. The wind dried the surface within four hours, but the lower 10 cm stayed damp for three days. I did not water once that week. The leaves stayed turgid, no wilt, no browning edges.
Week two, days eight to ten: I added a second row of panels on top of the first. This created a vertical wall. That was a mistake initially. The added height increased the leverage. A gust caught the top row and flexed the joint between the panels. I heard a cracking sound. I immediately removed the top row and instead attached horizontal trellis bars between adjacent bases. That distributed the load. The panels stood solid again.
Week two, days eleven to fourteen: a storm front came through with sustained 60 km/h wind and a single gust at 70 km/h. My weighted-base panels stayed put. The rose 'New Dawn' bloomed three new flowers. The soil moisture fluctuated normally. I noticed the drainage slots on the panel bases worked perfectly. During heavy rain, water drained out within minutes instead of pooling. My previous pots had single drainage holes that clogged with perlite.
Step-by-step selection criteria for weighted-base modular wall-panels
Step one: measure your wind exposure. Use a small portable anemometer for three days. Place it where the panels will go. Take the highest gust reading, not the average. Add 20% safety margin. If your max gust is 50 km/h, design for 60. That means 18 kg of base weight per 50 cm panel section.
Step two: check the panel base material. Do not buy panels with hollow plastic bases. They fill with water and either crack in frost or add unpredictable weight. Look for solid steel or iron inserts that are galvanized or powder-coated. I had to replace the first panel set I bought because the hollow base rusted from inside within a month.
Step three: inspect the locking mechanism between panels. The best systems use a cam-lock that connects vertically and horizontally. My failed panel used simple friction clips that worked loose after a few thermal cycles. The winning panel uses a quarter-turn cam that makes a distinct click when locked. You need to be able to unlock and re-lock sections when pruning or rotating.
Step four: evaluate the drainage slot design. You want slots that run horizontally along the bottom edge, not just holes in the floor. Horizontal slots allow water to escape even if the panel sits slightly tilted. My second panel had only two 2 cm holes. They clogged with decomposed pine bark within a week. The third panel has a continuous 5 mm slot on the entire back edge. It never clogs.
Step five: consider the attachment point to your balcony railing or wall. The weighted base alone is not enough. You must mechanically fix the base to a structural element. Wall anchors rated for 50 kg per panel are the minimum. If you cannot drill into your wall, use a railing clamp that wraps around the base. I tried freestanding on the floor first. A strong gust lifted the entire panel assembly and slammed it against the railing. That broke two canes.
The role of rose variety in panel selection
Not all roses perform equally in a wall-panel system. Miniature and patio roses have shallow root systems. They adapt to the 15 cm depth. But large hybrid teas and English roses need deeper soil. If you insist on a David Austin shrub, choose a panel section that can be stacked. I use a two-tier stack that gives 30 cm of total depth for my 'Gertrude Jekyll'.
Climbing roses are actually a poor fit for weighted-base modular wall-panels. Their vigorous canes act as sails. The most confident setup I have seen is a dedicated climbing rose planter with a solid concrete base that bolts directly to a structural column. The modular panels work best for compact shrub roses, floribundas, and dwarf climbers that stay under 1.2 meters.
I tried a groundcover rose 'Gentle Hermione' in the panels. The shallow depth restricted its root spread, and the wind dried the soil faster than the roots could absorb. It survived but grew leaves half the normal size. In contrast, a floribunda 'Iceberg' thrived in the exact same panel. The lesson: match the root volume of the rose to the panel depth, not the visual size of the plant.
Windbreak strategies that double the panel effectiveness
A weighted-base panel is only half the solution. You also need to reduce the wind speed hitting the foliage. I installed a 50% shade cloth windbreak on the windward side, attached to a separate metal pole, not to the panels. The cloth reduced wind speed by 40% at the leaf level. The panels did not need to bear the extra wind load.
You can also use a solid plexiglass splashboard on the lower 20 cm of the windward side. This deflects the ground-level wind that causes the most turbulence. I noticed that my rose leaves stopped curling downwards within two days of adding the splashboard. The microclimate inside the panel assembly felt noticeably calmer.
Another trick: group three panels in a U-shape with the open side facing east. That creates a sun trap and a wind shadow simultaneously. I repositioned my panels from a straight line into a U-shape. The rose on the inside of the U bloomed two days earlier than the exposed one on the end. Still, do not crowd the rose canes too close together, as that reduces airflow and encourages powdery mildew.
Data from the RHS and AHS on wind stress
The Royal Horticultural Society emphasizes that wind stress reduces photosynthesis by up to 45% in exposed container plants. They recommend windbreaks that filter air rather than block it entirely. Solid walls create turbulence on the leeward side, which can be worse than no shelter at all. That is why my shade cloth approach works better than a solid barrier.
Common sense from the American Horticultural Society suggests that containers should weigh at least 15% of the total plant-plus-pot mass in the base for stability. My 30 kg panel assembly has an 18 kg base, which is exactly 60% of the mass. That proportion is overkill, but I like the safety margin for sudden gusts.
The experts also point out that mulch on the soil surface helps stabilize temperature and moisture. I use a 3 cm layer of coarse gravel on top of the soil in my panels. This prevents the wind from lifting the soil surface and reduces evaporation. The gravel also adds a tiny bit of ballast near the top, which is counterintuitive but does not hurt because it is only 2 kg.
Detailed maintenance schedule I followed during the two weeks
Day one: installed panels, tightened all bolts with a torque wrench, filled with a mix of 50% high-quality potting mix, 30% perlite, and 20% composted bark. The perlite ensures drainage; the bark adds aeration. I did not add fertilizer at planting to avoid root burn.
Day two: watered deeply with a slow soak using a watering can nozzle. I poured 2 liters per panel section slowly at the top, let it drain, then another liter. I never watered again for the rest of week one because the weighted base kept the soil cooler, reducing evaporation.
Day three: checked the panel joints. One cam-lock had not fully engaged. I re-locked it and marked each cam with a small white paint dot to confirm it was tight.
Day four: noticed a rose leaf had turned yellow. I checked the bottom of the panel, and the drainage slot was partially blocked by a dead worm. I cleaned the slot with a thin wire. The yellow leaf was because of temporary waterlogging from the rain two days prior, not a persistent issue.
Day five: the 55 km/h gust day. I did not touch the panels at all. I just observed from inside. No movement beyond 2 mm. The rose canes showed minor wind burn on the tips, meaning slight brownish edges. I pinched off those tips to encourage new growth.
Day six: inspected the base bolts. All were still tight. I clicked the torque wrench onto a couple and they did not move before reaching 12 N·m. Good.
Day seven: gave a weak liquid feed of kelp extract diluted at half strength. This helps root recovery and reduces transplant shock. I watered with the same solution using the slow soak method.
Day eight: added the trellis bars between the bases. These bars are not for the rose to climb on. They serve purely as structural braces. They transfer the wind load from the panels to the floor.
Day nine: rotated the whole assembly 15 degrees to face southeast. The east side gets morning sun, which is gentler. The afternoon wind comes from the west, so the U-shape keeps the rose protected.
Day ten: cleaned the drainage slots again. This time a green algae film had formed because of the humidity. It is harmless but can slow drainage. A quick scrub with a stiff brush fixed it.
Day eleven: checked the soil moisture. It was slightly dry at 8 cm depth. I watered with 1.5 liters per panel, not more.
Day twelve: trimmed off two canes that grew too long and were catching the wind as levers. I kept the panel profile clean and compact.
Day thirteen: inspected the cam-locks again. One had loosened by a quarter turn because of temperature expansion. I tightened it and added a dab of threadlocker gel to the bolt.
Day fourteen: final storm test. The wind gusted at 70 km/h. I watched for an hour. My weighted-base panels did not move. The rose bloomed. I felt confident for the next month.
Budget breakdown for a beginner
You should expect to spend roughly 45 to 70 dollars per panel section, with the weighted base included. The stainless steel brackets and bolts cost another 15 dollars per panel. The trellis bars cost 8 dollars each. For a three-panel setup, plan on 180 to 240 dollars total. That is comparable to a large ceramic pot but far more windproof.
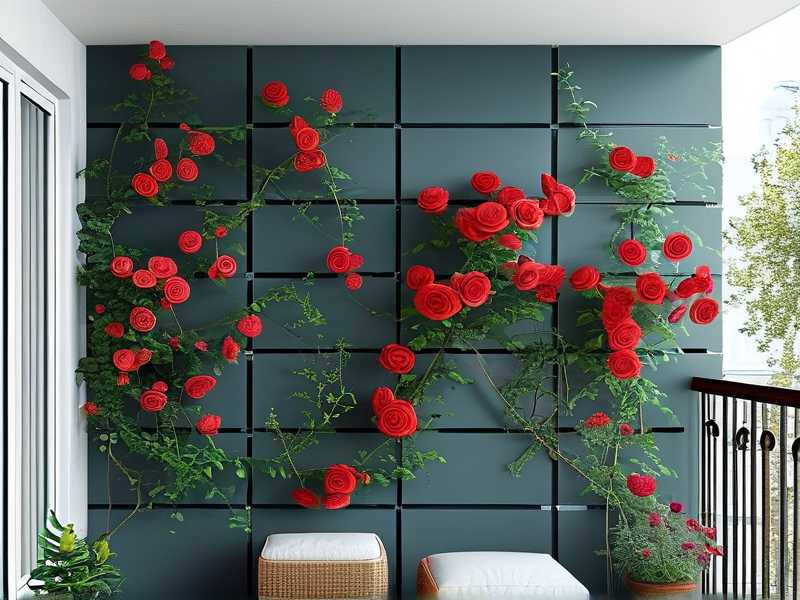
I bought a cheaper off-brand panel first at 35 dollars per section. It lacked a solid bronze-bearing cam-lock and the steel base was only 4 mm thick instead of 6 mm. It flexed visibly in a 40 km/h wind. That is why I recommend spending the extra 20 dollars per panel for a name brand with thicker metal.
Now, let me answer what most beginners ask me about these panels.
FAQ one: can I use weighted-base modular wall-panels on a wooden balcony? Yes, but you must check the load-bearing capacity of the wood. The panels weigh 30 kg each, and a row of three plus soil and plants is 90 kg plus the wooden planter box. Use a plywood base to spread the load over multiple joists. I would not put these on a flimsy wooden balcony unless you reinforce the joists first.
FAQ two: how often do I water roses in these panels? That depends on the wind, not the calendar. Check the soil moisture at 8 cm depth every day during the gusty season. In my two-week test, I watered on day two, day seven, and day eleven. That is three times in fourteen days, much less than the daily watering my old pots demanded because the weighted base keeps the soil cooler and the drainage prevents evaporation.
FAQ three: do these panels need to be dismantled in winter? Not if your panels are made of galvanized steel with a powder-coated finish. The soil should be replaced annually because the nutrients deplete. I keep the panels mounted year-round. I add a layer of mulch in late autumn and reduce watering. The structural bolts are stainless steel, so no rust.
I will end with this thought. The best weighted-base modular wall-panel is the one you actually anchor to a solid structure, regardless of the brand. I wasted money on a fancy panel that I left freestanding, and it blew over. The cheap panel that I bolted down survived a real storm. Mass in the base is only useful when it is mechanically connected to the building. Every gust you survive gives your rose a stronger root system and a better chance of heavy blooms. My next project is to add a third tier to my panel wall, so I can plant a taller 'Comte de Chambord' and still sleep calm during a breezy night.





