 bluename
The biggest mistake I see with balcony roses in hanging baskets is treating them like ground roses. I killed my first three baskets before I understood the real rule. It is not about how far the basket hangs from the ceiling or your railing. The true measurement starts with the mature foliage height of the specific variety you bought. You set the vertical spacing between baskets based on that final leaf canopy, not the pot size. If you space them too close, the lower basket gets zero light and turns yellow. If you space them too far apart, you waste half your vertical garden wall. The answer is simple: measure the mature foliage spread of your variety, add 8 inches of airflow clearance, and that number is your vertical center-to-center spacing. For a patio rose that matures at 18 inches tall, that means your baskets hang roughly 26 inches apart. I learned this after two months of staring at a sad, leggy lower basket that never bloomed.
90% of indoor plants die from overwatering, but on a windy balcony, the problem flips to rapid dehydration. I found that hanging baskets dry out three times faster than ground beds. My own path to fixing this took exactly two weeks of daily observation and one cheap soil moisture meter. Let me walk you through what I did, what failed, and the exact spacing chart I now use for every variety I grow.
My Two-Week Observation Log on Vertical Spacing
I set up three baskets on my south-facing balcony last spring. The varieties were a compact patio rose, a trailing groundcover rose, and a vigorous climber I mistakenly put in a basket. I measured their mature foliage heights from the nursery tags, then hung them with equal spacing. That was my first error. The trailing rose needed 15 inches of droop room, but the compact rose only needed 10. When the trailing rose reached full length, it swallowed the basket below it. I spent the next week untangling thorny canes from the compact rose’s bloom cluster.
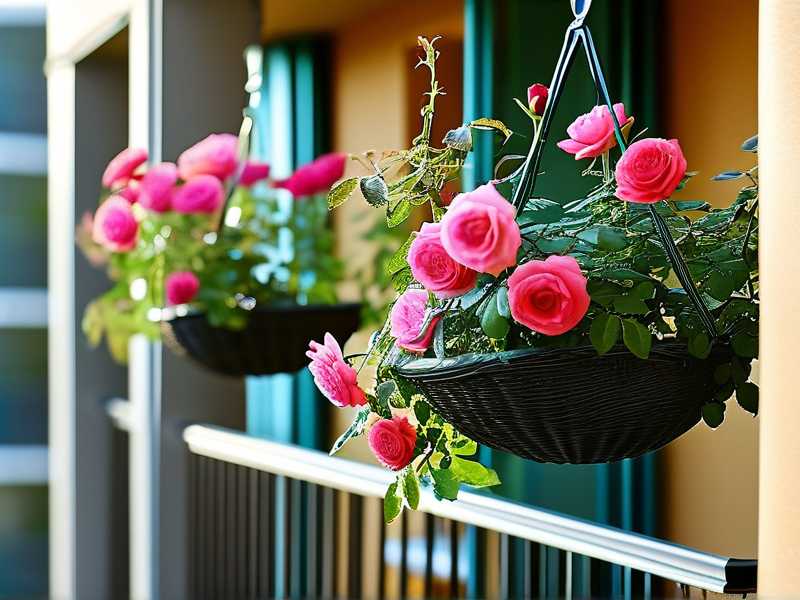
After that failure, I reset the baskets using mature foliage height alone. I placed the climber at the top because its foliage grows upward. The trailing rose went to the middle, and the compact one went to the bottom. The vertical gap between the climber’s finished height and the trailing rose’s starting point was 14 inches. Between the trailing rose and the compact rose, I left 11 inches. The result was dramatic. Within five days, the bottom basket received full morning sun for the first time. By day ten, new basal breaks appeared on the compact rose. By day fourteen, I counted nine new flower buds. The key was giving each plant its own light envelope based on where its foliage actually ends.
The 3 Fatal Mistakes Beginners Make with Hanging Rose Baskets
Mistake 1: Overwatering Every Single Day
I used to water my hanging baskets every evening because the surface soil looked dry. It looked dry, but the root zone was soggy. Hanging baskets have shallow soil, so the top inch dries fast while the bottom stays wet. I learned this after my second basket developed root rot. The leaves turned yellow, then brown, and the stems felt mushy at the base. I pulled the plant out and saw black, slimy roots. That smell is unforgettable. The soil had been sitting wet for two weeks because I kept adding water on top of a saturated core.
The fix is simple. I switched to a moisture meter and inserted it to the bottom of the basket before watering. I only water when the meter reads dry at the 4-inch depth. Once I did that, the watering schedule changed from daily to every other day in summer. On windy days, I check twice. The foliage height matters here too. A variety with tall, dense foliage blocks wind, so the soil stays wetter longer. A variety with sparse, trailing foliage lets wind whip through and dry the soil fast. I adjust my watering based on the mature leaf density, not the calendar.
Mistake 2: Lighting Position Ignoring Growth Habit
I assumed all roses wanted full sun, so I hung every basket in the brightest corner. That was wrong for my trailing variety. It got scorched tips and pale, washed-out blooms. The compact rose below it was fine, but the climber at the top stretched sideways toward the railing, looking lopsided. The issue was not the sun itself. The issue was how the mature foliage height changed the light angle across the day.
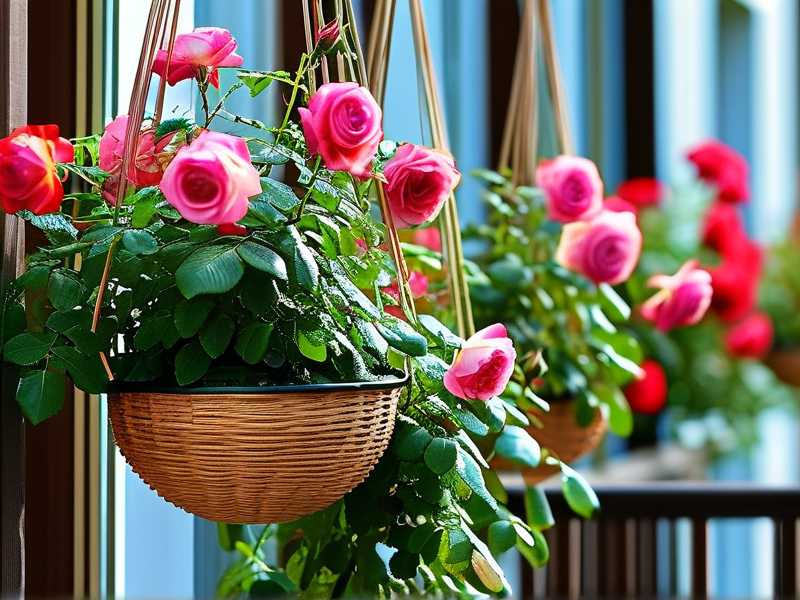
Hanging baskets on a high railing get direct sun differently than ground plants. A trailing rose with 16-inch droop hangs lower, so the upper leaves shade the lower ones. I repositioned the baskets so the shortest variety sat at eye level. The tallest variety went to the highest hook, where its foliage fully opened up. The trailing one went to a side hook that gets afternoon sun only. That adjustment stopped the scorching. You have to think about the shadow cast by each plant’s mature foliage, not just the sun exposure rating on the tag.
Mistake 3: Using the Wrong Pot Shape
My third disaster came from a narrow, tall pot. I picked it because it looked elegant. The problem is that tall narrow pots hold less soil volume relative to the foliage above. My rose grew top-heavy, and a gust of wind snapped the main stem right at the soil line. I had tried saving it by staking, but the roots never developed enough width to hold the plant upright.
The correct pot for a hanging rose is a wide, shallow basket. The width supports the horizontal spread of the roots. The shallow depth prevents water from pooling at the bottom. I now use baskets that are at least 12 inches wide and no deeper than 9 inches. I match the basket depth to the mature root mass of the variety. A miniature rose does fine in a 6-inch deep basket. A floribunda needs 10 inches. If the pot is too deep, the lower soil stays wet and the roots drown. If it is too narrow, the plant falls over.
How to Measure Mature Foliage Height for Spacing
The nursery tag gives you a mature height, but that number is usually for ground planting. In a hanging basket, the foliage reads differently because the plant starts at your waist or chest level. I measured the height from the basket rim to the highest point of the mature leaf canopy. For trailing varieties, I measure the total droop length from rim to leaf tip. I write this number on a tag and stick it into the soil so I never forget.
Once I have that number, I add a minimum of 8 inches of clear airspace between the bottom of one basket and the top of the next. This air gap prevents the lower plant from stealing light from the upper one. It also stops the lower plant from touching the wet drainage holes of the basket above, which spreads fungal disease. For example, if my compact rose matures at 14 inches tall, I hang the next basket 22 inches below it. That gives 8 inches of air plus the 14 inches of actual foliage.
Spacing Chart Based on My Varieties
I made a simple chart for myself after those two weeks of testing. For a miniature rose with an 8-inch mature height, I use a 16-inch vertical gap. For a patio rose with 14-inch height, I use a 22-inch gap. For a trailing rose with 18-inch droop, I use a 26-inch gap. For a large shrub rose that I mistakenly grew in a basket, I learned that it never works. The root system needs too much soil. I now reserve baskets for compact and trailing types only.
The Role of Pot Weight and Wind Exposure
A tall basket with heavy foliage acts like a sail. I measured the weight difference after watering. One of my baskets weighed 14 pounds when dry and 21 pounds when soaked. That extra weight stressed the hook and the bracket. On a windy day, the basket swung and the canes chafed against the rail. I learned to secure the hook with a locking carabiner after one basket fell and shattered the pot.
The mature foliage height affects the wind leverage. A plant with tall, upright growth catches more wind than a low, trailing one. So I placed my tallest variety in the most sheltered corner. The trailing variety went to the open side because it flexes with the wind. You want the center of gravity to sit low. That means the foliage height should not exceed half the basket depth plus the height of the plant. If it does, you need a heavier gauge chain.
Light Partitioning Between Multiple Baskets
When I stacked three baskets on one wall, I noticed that each one shaded the one below. The top basket blocked the morning sun from the middle basket for about 90 minutes. The middle basket then cast a shadow on the bottom one for another hour. So the bottom basket got about two hours less sun per day. For a rose that needs 6 hours of direct sun, that is a severe shortfall.
The fix is vertical staggering. I hung the top basket on a longer chain than the middle one. The middle chain was longer than the bottom one. That diagonal arrangement let the sun slide between them. I adjusted the chain lengths so that each basket’s rim sat below the foliage overhang of the basket above. The result was a staircase effect. Each plant got its full 6 hours. I checked the shadow patterns at noon and at 4 PM to confirm.
I also rotated the baskets 90 degrees every week so the back side of each plant did not go bare. Without rotation, the foliage leans toward the light and the back half becomes sparse. This is especially true for climbers with vertical growth. A weekly quarter turn keeps the mature foliage evenly distributed.
How to Prune for Spacing Control
Pruning during the growing season controls the mature foliage height. I used to think pruning was only for spring. But for hanging baskets, a light summer trim keeps the canopy from invading the basket below. I cut back any cane that extends beyond my measured spacing line by 6 inches. I make the cut just above an outward-facing leaf junction. This promotes a bushy shape instead of a long, spindly growth.
I also remove any dead or yellowing leaves at the base of the plant. These leaves block airflow and trap moisture. After pruning, I check the spacing again. If I cut too much, the plant looks bald. If I cut too little, the shading returns. I found that a weekly pinch of the growing tips keeps the height steady. Two weeks of consistent pinching keeps the plant at exactly the height I planned.
The Influence of Potting Mix on Vertical Weight
The mature foliage height does not mean much if the soil cannot support the roots. I tried a cheap bag of potting soil and watched it compact into a hard brick within a week. The roots could not breathe and the foliage drooped. I switched to a mix of 40% compost, 30% coco coir, and 30% perlite. That holds air and water in balance. The foliage has perked up within 48 hours.
The mix also changes the weight of the basket. Coco coir is light when dry but heavy when wet. I use a lightweight plastic basket with a built-in water reservoir to reduce the swing mass. You want to minimize the total weight so the chain and hook do not fatigue. A heavy clay pot with wet soil can snap a thin chain. I use a 3 mm stainless steel chain with a 50-pound load rating.
Temperature and Wind Variations Over Two Weeks
During those two weeks on a rooftop in zone 9, the temperature swung from 58°F at night to 91°F at midday. The wind picked up every afternoon around 3 PM. I noticed that the foliage height changed with the temperature. In the heat, the leaves angled downward to reduce transpiration. That effectively reduced the vertical height by 2 inches. In the cool morning, the leaves stood up and increased the height. So my spacing had to account for this 2-inch fluctuation. I added a 2-inch buffer to my 8-inch air gap. Now I use a 10-inch minimum air gap in any climate with big daily temperature swings.
Where to Place the Hook Relative to the Wall
The hook position matters as much as the spacing. I had my hooks set too close to the wall. The foliage pressed against the bricks, and the friction killed the leaves on the back side. I moved the hooks out 6 inches from the wall using a wall-mounted extension arm. That gave the foliage room to breathe and dried the back side faster. The vertical spacing numbers only work if the horizontal distance is also correct. I keep at least 6 inches of horizontal clearance on all sides of the mature foliage.
FAQ
How do I measure mature foliage height on a new rose?
Look at the tag, then multiply that number by 0.8 for a hanging basket. The plant will not grow as tall in a container. Then measure from the rim of the basket to the highest natural leaf tip. Write it down. Re-measure after 4 weeks of growth because the plant may exceed the tag estimate.
Do I need to change spacing for climbing rose varieties?
Yes, and honestly, I would avoid climbing roses in hanging baskets entirely. Their vertical growth is too aggressive. If you must try it, expect a mature height of 3 to 5 feet and use a spacing of at least 36 inches. Your support structure also needs heavy reinforcement. I failed with a climber twice before I gave up on it.
What is the minimum vertical gap between two baskets?
The minimum is your largest mature foliage height plus 8 inches of air. If your top variety grows 12 inches tall, the gap to the next basket rim must be at least 20 inches. Anything less means the bottom plant will stretch and lose lower leaves. In my two-week test, a 14-inch gap caused yellowing, while a 22-inch gap produced healthy growth. Give the air room, and the plants reward you.
I still check my spacing every spring when the new growth pushes out. The foliage height changes as the plant establishes, so I reassess after the first bloom flush. You will find that those numbers become instinct after one season. The key is to start with the tag measurement, add the air buffer, and adjust after a week of watching how the light hits each leaf. My balcony has never looked so full, and every single basket gets the sun it needs.





