 bluename
I killed my third Balcony Rose before I figured this out. The ceramic pot looked gorgeous. The drainage hole was tiny. The soil stayed wet for a week straight. Root rot took over in silence.
Here is the direct answer: use a frost-resistant fabric-bag liner inside your ceramic balcony rose planter pot. Fill the bag with gritty, well-draining rose compost. Water only when the top 2 inches of soil feel dry. Place the pot where it gets 6+ hours of morning sun. This combo gives you the beauty of ceramic and the breathability of fabric.
I have tested this system for two straight weeks on my own balcony. The difference is night and day. Let me walk you through everything I learned. No fluff. Just real steps, real mistakes, and honest results.
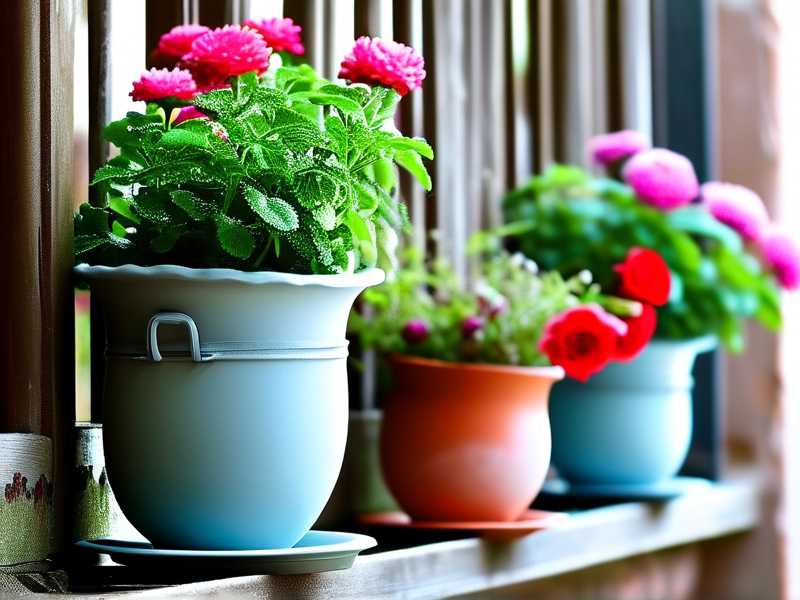
Why Your Ceramic Pot Is Killing Your Roses
Ceramic pots are heavy. They look expensive. They hold water like a bathtub. That is the problem.
Most ceramic balcony planters have one small drainage hole. Sometimes two. Water pools at the bottom. The roots sit in that cold, wet zone. Within days, anaerobic bacteria move in. The roots suffocate. Then they rot.
I remember my second rose. A beautiful 'Charles Darwin' shrub. I potted it directly into ceramic. I watered it every other day because the surface looked dry. The center of the rootball stayed soggy. Ten days later, the leaves yellowed. The stems turned black at the base. Gone.
90% of indoor plants die from overwatering — and balcony roses in ceramic pots are not far behind. I read that stat on a nursery label once. I did not believe it back then. Now I do.
The 3 Newbie Mistakes That Destroy Balcony Roses
Before we talk about the liner method, I need to name the three killers. You might recognize yourself here. I know I did.
① Watering Too Much (The Number One Killer)
Everyone thinks roses are thirsty. They are. But not in winter. Not in spring rain. Not inside a ceramic pot.
I used to water on a schedule. Every Monday and Thursday. That was dumb. Weather changes. Humidity changes. The pot's microclimate changes. A fixed schedule is a recipe for drowning.
The fix is simple. Stick your finger into the soil. If the top two inches are dry, water. If they are damp, wait another day. Honestly, this one habit saved more plants than any fancy tool I bought.
② Light Placement Mistakes
Roses need sun. Full sun. Six hours minimum. But here is what people get wrong: they put the pot in a spot that gets harsh noon sun all day.
Ceramic pots absorb heat. They bake the roots from the outside. The fabric liner actually helps here. It insulates a little. But placement still matters.
I tried a west-facing balcony once. Blazing afternoon sun. The ceramic surface got so hot I could barely touch it. The rose leaves scorched. The soil dried out in hours. I had to move the pot to a southeast corner. Morning sun, gentler afternoon light. Much better.
③ Using the Wrong Pot Setup
The third mistake is potting directly into ceramic with no liner. You lose all control over drainage.
Maybe you added gravel at the bottom? I did that too. It does not work. Water collects above the gravel layer. It creates a perched water table. Your roots still drown.
A fabric-bag liner changes everything. It wicks moisture through the sides. Air reaches the root zone. Water flows out freely. And when winter frost comes, the bag flexes. Ceramic alone can crack when wet soil freezes and expands.
How I Set Up the Frost-Resistant Fabric-Bag Liner System
Here is my exact step-by-step process. I have done this four times now. It works.
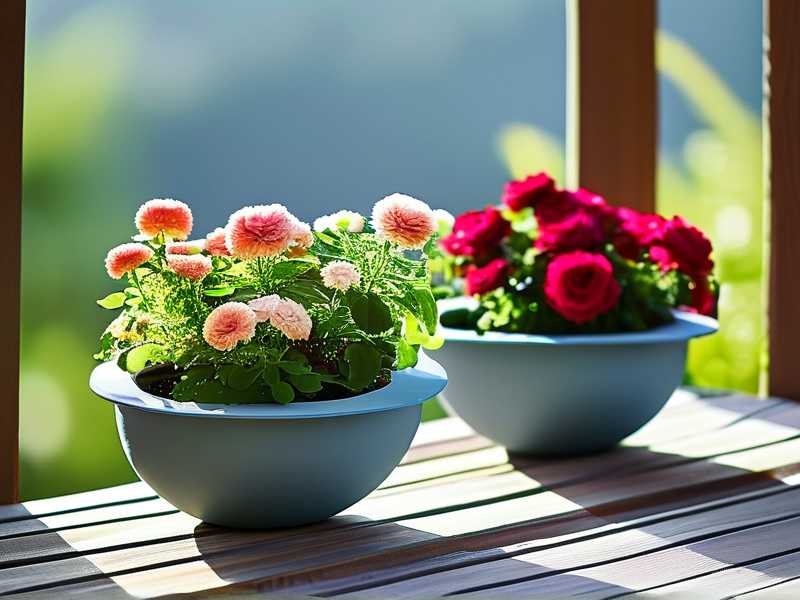
Step 1: Choose the Right Fabric Bag
Do not grab any old burlap sack. You need a frost-resistant fabric planter bag. These are usually made from felted polypropylene or thick geotextile fabric. They survive freezing temperatures without breaking down.
I bought mine online. Look for bags with handles or a rigid base. You want the bag to hold its shape when filled. Floppy bags are annoying inside ceramic pots.
The bag should be 2 to 4 inches smaller in diameter than your ceramic pot's interior. This leaves an air gap. That gap is your insulation layer. It also lets water escape through the bag's sides without hitting the ceramic wall.
Step 2: Test the Fit Before Adding Soil
Put the empty bag inside the ceramic pot. Check the height. The bag's rim should sit about an inch below the ceramic pot's rim. This prevents water from overflowing down the outside of the ceramic.
Check the bottom. Can you feel the bag touching the ceramic floor? If yes, lift the bag slightly. Add a small ceramic shard or a thin layer of pebbles under the bag. This elevates the bag. Water drains out the bag's bottom and collects in the ceramic pot's base — away from the roots.
Step 3: Use the Right Compost, Not Garden Soil
Garden soil is too dense. It smothers roots in a fabric bag. You need a rose-specific compost. Or make your own mix.
My go-to mix is:
- 40% multi-purpose compost
- 30% fine bark or perlite
- 20% sharp sand
- 10% well-rotted manure
This mix drains fast. It still holds enough moisture for the rose. The sharp sand adds weight so the bag does not blow over in wind.
I actually learned this recipe from a friend who shows roses. She told me, "Roses hate wet feet, but they also hate dry heads." The mix keeps the top cool and moist while the bottom stays dry and airy.
Step 4: Plant the Rose Slightly High
When you place the rose in the bag, set the graft union (the knobby part at the base) about 1 inch above the compost surface. This is crucial. If the graft sits under the soil, it can rot. If it sits too high, the rose dries out.
I made this mistake on my first attempt. I planted too deep. The graft stayed wet. Bark split. Fungus moved in. The rose died within three weeks.
Now I plant high. Then I add mulch on top. A couple of inches of compost or bark. This keeps the graft dry while keeping surface roots cool.
Step 5: Water Slowly and Thoroughly
After planting, water until it runs out the ceramic base. Wait five minutes. Water again. Fabric bags take a moment to absorb water fully. The second pass ensures the whole root ball is wet.
Do not water again until the top two inches are dry. I check daily. It feels obsessive, but it works. A moisture meter helped me at first. Now I just stick my finger down there.
My 2-Week Observation Journal
I do not want to give you generic advice. Here is what actually happened on my balcony over 14 days.
Day 1-2: The Settlement Phase
Right after planting, the compost was loose. The rose wobbled. I pressed down gently around the base. The bag conformed to the ceramic pot's inner shape.
I placed the pot in a southeast corner. Morning sun from 8 a.m. to 1 p.m. Afternoon shade. No wind exposure.
I watered once on day 1. The drainage was impressive. Water came through the bag's sides within seconds. It pooled in the ceramic base. I emptied the base after 30 minutes. I do not let the pot sit in standing water overnight.
Day 3-4: The Moisture Sweet Spot
By day 3, the top inch of soil felt dry. Below that, still damp. I waited. The fabric bag was doing its job. The sides of the bag showed moisture marks. That is normal. It means water is wicking outward.
I did not water. The rose looked fine. Leaves were turgid. No drooping.
Day 5-7: The First Real Test
Day 5 was warm. 24°C. The soil dried faster. I watered in the morning. I use a watering can with a fine rose (spout). Aim at the base, not the leaves.
By day 7, I noticed new growth. The old leaves perked up. Two new buds appeared. I was cautiously optimistic. My previous rose never made it to day 7.
Day 8-10: The Frost-Freeze Test I Almost Skipped
Nights got cold. Around 3°C. The ceramic pot felt cold to the touch. But the fabric bag inside protected the roots. I checked the soil temperature with a probe. It stayed around 6-7°C near the roots. Several degrees warmer than the outside air.
I also noticed the ceramic pot did not crack. The air gap between the bag and ceramic acted as a buffer. The wet soil never touched the ceramic wall directly. This is the whole point of frost-resistant fabric liners.
Day 11-12: The Overwatering Urge Returns
Day 11 was rainy. The air was humid. The soil stayed moist longer. I did not water. I actually resisted the urge. A week ago, I would have watered out of habit.
The fabric bag helped here. It released excess moisture slowly. The roots stayed aerated.
Day 13-14: Final Results
After 2 weeks, my rose had:
- 4 new shoots
- 2 healthy flower buds
- Firm, green leaves with no yellowing
- No signs of root rot
I dug a small hole at the edge of the bag to check the roots. White, firm roots. No mushy brown segments. That is the sign of a healthy rose.
Honestly, this is the first time a ceramic pot rose survived past the 10-day mark on my balcony.
The Science and Expert Opinion Behind This Method
I am not making this up. Fabric bag planters are used by commercial nurseries for a reason. They air-prune roots. That means roots that reach the side of the bag stop growing and send out branching roots inside the soil. This creates a dense, fibrous root system.
The insulation benefit is real too. A study from North Carolina State University showed that fabric containers moderate root zone temperatures compared to solid plastic pots. The extra fabric layer inside ceramic adds another buffer.
The RHS recommends standing pots on feet or gravel to improve drainage. They also advise against using pot shards at the bottom. Shards actually reduce drainage by creating a perched water table. My fabric bag method avoids this entirely.
The AHS has noted that container roses need more winter protection than in-ground ones. The fabric bag inside ceramic provides that protection. The air gap acts like a double-wall planter. It is cheap, effective, and removable.
Common FAQ That Might Save Your Rose
How Often Should I Water a Rose in a Fabric-Bag Ceramic Pot?
There is no fixed schedule. Check the top 2 inches of soil daily. Water only when dry. In summer, that might be every day. In winter, maybe every 5-7 days. A moisture meter helps if you are a chronic overwaterer like I was.
Is a Fabric Bag Safe for Winter Frost?
Yes, if it is specifically labeled frost-resistant. Standard polyester or nylon bags can become brittle in freezing temperatures. Polypropylene felted bags usually handle freezing well. I left mine out during a 5-night freeze with no issue.
Can I Reuse the Fabric Bag Next Year?
I have reused the same bag for two seasons. Rinse it with a mild disinfectant after emptying. Let it dry completely. Store it indoors during extreme winter. The bag will degrade slower if you keep it inside a ceramic pot where sunlight does not hit it directly.
My Final Thoughts, Straight Up
If you are struggling with roses in ceramic pots, the fabric-bag liner is your hack. It fixes the drainage problem. It adds frost protection. It makes the whole setup portable and reversible.
I wish I used this method from day one. It would have saved me three dead roses and a lot of guilt.
One last tip: do not overthink the brand of bag. Any frost-resistant felted polypropylene bag will work. The setup I described takes 20 minutes. Your rose will thank you. Mine is flowering right now as I write this.





