bluename
How to Prepare Pre-Washed Expanded-Shale Drainage for Large Balcony Rose Pots
If you're growing roses in big balcony pots, the single fastest way to kill them is bad drainage. I learned that the hard way after losing three climbing roses in two summers. The fix that finally worked for me: pre-washed expanded shale. In this guide I'll show you exactly how I prepare it, step by step, plus the two-week results I saw in my own container roses.
Quick answer up front: rinse the expanded shale until the runoff water runs clear, soak it for 30 minutes, then lay a 1.5 to 2 inch layer at the bottom of your pot before adding soil. That's it. The whole prep takes about 45 minutes, and your roses will thank you for it.
Now let me walk you through why this matters, what I got wrong, and how you can skip my mistakes.
Why Expanded Shale Beats Gravel and Rocks
Most beginners toss a handful of pebbles or river rocks into the bottom of a big pot and call it drainage. I did this too. It doesn't work the way you think.
Expanded shale is a lightweight, porous material made by heating shale until it pops like popcorn. Each piece is full of tiny air pockets. That means it holds some moisture but also lets excess water pass through fast. It's a bit like a sponge that refuses to stay soggy.
The RHS actually warns against the old "gravel layer" myth. Water doesn't move freely from fine soil into coarse gravel—it can actually sit there and create a perched water table. Expanded shale is different because it's porous, not just chunky.
I switched to pre-washed expanded shale two seasons ago and my potted roses stopped getting root rot. Simple as that.
The Real Problem: 90% of indoor plants Die from Overwatering
I know we're talking about balcony roses, not houseplants. But the same principle applies. 90% of indoor plants die from overwatering, and container roses on a balcony face the same risk when drainage is poor.
Overwatering isn't about how much water you pour. It's about how long water sits around the roots. If your pot can't drain fast, your rose roots suffocate. They turn brown, mushy, and start to smell. By the time the leaves yellow, it's often too late.
I killed my first two roses this way. The pots looked fine on top. But underneath, the roots were swimming.
The Three Fatal Mistakes New Growers Make
Let me save you some heartbreak. Here are the three mistakes I see over and over—and made myself.
Mistake 1: Watering Too Much, Too Often
This is the big one. New rose growers panic when they see dry topsoil and reach for the watering can. But roses in large pots need deep, infrequent watering. Let the top two inches dry out first.
I used to water every single morning. My roses hated it. Now I water maybe twice a week in summer, less in spring and fall. The expanded shale layer gives me a safety net if I overdo it.
Mistake 2: Wrong Light Placement
Roses need full sun. That means six or more hours of direct light. I once put a pot on a north-facing balcony because it looked nice and shady. The rose grew leggy, refused to bloom, and got powdery mildew.
The AHS recommends at least six hours of sun for most rose varieties. If your balcony only gets morning sun, stick with shade-tolerant types or accept fewer blooms.
Mistake 3: Using the Wrong Pot
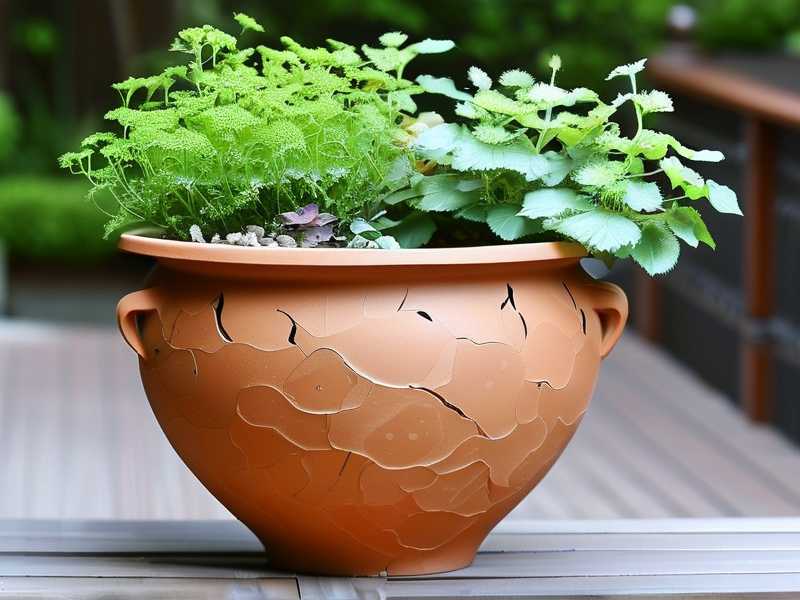
Size matters. A rose in a tiny pot will dry out constantly and cook its roots. A pot without drainage holes is a death sentence.
I tried growing a rose in a decorative ceramic pot with no holes. I drilled holes after two weeks of watching it struggle. By then the damage was done.
For large balcony roses, aim for a pot at least 18 to 24 inches wide and deep. Terracotta, fabric, or thick plastic all work. Just make sure there are real drainage holes.
What You'll Need to Prep Pre-Washed Expanded Shale
Here's my exact supply list. Nothing fancy.
- Pre-washed expanded shale (sometimes labeled "expanded clay shale" or "horticultural shale")
- A large bucket or tub
- A hose or watering can
- A colander or mesh screen (optional but helpful)
- Gloves (the dust can be irritating)
- Your large rose pot with drainage holes
I buy expanded shale from local garden centers or online in 2-gallon bags. One bag covers roughly two large pots.
Step-by-Step: How I Prepare the Shale
This is the method I've settled on after lots of trial and error. It takes under an hour.
Step 1: Rinse Until the Water Runs Clear
Dump the expanded shale into your bucket. Run water over it and stir with your hand or a trowel. You'll see cloudy, grayish water at first. That's dust and fine particles.
Keep rinsing and dumping the dirty water until the runoff is mostly clear. This usually takes three or four rounds. Don't skip this. That dust turns into sludge at the bottom of your pot and clogs drainage.
Step 2: Soak for 30 Minutes
Once rinsed, fill the bucket with clean water and let the shale soak for about half an hour. Expanded shale is porous, so it absorbs some water. Pre-soaking means it won't steal moisture from your soil later.
I learned this trick after watching my first batch suck the soil dry within a day. Pre-soaking solved it.
Step 3: Drain and Let It Sit
Pour off the water. Let the shale drain in a colander or spread it on a tarp for 15 minutes. You want it damp, not dripping.
Step 4: Layer It in Your Pot
Add a 1.5 to 2 inch layer of prepared shale at the bottom of your pot. Spread it evenly. Don't pack it down.
For very large pots—over 24 inches deep—you can go up to 3 inches. But don't fill half the pot with shale. That defeats the purpose and leaves too little room for roots.
Step 5: Add Soil and Plant
Add your rose potting mix on top. I use a blend of compost, peat, and perlite. Plant your rose so the graft union sits just above the soil line. Water thoroughly once.
My Two-Week Observation: What Actually Happened
I set up a side-by-side test last spring. Two identical pots, same rose variety, same soil. One had the expanded shale drainage layer. One didn't.
Days 1–3: No visible difference. Both roses looked fine.
Days 4–7: The pot without shale started holding water longer after rain. I could see standing moisture on the surface. The shale pot drained within seconds.
Days 8–10: The no-shale rose showed slight yellowing on lower leaves. The shale rose was pushing new growth.
Days 11–14: Big difference. The no-shale rose had droopy leaves and damp soil at the bottom. The shale rose had two new shoots and dry, crumbly topsoil between waterings.
By week three I repotted the no-shale rose with a shale layer. It recovered, but I lost two weeks of growth.
Common Questions About Expanded Shale Drainage
Do I have to use pre-washed shale, or can I rinse it myself?
You can rinse it yourself. But pre-washed saves time. If you buy unwashed, expect double the rinsing. I've done both. Pre-washed is worth the extra dollar or two.
How often do I need to replace the shale layer?
Honestly, not often. Expanded shale doesn't break down quickly. I've had the same layer in one pot for three years. Just flush the pot with water every few months to prevent salt buildup.
Can I mix expanded shale into the soil instead of layering it?
Yes, and I actually do this too. Mixing about 20% shale into your potting soil improves aeration throughout the root zone. But I still keep a dedicated drainage layer at the bottom. Belt and suspenders, as they say.
A Few More Tips From Someone Who's Killed Too Many Roses
Don't overthink this. Pre-washed expanded shale is forgiving. Even if you rinse it imperfectly, it still works better than gravel.
Water your roses deeply when you water. Then wait. Stick your finger in the soil. If it's damp two inches down, wait another day.
Put your pots where they get real sun. Not "bright shade." Actual sun.
And please, use a pot with holes. I can't tell you how many people I've met who skip this step.
If you're in the US or Canada, look for expanded shale at farm supply stores. In the UK and Australia, it's often sold as "horticultural grit" or "clay pebbles"—just check that it's porous, not solid stone.
One last thing. After you prep your shale, water your rose and watch the drainage hole. If water pours out within 10 seconds, you did it right. If it trickles, you either packed the shale too tight or used too much soil on top.
I hope this saves you a few dead roses. It took me three tries and a lot of muddy balconies to figure out. Now my climbing roses hit six feet every summer.
That's the whole method. Rinse, soak, layer, plant. Give it two weeks and you'll see the difference in your own pots.