 bluename
How to Grow Dwarf Rose Varieties on the Balcony: A City Gardener’s Success Story
I used to think a balcony bursting with roses was a fantasy reserved for sprawling country gardens. My own small, sun-drenched balcony felt destined for herbs and the odd geranium. That was until I discovered the incredible world of dwarf rose varieties. These compact, resilient beauties promised the classic rose appeal without demanding acres of space. My journey to create a blooming balcony oasis with these miniature wonders was filled with trial, error, and immense satisfaction. Here’s my complete, step-by-step guide, born from real experience, on how to grow dwarf rose varieties on the balcony successfully.
My initial attempts failed because I treated them like any other potted plant. I learned that success with balcony dwarf roses hinges on a few non-negotiable pillars: precise container selection, tailored soil science, strategic placement for sunlight, and a disciplined care routine. Let me walk you through exactly what I did, what I observed over a critical two-week establishment period, and the pitfalls I navigated along the way.
Choosing Your Champion: Selecting the Right Dwarf Rose
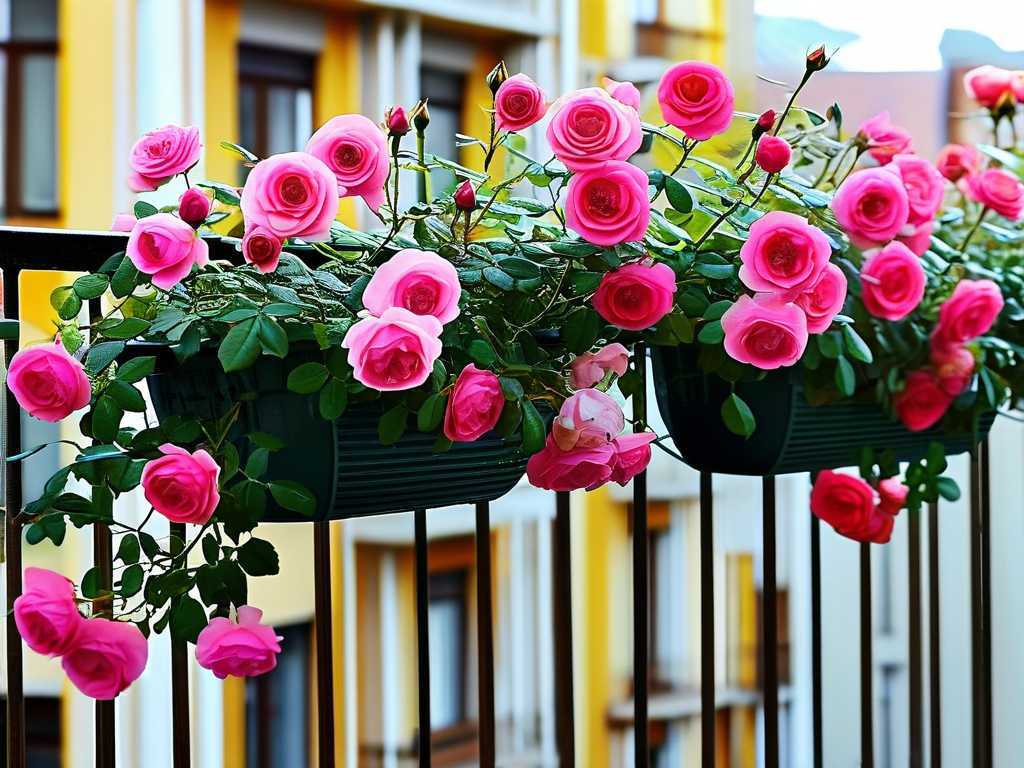
Not all dwarf roses are created equal for container life. I focused on varieties specifically bred for patios and small spaces. After consulting resources from the American Rose Society (ARS), I prioritized disease-resistant cultivars to give my urban garden a fighting chance. My final picks were ‘Sunblaze’, a fiery orange mini-floribunda, and ‘Sweet Drift’, a ground-cover type with cascading pink blooms perfect for a railing planter. The ARS emphasizes that selecting disease-resistant varieties is the first step toward low-maintenance rose care, a principle that proved invaluable on my balcony.
The Foundation: Pots, Soil, and Initial Planting
This phase is where my first major "aha" moment—and my first big mistake—happened.
The Container: I initially used cheap, decorative pots with poor drainage. Big error. Roses despise "wet feet." I quickly switched to large, deep pots (at least 15-18 inches in diameter and depth) made of breathable terracotta. Each pot must have multiple, large drainage holes. This one change dramatically improved my results.
The Soil Mix: Regular garden soil is a death sentence in a container. I created a custom, well-draining mix recommended by many rose experts: 50% high-quality potting mix, 30% compost (for nutrients), and 20% perlite or coarse horticultural grit (for aeration and drainage). This mix prevents compaction and ensures roots get oxygen and moisture without waterlogging.
The Planting Process:
- I placed a layer of broken pottery or large pebbles over the drainage holes to prevent soil washout.
- I partially filled the pot with my pre-moistened soil mix.
- Gently removing the rose from its nursery pot, I loosened the root ball slightly and placed it in the center, ensuring the graft union (the knobby base) was just above the soil line.
- I backfilled with soil, firming gently to eliminate large air pockets.
- A thorough, deep watering followed, until water ran freely from the bottom. This settles the soil around the roots.
The First Two Weeks: Critical Observation
This period is all about establishment and stress reduction. I placed the newly potted roses in a spot that received bright, indirect light for the first 3-4 days to help them acclimate before moving them to their final, full-sun location.
- Days 1-3: The plants looked slightly wilted and shocked—normal transplant stress. I kept the soil consistently moist but not soggy. No fertilizer.
- Days 4-7: The wilted posture improved. I noticed the first signs of new, tiny red shoots emerging from the stems of ‘Sunblaze’. This was a thrilling sign of root establishment and new growth.
- Days 8-14: By the end of the second week, both plants showed definite new leaf growth. The existing foliage looked perky and green. I resisted the urge to fertilize, allowing the roots to explore the nutrient-rich compost in my soil mix. My key takeaway: consistent moisture and avoiding immediate sun scorch were crucial for this successful transition.
Sunlight, Watering, and Feeding: The Daily Ritual
Sunlight is Non-Negotiable: Dwarf roses need a minimum of 6-8 hours of direct sunlight daily. My south-facing balcony was perfect. Without ample sun, you get leggy growth and few to no blooms.
Watering Wisdom: My second big pitfall was inconsistent watering. I’d drown them one day and let them dry out the next. This caused leaf yellowing and bud drop. I adopted the "finger test" method: inserting my finger into the soil up to the second knuckle. If it feels dry, I water deeply until it runs out the bottom, typically every other day in peak summer. Early morning watering is best, avoiding wet foliage overnight to prevent disease.
Feeding for Flowers: After the first month, I began a regular feeding schedule. I use a balanced, water-soluble fertilizer (like a 10-10-10) every two weeks during the growing season, as per the product's dilution instructions. The Royal Horticultural Society (RHS) advises that container roses are heavy feeders because frequent watering leaches nutrients from the soil. This regular feeding was the key to my plants' relentless blooming.
Pruning and Deadheading for Continuous Blooms
Pruning isn’t just for large roses. To encourage bushy growth and more flowers on my dwarf varieties, I did a light shaping prune in early spring. Throughout the season, I practice deadheading—religiously. As soon as a flower fades, I use clean snips to cut the stem back to the first set of five leaves. This signals the plant to produce more blooms instead of putting energy into seed production. Within days of deadheading, I always see new flower buds forming.
Pest and Disease Vigilance on the Balcony
Even in an urban setting, pests find a way. My ‘Sunblaze’ attracted aphids within the first month. Instead of panicking, I used a strong jet of water from a spray bottle to dislodge them, followed by weekly applications of insecticidal soap as a preventative measure. I also ensure good air circulation around the pots to deter fungal diseases like powdery mildew. Regular inspection is my best defense.
Overwintering Your Balcony Roses
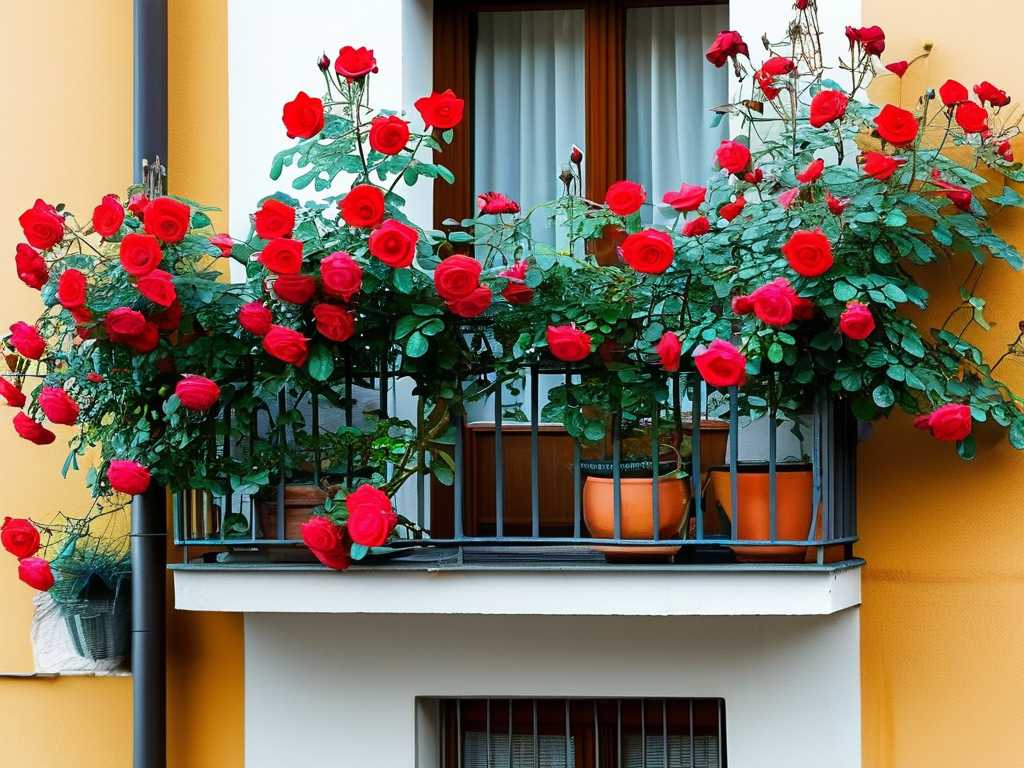
Living in a zone with cold winters, I couldn’t leave the pots exposed. My solution: after the first hard frost, I pruned the canes back by about one-third, moved the pots against the most sheltered wall of my balcony, and insulated them by wrapping the pots with bubble wrap and mounding mulch over the soil surface. They emerged happily in spring.
Frequently Asked Questions
Can dwarf roses really thrive in pots? Absolutely. In fact, many are specifically bred for container life. The secret is in providing a large enough pot, excellent drainage, and consistent care. My thriving balcony display is living proof.
How often should I water my balcony dwarf rose? There’s no universal schedule. It depends on pot size, weather, and sun exposure. The "finger test" is your most reliable guide. Always water deeply to encourage strong root growth downward.
Why are the leaves on my dwarf rose turning yellow? Yellow leaves can signal several issues. Overwatering is the most common culprit for container roses. Other causes could be nutrient deficiency (addressed with regular feeding) or not enough sunlight. Assess your watering routine and sun exposure first.
Growing dwarf rose varieties on the balcony has transformed my urban space into a fragrant, colorful retreat. It requires attention to detail—especially in choosing the right container and soil, and mastering the watering balance—but the reward of harvesting your own perfect, miniature blooms just steps from your living room is immeasurable. Start with a disease-resistant variety, give it a strong foundation, and observe it closely. Those first new shoots after two weeks will hook you for life.





