bluename
How to Set Up an Automatic Watering System for Balcony Roses: A Gardener's 2-Week Journey
I love my balcony roses. The burst of color, the delicate fragrance—they transform my small urban space into a private oasis. But last summer, a short business trip turned tragic. I came back to wilted leaves and dropped buds. My heart sank. That’s when I decided enough was enough. I needed a reliable, automatic watering system for balcony roses. If you’ve ever worried about your plants while you’re away, or simply want to provide more consistent care, this guide is for you. I’ll walk you through my exact setup, the results after two weeks of close observation, and the honest mistakes I made along the way.
Why Your Balcony Roses Deserve Automated Watering
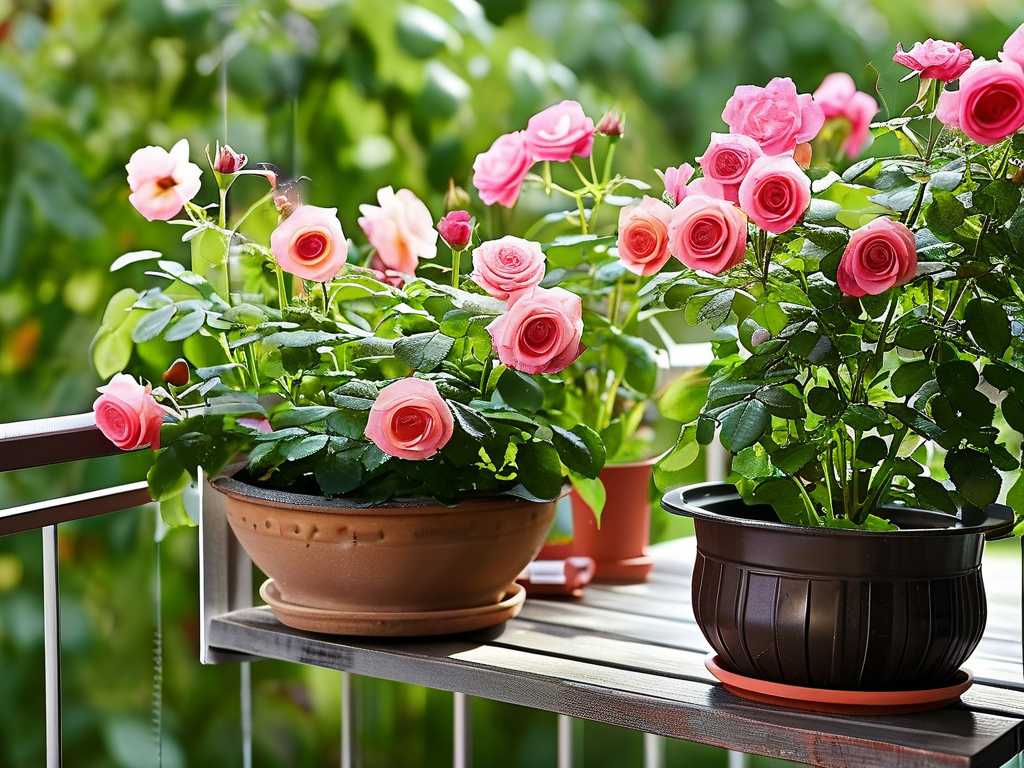
Balcony gardening is unique. Containers dry out faster than ground soil, exposed to wind and sun. Roses, in particular, are thirsty plants that crave consistent moisture, especially in containers. Inconsistent watering leads to stress, making them vulnerable to pests and diseases like powdery mildew. According to the American Rose Society, steady soil moisture is key to preventing blossom-end issues and promoting healthy root development. An automatic drip irrigation system for potted plants isn’t just a luxury; it’s a tool for resilience.
My Gear: Choosing the Right Automatic Watering Kit
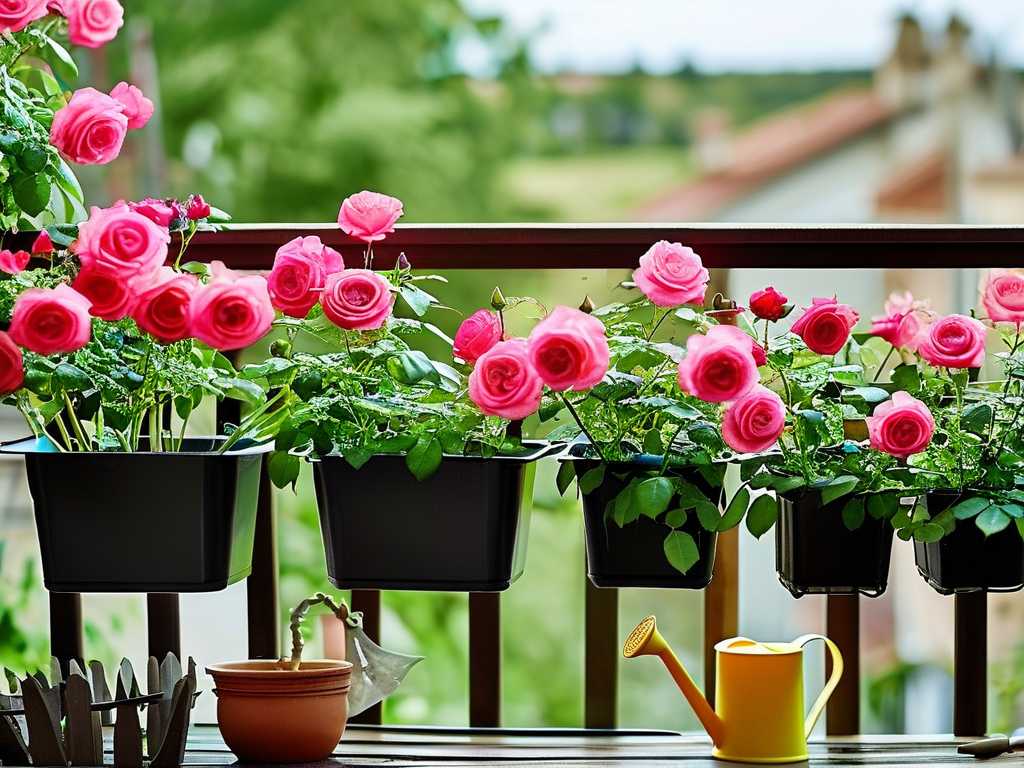
I didn’t want a complex, in-ground system. My balcony is about 50 square feet with six medium-sized rose pots and a few companion herbs. After research, I settled on a modular, battery-operated timer kit designed for patios and balconies. Here’s what was in my cart:
- A digital hose timer with a 9-volt battery.
- A 25-foot mainline drip tubing (1/4 inch).
- A pack of adjustable drip emitters (I chose 0-10 GPH).
- A package of “goof plugs” (for fixing mistakes!).
- A pressure regulator and a basic filter.
- Micro tubing and stakes to direct water to each plant’s base.
The goal was a simple DIY drip irrigation for small spaces that I could control precisely.
Step-by-Step: Building My Balcony Watering System
Connecting to the Water Source My balcony has a standard outdoor faucet. I attached the filter and pressure regulator first, as the kit instructions and every expert at the Royal Horticultural Society (RHS) emphasizes this step to protect the small tubing from clogging and pressure surges. Then, I connected the timer and attached the main 1/4-inch supply line.
Laying Out the Tubing and Emitters I snaked the main supply line along the balcony railing, hidden behind pots. This was my first “aha” moment: plan the layout before cutting anything! I initially ran it along the floor and tripped over it twice. For each rose pot, I punched a hole in the main line using the hole punch tool, inserted a connector, and attached a short 12-inch micro tube. At the end of each micro tube, I pushed in an adjustable drip emitter and staked it into the soil, aiming for the root zone, not the stem.
Programming the Timer This is the brain of the automatic plant watering setup. My roses in well-draining pots need deep, infrequent watering. I set the timer to water every other day at 6:00 AM for 15 minutes. Early morning watering reduces evaporation and allows foliage to dry, a practice strongly recommended to prevent fungal diseases.
The 2-Week Test: Observation and Adjustment
Week 1: The Trial Run The first few cycles were exciting. I watched the emitters slowly release water, soaking the soil deeply. However, by day three, I noticed one rose in a terracotta pot looked slightly dry. I checked the emitter—it was partially clogged with a tiny sediment. I cleaned it with a pin and opened the adjustment slightly. Another pot seemed too wet. I simply turned down the emitter’s flow. This is the beauty of an adjustable system; it’s not one-size-fits-all.
Week 2: Finding the Rhythm By the second week, the system was humming. The soil moisture was consistently damp about 2 inches down, which I checked with my finger. My roses responded visibly. New, healthy growth emerged, and the buds that had formed looked plump. There was no more midday wilting, even on particularly hot, windy days. The most significant change was peace of mind. I could leave for the day without that nagging worry.
The Pitfalls I Encountered (And How I Fixed Them)
Leak at the Connection: On day two, a fine spray appeared where the timer connected to the faucet. I hadn’t used the provided washer. Once I inserted it and tightened the connection firmly (but not overly so), the leak stopped. Uneven Water Distribution: As mentioned, one emitter clogged, and another delivered too much water. My fix was a weekly “system check.” I now run the cycle once a week and visually inspect each emitter to ensure it’s working and adjusted correctly for its specific plant. Timer Confusion: I accidentally set the timer for “daily” instead of “every other day” by pressing the wrong button. This overwatered everything for two days. The solution? I sat down with the manual, reset it completely, and did a dry run with the timer counting down while I watched. Taking ten minutes to fully understand the programming saved my plants from root rot.
Maintaining Your Automated System A set-it-and-forget-it approach will fail. Every month, I flush the system by opening the end cap on the main line and letting water run for a minute to clear debris. Before a frost, I’ll drain the lines completely. I also check the battery level on the timer quarterly. A small maintenance routine ensures your balcony garden irrigation system lasts for seasons.
Frequently Asked Questions
How much water do my balcony roses actually need with this system? Start with the emitter’s minimum flow (e.g., 1/2 gallon per hour). Run the system for 15 minutes and dig down to see how deep the water penetrates. It should reach the entire root ball. Adjust the emitter flow or watering duration based on your pot size, soil mix, and local weather. My 15-minute, every-other-day schedule was perfect for my 14-inch pots in a Mediterranean climate.
Can I use this system with fertilizer? Yes, but with caution. You can use a fertilizer injector designed for drip systems. I use a water-soluble, balanced rose feed once a month. I dissolve it in a bucket, disconnect the system from the faucet, and place the input tube into the bucket. I then run the cycle to deliver the feed directly to the roots. Always flush the system with clean water afterward to prevent clogging.
What if I have no outdoor faucet on my balcony? No problem! Many gardeners use a large water reservoir (like a 5-gallon bucket with a lid) placed on a stool above the plant level. You connect a submersible pump with a timer inside the bucket to the drip lines. Gravity or a small pump feeds the system. It’s a fantastic solution for a truly self-contained automatic watering system for balcony roses.
Setting up an automatic watering system was one of the best decisions I’ve made for my balcony garden. It took an afternoon to install, a week to fine-tune, and now it provides my roses with the consistent care they need to thrive. The initial investment of time and a modest amount of money has paid off in vibrant blooms and the freedom to enjoy my garden without constant clock-watching. Give it a try—your roses will thank you.