 bluename
How to Grow Balcony Roses Paired with Hanging Plants: My Step-by-Step Guide to a Lush, Vertical Oasis
I love my balcony, but for years, it felt like a missed opportunity. I dreamed of a lush, romantic space overflowing with blooms, but the limited square footage always seemed like a barrier. Sound familiar? If you're yearning for that cottage-garden charm but only have a railing and some vertical space to work with, I have the perfect solution: learning how to grow balcony roses paired with hanging plants. This combination isn't just beautiful; it's a smart, space-saving strategy that creates layers of color and texture. After extensive trial and error, I perfected a system that transformed my concrete slab into a fragrant, blooming retreat. Here’s my real-world guide, complete with my two-week progress log and the pitfalls I navigated along the way.
Why This Pairing is a Match Made for Small Spaces
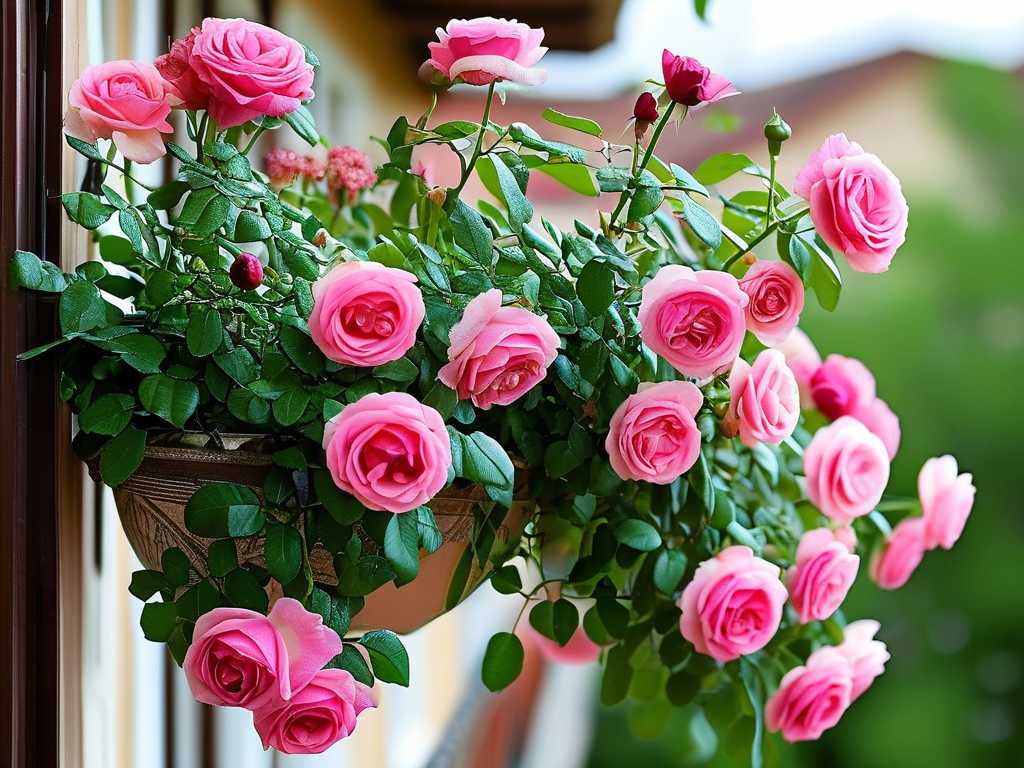
Roses bring height, structure, and those unforgettable blooms. Hanging plants add a cascading, softening element that covers bare pot edges and draws the eye upward. Together, they maximize every inch. According to the American Horticultural Society, utilizing vertical space is one of the most effective principles for small-space gardening, promoting better air circulation and allowing for more creative design. My goal was to create a micro-climate where each plant supports the other's aesthetic.
My Essential Toolkit for a Balcony Rose Garden
Before a single plant went in, I gathered my supplies. Success starts with the right foundation.
- Rose Selection: I chose two patio roses, 'Sweet Drift' (ground cover type) and 'Sun Flare' (floribunda). They are bred for containers, are more disease-resistant, and have a manageable size. This is critical—avoid large climbers unless you have a massive pot and sturdy support.
- Hanging Plant Picks: For my pairing, I selected trailing plants for rose companions. I went with classic purple lobelia and variegated ivy for their contrasting foliage and love of similar light conditions.
- Containers: One large, 18-inch deep pot with excellent drainage for each rose. For the hanging elements, I used coco-lined baskets and lightweight plastic hangers with saucers.
- The Fundamentals: High-quality potting mix formulated for roses (it has better drainage), a balanced, slow-release fertilizer, organic rose food, a moisture meter (my best purchase!), and a sturdy, adjustable balcony railing planter bracket system.
The Step-by-Step Planting Process: Building the Foundation
I started on a cool, overcast morning to reduce transplant shock. Here's exactly what I did.
First, I prepared the rose pots. I placed a layer of broken pottery shards over the drainage holes to prevent soil washout. Then, I filled each pot about one-third full with the premium potting mix, mounding it slightly in the center.
Gently removing the roses from their nursery pots, I teased out the roots slightly if they were pot-bound. I placed each rose in the center of its pot, ensuring the graft union (the knobby bump where the rose is joined to the rootstock) was just above the soil line. Backfilling with soil, I tamped it down lightly to remove air pockets and watered thoroughly until it ran freely from the bottom.
Next came the hanging baskets for balcony gardens. I lined them with pre-soaked sphagnum moss, then filled them with a lightweight potting mix. I planted the lobelia and ivy around the edges, encouraging the trails to spill over immediately. I watered these gently but thoroughly.
The final step was positioning. I placed the rose pots on sturdy pot feet on the balcony floor, ensuring air circulation. Using my secure brackets, I hung the baskets slightly above and to the side of each rose pot, creating a tiered effect. The ivy basket went behind the 'Sun Flare' rose, and the lobelia basket was positioned to trail beside the 'Sweet Drift'.
My Two-Week Observation Log: The Critical Early Days
This initial period is all about establishment and vigilance.
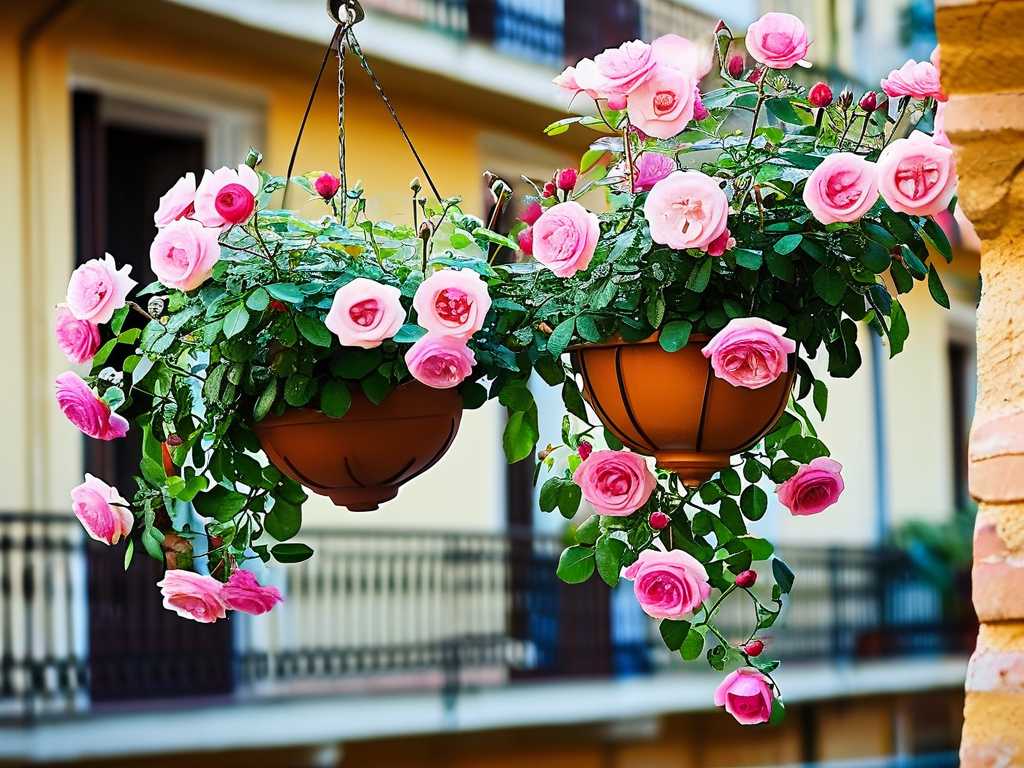
- Days 1-3: The roses looked a little droopy—transplant shock. I kept them in dappled shade for 48 hours and watered only when the top inch of soil felt dry. The hanging baskets dried out faster, needing a light water check every evening.
- Days 4-7: The roses perked up! I moved them to their final, sunny spot (they get about 6 hours of direct morning sun). I saw the first new, red-tinted leaf bud on 'Sun Flare'. The lobelia began to send out longer trails. I used my moisture meter religiously, avoiding the rookie mistake of overwatering.
- Days 8-14: Active growth was visible. 'Sweet Drift' showed new basal shoots. However, I noticed a few yellowing leaves on the lower part of 'Sun Flare'. My heart sank—was it a disease? Upon closer inspection and consulting the RHS problem solver, I identified it as a minor nutrient deficiency, likely due to the plant settling in. I applied a half-strength liquid seaweed feed as a gentle boost. The hanging plants were thriving, with the ivy already needing its first light trim to direct its growth.
The Pitfalls I Encountered (And How I Fixed Them)
No journey is without its hiccups. Here are the main issues I faced.
- The Wind Tunnel Effect: My balcony is breezy. Two days after planting, a gust nearly toppled a hanging basket. Solution: I immediately switched to heavier, ceramic-look plastic hangers and used carabiners to securely fasten the hangers to the railing brackets. For the roses, I grouped the pots together to create a windbreak.
- Inconsistent Watering: The roses and hanging plants had different thirst levels. Manually checking was a guess. Solution: The moisture meter became my best friend. I learned the roses liked to dry out slightly more between waterings than the constantly thirsty lobelia. I adjusted my schedule accordingly, never again watering on a rigid calendar.
- Early Pest Alert: Around day 10, I spotted aphids on the tender new rose buds. Solution: I didn't panic. I prepared a solution of mild dish soap and water (1 tsp per gallon) and sprayed it directly on the clusters early in the morning. I repeated this for two days, and the aphids were gone. Encouraging ladybugs by planting alyssum in a small container nearby is my next preventative step.
Ongoing Care for a Lasting Display
Once established, the routine is simple. I feed my roses with a specialized organic rose food every 4 weeks during the growing season. The hanging plants get a balanced liquid feed every two weeks. Deadheading the spent roses is a weekly meditation for me—it guarantees more blooms. I prune for shape in early spring. Every few days, I literally "stop and smell the roses," which allows me to inspect for any issues early.
Frequently Asked Questions
What are the best shade-tolerant plants to pair with roses if my balcony isn't sunny? Excellent question! Not all balconies are sun-drenched. If you have less light, opt for shade-tolerant roses like some David Austin English varieties (check their specs). For your hanging partners, switch to stunning trailing plants for rose companions that thrive in shade, such as fuchsias, trailing begonias (like 'Illumination'), or even the delicate, variegated string of hearts.
How often should I really water my balcony rose and hanging basket combo? Throw away the daily watering mindset. Frequency depends on pot size, weather, and plant type. The only reliable method is the finger test or a moisture meter. For my setup, the roses need a deep watering about every 3-4 days in summer, while the hanging baskets often need a drink every 1-2 days. Always water until it runs freely from the bottom.
My roses are growing but not blooming. What am I doing wrong? This usually points to three culprits: not enough sun (roses need at least 4-6 hours), insufficient fertilizer (they are heavy feeders), or a lack of deadheading. Ensure you're using a fertilizer higher in phosphorus (the middle number on the package) to promote blooms, and consistently remove faded flowers to encourage the plant to produce more.
Creating a balcony garden with roses and hanging plants is deeply rewarding. It requires attention, but not an overwhelming amount of time. By choosing the right plants, planting them carefully, and learning their unique language through observation, you can build a breathtaking vertical garden. My space is now a sanctuary of fragrance and color, proving that even the smallest balcony can hold a grand display. Start with one rose and one hanging basket, learn their rhythms, and watch your own oasis unfold.





