 bluename
How to Handle the Germination Process for Balcony Rose Seeds
The quick answer for balcony rose seed germination: soak seeds in diluted hydrogen peroxide for 24 hours, then refrigerate them for 4-6 weeks. After that, plant them in a mix of peat moss and perlite. Keep the soil barely moist, not wet. Place the pot in a spot with indirect light at 65-70°F. I learned this the hard way after killing three batches of seeds.
My First Disaster with Rose Seeds
I remember my first attempt vividly. I bought a pack of miniature rose seeds for my balcony. I was so excited. I planted them directly into regular garden soil. Then I watered them like crazy. Nothing happened for three weeks. Then mold appeared. All the seeds rotted. I felt crushed.
I later found out that RHS RHS explains rose seeds need cold stratification. They need a fake winter period. Without it, they just sit there. Many people skip this step. Don't be like me. The cold treatment wakes up the embryo inside.
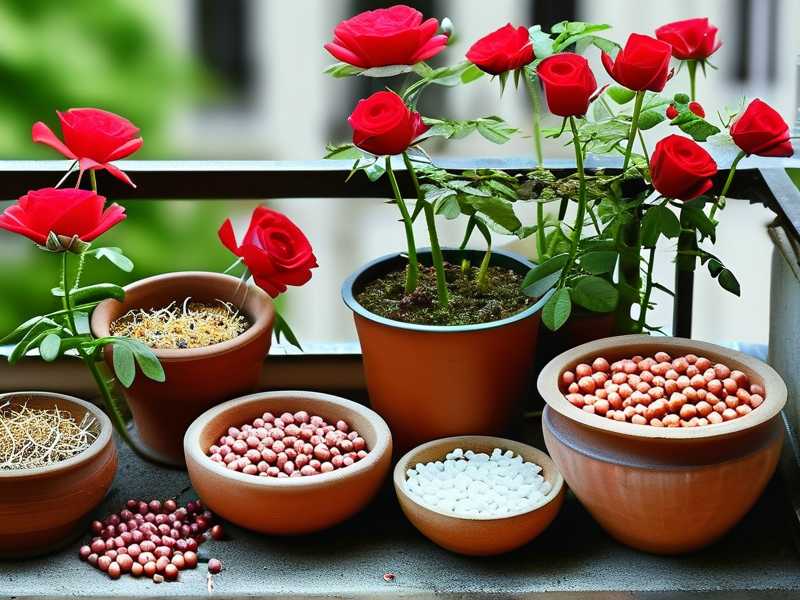
The 3 Deadly Mistakes I Made
Mistake 1: Overwatering
90% of indoor plants die from overwatering. I killed my first batch this way. Rose seeds are tiny. They rot easily if the soil stays wet. I used to water every day. I thought seeds needed constant moisture. Wrong.
The fix: water only when the top layer feels dry. Use a spray bottle. Mist the surface lightly. Do not soak it. The seeds need oxygen to breathe. Soggy soil blocks that.
Mistake 2: Wrong Light Position
My second batch got direct sunlight right away. The soil heated up too fast. The seeds cooked inside the soil. I placed the pot on my south-facing balcony. Big mistake. Rose seeds need dim light before sprouting. Direct sun dries them out.
Now I place the pot in a shaded corner. After they sprout, I move them gradually. First 2 hours of morning sun. Then increase slowly. This "hardening off" phase is crucial. AHS AHS recommends this for young seedlings.
Mistake 3: Using Wrong Pots
I used a big ceramic pot initially. It held too much water. The soil stayed wet for days. The seeds never got a chance. Then I tried tiny egg cartons. They dried out too fast.
I found that 3-inch plastic nursery pots work best. They have drainage holes. They don't dry out too fast. They also let you control moisture better. The size matters. Seedlings need cozy spaces.
My Step-by-Step Germination Routine
Here's what I do now. It works for me after many failures.
Step 1: Seed Preparation
I start in early spring. I take the rose seeds and put them in a bowl. I add water with a few drops of hydrogen peroxide. This kills any mold spores. I let them soak for 24 hours. The seeds absorb water and swell slightly.
Step 2: Cold Stratification
I take a damp paper towel. I fold it into a square. I place the seeds in the middle. Then I fold the towel over them. I put this inside a ziplock bag. Label it with the date. Put it in the refrigerator.
The temperature should be 33-38°F. Not freezing. Not too warm. I check every week. If I see mold, I rinse the seeds and change the towel. This takes 4-6 weeks.
Many people give up here. They think nothing is happening. But the seeds are changing inside. Patience is key. After 5 weeks, I take them out.
Step 3: Soil Mix
I make my own mixture. It's half peat moss and half perlite. The peat holds moisture. The perlite adds air pockets. I fill a 3-inch pot with this mix. Water it lightly until it's damp but not wet.
Step 4: Planting
I poke a small hole in the soil. About 1/4 inch deep. I place one seed in each hole. Then cover it gently. I don't press down hard. The seed needs loose soil to push through.
I use a spray bottle to mist the surface. Then I cover the pot with a clear plastic bag. This creates a mini greenhouse. It keeps humidity high.
Step 5: Location and Monitoring
I put the pot on my balcony shelf. It gets indirect morning light only. The temperature stays around 65-70°F. I check the soil every day. If it feels dry, I mist it lightly.
My 2-Week Observation Log
I kept detailed notes. Here's what happened.
Days 1-3
Nothing visible. The soil looks the same. I feel nervous. But I remind myself that seeds need time. The plastic bag keeps moisture in. I don't water at all during this time.
Days 4-7
On day 5, I see a tiny crack in the soil surface. Something is coming up. My heart jumps. By day 7, there's a small green loop. It's the seed sprouting. It looks like a curled up stem.
Days 8-10
The loop straightens out. Two tiny leaves appear. They are small and round. This is called the cotyledon stage. The leaves are not true rose leaves yet. They are seed leaves.
I remove the plastic bag now. The plant needs fresh air. But I still keep the soil damp. I move the pot to a spot with slightly more light. Maybe 3 hours of gentle morning sun.
Days 11-14
The first true leaves appear. They look like tiny rose leaves with serrated edges. The plant is about 1 inch tall. I start watering from the bottom. I pour water into a tray, then let the pot soak it up. This prevents damping off disease.
At day 14, the plant has 4-5 true leaves. It looks strong. I feel relieved. The process worked.
Troubleshooting Common Problems
I faced several issues. Here's how I solved them.
Problem: Mold on Soil Surface
White fuzzy mold appeared on my soil. This happened because the bag kept humidity too high. I opened the bag slightly. I let air circulate. I also sprinkled cinnamon on the soil. Cinnamon is natural antifungal.
Problem: Seeds Not Germinating
Some seeds took over 8 weeks. I was ready to give up. But I checked the RHS website. They said rose seeds can be stubborn. I kept them in the fridge longer. Eventually, three seeds sprouted. Not all seeds will grow. That's normal.
Problem: Leggy Seedlings
My seedlings grew tall and thin. They looked weak. This happened because they lacked light. I moved them closer to the window. I also used a small desk lamp. The light helps them stay short and stocky.
After Germination Care
Once your rose seedling has 3-4 sets of true leaves, you can transplant it. Use a 4-inch pot with drainage holes. I use a soil mix with compost, peat moss, and perlite. This gives the young plant nutrients.
Water when the top inch feels dry. Fertilize after 2 months with half-strength liquid fertilizer. I use a balanced 10-10-10 mix. Don't fertilize before then. The seedling is too fragile.
Creating the Right Balcony Environment
Your balcony environment matters. Here are my tips.
Temperature
Rose seedlings like 60-75°F. Avoid sudden temperature changes. If your balcony gets hot afternoon sun, move the pot to shade. If it gets cold at night, bring the pot indoors.
Humidity
Balconies can be dry. I place a tray of pebbles with water near the pot. The water evaporates and increases humidity. This helps the seedling leaves stay healthy.
Wind Protection
Wind can damage tender seedlings. I put a small cardboard barrier around the pot. This creates a wind block. Once the plant is bigger, I remove it.
FAQ: New Growers Ask Me
Q: Do I need to use fertilizer on rose seeds?
No. The seed has enough food inside for the first 2-3 weeks. Fertilizing too early burns the roots. Wait until true leaves appear.
Q: Can I skip the cold stratification step?
I tried it once. The seeds never sprouted. Cold stratification is essential for most rose seeds. Buy pre-stratified seeds if you want to skip this step. But they are rare.
Q: How many seeds should I plant?
Plant more than you need. I plant 5 seeds for every plant I want. Some seeds won't sprout. Some seedlings die. Having extras helps.
Final Thoughts from My Balcony
Handling rose seed germination on a balcony is possible. It takes patience. It takes attention to detail. But it's rewarding. Seeing that first tiny leaf emerge makes all the waiting worth it.
I still remember my first successful seedling. I stood on my balcony smiling. My neighbors probably thought I was crazy. But that little plant grew into a beautiful miniature rose. It bloomed pink flowers all summer.
If you follow these steps, you can do it too. Start with a small batch. Don't expect perfection. Learn from each attempt. Your balcony rose garden will thank you.





