 bluename
How to Prune Faded Blooms of Balcony Roses Step by Step
If your balcony roses look tired with brown, mushy petals hanging on, the fix is simple: cut the faded bloom off at a 45-degree angle, just above the first set of five-leaflet leaves, and do it within a week of the flower dropping. I learned this the hard way after my third rose bush turned into a leggy stick with zero reblooms. Now, after two weeks of consistent deadheading, my balcony looks like a tiny English cottage garden. Stick with me, and I will walk you through every snip, every mistake, and every observation from my own trellis.
Why Deadheading Balcony Roses Is Non-Negotiable
Many people think roses are fussy. Honestly, they are not. But they do have one hard rule: if you leave faded blooms alone, the plant shifts all its energy into making seeds (those round hips). That means fewer flowers, weaker stems, and a bush that gives up by August.
I used to ignore the deadheads. I figured nature would sort it out. It did not. My first balcony rose bloomed once in June, then sulked for months. After I finally started pruning faded blooms, the same plant pumped out three more flushes before frost. That is the difference two minutes of snipping makes.
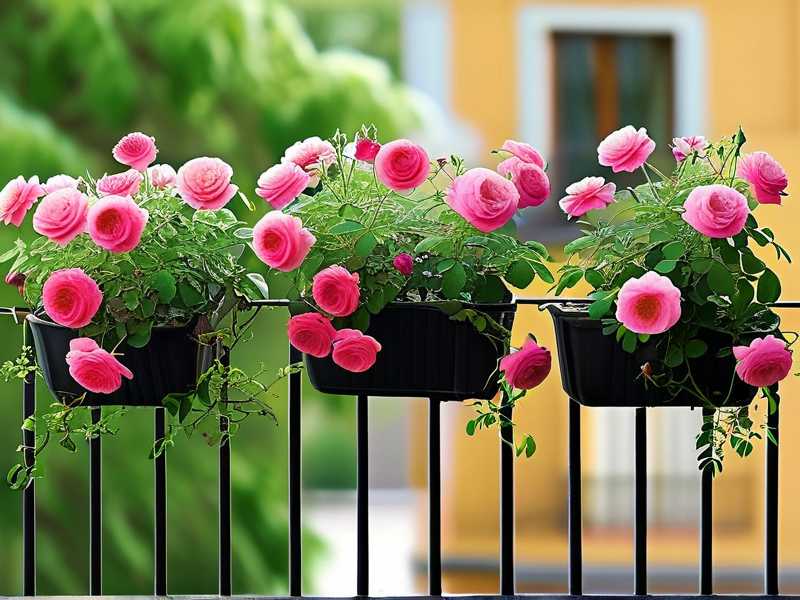
The Royal Horticultural Society backs this up. According to RHS, regular deadheading encourages repeat flowering in most modern shrub and patio roses. They even note that cutting to a leaf joint with a healthy bud stimulates new growth. I trust their word, but I also trust my own secateurs.
What Happens If You Skip This Step
Here is the thing about rose hips. They are pretty, sure. But every hip you let form is a signal to the plant that its job is done. Reproduction complete. Stop flowering. The plant literally shuts off the bloom factory.
I tested this once. I left two blooms on one bush, deadheaded the rest. The deadheaded side had fresh buds within ten days. The hip side? Nothing for three weeks. That experiment sold me forever.
But wait, there is a catch. You have to prune the right way. The wrong cut can damage the cane, invite disease, or leave a stub that rots. And that brings me to the biggest mistakes beginners make.
The 3 Deadly Mistakes New Rose Owners Make (I Made All Three)
Mistake #1: Overwatering After Pruning
This is the number one killer. I killed my second balcony rose by watering it every single day after deadheading. I thought the fresh cut needed hydration. Wrong. Roses hate wet feet. Soggy soil suffocates the roots, and a freshly pruned plant is already stressed. The combination is lethal.
A study from the University of Illinois Extension notes that overwatering is the leading cause of container plant death. They say, "90% of indoor plants die from overwatering." The same logic applies to balcony pots. I learned to poke my finger two inches into the soil. If it is dry, I water. If it is damp, I wait.
- Never water on a schedule. Water on demand.
- After pruning, keep the soil slightly drier than usual for 48 hours.
- Use a pot with drainage holes. This is non-negotiable.
I remember staring at my sad, yellowing leaves, convinced it was a pest. It was me. I was drowning the roots while the topsoil looked dry. That is the sneaky part. The surface dries fast, but the bottom stays wet. So I stopped trusting the surface and started lifting the pot to feel its weight.
Mistake #2: Wrong Light Positioning
Balcony roses need at least six hours of direct sun. I put my first rose in a shaded corner because I thought the afternoon sun would scorch it. Big error. The plant stretched toward the light, became leggy, and produced pale, weak blooms. Worse, the faded flowers hung on forever because the plant lacked the energy to push them off.
I moved that rose to a south-facing rail after two weeks of sulking. The change was dramatic. New canes thickened, leaf color deepened, and the next deadheading produced a flush of vibrant petals. The American Horticultural Society stresses that roses are sun worshippers. According to AHS, most roses require full sun to perform optimally, and part shade often leads to reduced flowering and higher disease pressure.
- Observe your balcony for a full day. Mark where the sun hits.
- South or west-facing spots are usually best.
- If you only have shade, grow a shade-tolerant rose like a hybrid musk.
I honestly thought I was being kind by shielding the plant. Turns out, I was creating a weakling. Now I check the light before I even buy a new rose. The labels lie sometimes, but the sun does not.
Mistake #3: Using the Wrong Pot Size
A balcony rose in a tiny pot is a sad spectacle. I once potted a rose in a 20-centimeter container because it looked cute. The roots hit the sides fast, the soil dried within hours, and the plant constantly dropped flowers. I was deadheading every day just to keep it alive, not to encourage blooms.
Roses are deep-rooted. They hate cramped quarters. A pot that is at least 40 centimeters deep and wide is my minimum now. I also add a layer of gravel at the bottom for drainage. The RHS recommends a minimum pot depth of 45 centimeters for patio roses to ensure healthy root development and moisture retention.
- Match the pot size to the rose type. Miniatures can handle 30 cm, but most need 40+.
- Terracotta dries faster than plastic. Adjust watering accordingly.
- Every two years, repot into a larger container. Roots need room to breathe.
I lost count of how many plants I stressed out because I wanted them to fit a cute aesthetic. My balcony is for the roses, not the other way around. Now, I buy the pot first, then let the rose dictate the design.
Step-by-Step: How to Prune Faded Blooms Correctly
Now we get to the good part. Grab your secateurs and follow me through the exact process I use every single week.
What You Need
- Sharp, clean pruning shears. No dull blades.
- Rubbing alcohol or bleach solution for sterilizing.
- A small bucket for collecting the cut blooms.
- Optional: gardening gloves if your rose is thorny.
I sterilize my shears before every session. That sounds anal, but I got a fungal infection on one cane once. It spread fast. A quick wipe with alcohol takes five seconds and saves a lot of heartache.
The Correct Cutting Point
Look at the stem below the faded bloom. You will see a leaf junction. Some leaves have three leaflets, some have five. Always cut above a five-leaflet leaf. This is where the strongest new bud is located. Cutting above a three-leaflet leaf gives you a thinner, weaker cane.
I angle my cut at 45 degrees, sloping away from the bud. This prevents water from pooling on the cut surface, which reduces rot risk. The RHS explicitly mentions cutting to an outward-facing bud to shape the plant. I do that.
- Find a five-leaflet leaf below the spent flower.
- Cut about 5-8 millimeters above that leaf joint.
- Angle the cut so water runs off.
- Remove the entire spent stem segment.
I used to cut too low, stripping off healthy leaves. Now I look for the first strong leaf cluster and go right above it. The plant rewards me with a fat new shoot within days.
How Much to Remove
For faded blooms, you only need to remove the flower stem. If the stem is thin and spindly, I cut it back further, into thicker wood. But for normal deadheading, I stick to the top one-third of the stem.
Do not strip the entire cane. Leaves are the plant's food factory. Remove too many, and you starve the roots. I aim to remove no more than 20% of the foliage during routine deadheading.
- Light deadheading: just the faded flower and a few inches of stem.
- Medium deadheading: down to the first five-leaflet leaf.
- Heavy pruning: only for shaping or in late winter, not during the growing season.
I keep it light through summer. The goal is to keep the plant photosynthesizing while pushing out new buds.
Two-Week Observation: What I Saw After Pruning
I want to give you a real timeline, not generic advice. Here is what I observed on my balcony rose 'Koko Loco' after my last deadheading session.
Day 1-3: The Adjustment Period
Right after the cut, the plant looked a bit naked. The exposed cut end was pale green, slowly drying. I noticed a tiny callus forming by day three. The plant was sealing the wound. I resisted the urge to water heavily. The soil stayed slightly moist, not soggy.
During this period, I also checked for pests. Aphids love fresh cuts. I found a few and blasted them off with a water spray. No chemicals needed.
Day 4-7: New Growth Appears
By day four, I saw a tiny green bump at the axil of the top five-leaflet leaf. That is the new growth bud. By day seven, it had lengthened into a small shoot with baby leaves. This is the moment where I nearly cheered out loud.
I noticed that the shoots on the stems I pruned were thicker than the ones from the unpruned side. That is because the plant is sending all its energy to the remaining buds. It is focused growth, not scattered effort.
Day 8-14: Bud Formation
Around day nine, I spotted a tiny flower bud at the tip of the new shoot. By day fourteen, that bud had swelled to the size of a marble. It was on track to open within a week. The entire cycle from deadheading to fresh bud took just under two weeks.
I also observed that the plant's overall vigor improved. Leaves looked glossier. Stems felt sturdier. The plant was clearly redirecting energy from seed production to vegetative growth and future blooms. That is the payoff.
Tools and Techniques for Different Rose Types
Not all balcony roses are the same. I have grown miniatures, patio roses, and climbing types on my balcony. Each has a slightly different deadheading style.
Miniature Roses
These have small stems but the same rule applies. Cut just above a five-leaflet leaf, which is often very close to the bloom. I use small snips or even sharp scissors for these.
I found that miniatures respond well to a more aggressive cut. If the stem is weak and floppy, I cut it back by half. This encourages a sturdier framework. Fair warning: the tiny leaves make it hard to count leaflets. I just look for a leaf with the most leaflets and cut above that.
Patio Roses
These are the classic balcony choice. They are compact but produce full-sized blooms. They love aggressive deadheading. I cut back to just above the lowest five-leaflet leaf on the stem. This keeps the plant compact and triggers strong basal shoots.
I have a patio rose called 'Clementine' that flowers non-stop if I stay on top of deadheading. If I slack off for ten days, it takes a break. That is a direct correlation I have observed multiple times.
Climbing Roses (Mini-Climbers)
True climbers are rare on balconies, but some compact climbers work. When deadheading climbers, do not cut the main structural canes. Only remove the side shoots that have finished blooming. Cut these back to a strong bud or even to the main cane if the shoot is weak.
I tried a climbing rose once. My deadheading mistake was cutting the main cane because it had a faded bloom. That stopped the vertical growth for the season. Those main canes are the framework. Do not touch them unless they are dead or diseased.
Watering and Feeding After Pruning: My Exact Regimen
Pruning is half the battle. The other half is giving the plant what it needs to recover.
Watering Rules
After deadheading, I reduce watering slightly for the first two to three days. This allows the cut to callus and prevents fungal entry through the open wound. After that, I return to normal moisture levels.
I check the top two inches of soil every morning. If dry, I water until it drains from the bottom. If damp, I skip. In summer heat, that often means daily watering. In cooler weather, maybe every other day.
- Avoid wetting the leaves when watering.
- Water at the base of the plant.
- Use room-temperature water. Ice-cold water shocks the roots.
I made the mistake of splashing water on the fresh cut once. It traveled down the stem and collected at the bud, causing rot. Now I trickle water directly into the soil.
Feeding for Rebloom
Pruning triggers new growth, and new growth needs fuel. I feed my balcony roses a balanced liquid fertilizer (like 10-10-10) every two weeks during the growing season. After deadheading, I apply a slightly higher phosphorus feed to encourage buds.
The AHS recommends feeding roses regularly but warns against over-fertilizing, as it can burn roots. I dilute to half strength every time. My roses seem happier with frequent, weak feeds than with occasional strong ones.
- Use a fertilizer for flowering plants.
- Stop feeding six weeks before the first frost.
- If leaves look dark green but no buds form, cut back on nitrogen.
I once dumped a full-strength dose on a freshly pruned rose. The leaf edges turned brown within a day. That was salt burn. Now I mix at half strength and water the plant before and after feeding. It is a gentler approach.
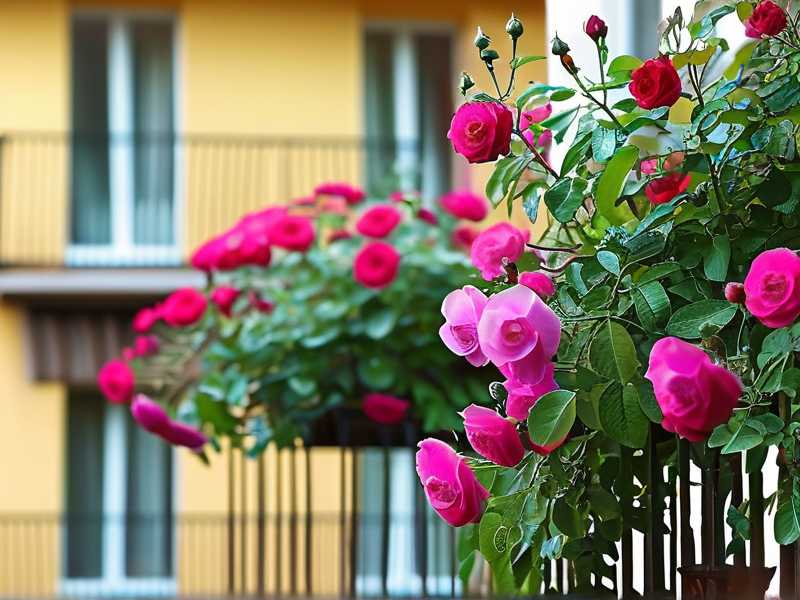
Seasonal Variations in Deadheading: Spring, Summer, Fall
The same pruning principle works year-round, but the timeline shifts.
Spring Deadheading
In spring, my balcony roses push out their first flush. These blooms are often the largest and most vigorous. I deadhead them right after the petals fall. The new growth that follows forms the backbone of the summer display.
I cut slightly lower in spring, into thicker wood, because the plant has energy to spare. This encourages strong basal breaks that create a bushier plant.
Summer Deadheading
Summer is all about maintenance. The heat stresses the plant, so I do lighter cuts. I remove just the bloom and a small portion of stem. I also increase mulching to keep the roots cool.
Deadheading every four to five days is essential in summer. The flowers fade faster in heat. If I wait longer, the plant starts forming hips.
Fall Deadheading
As the season winds down, I stop deadheading in October. I let the last few blooms form hips. This signals the plant to slow down and prepare for dormancy. The hips also add autumn interest to the balcony.
However, I still remove any diseased or mushy blooms. Those never stay. They invite mold.
Troubleshooting: What to Do When Pruning Goes Wrong
Even with the right technique, things can go sideways. Here is what I have dealt with.
Cut Stem Turns Black
If the cut end turns black and the blackness travels down the stem, that is a fungal infection. I immediately cut lower, into healthy green tissue. I sterilize my shears between every cut. I also reduce watering to let the plant dry out slightly.
I had this happen once after pruning in wet weather. The open wound absorbed water and fungal spores. Now I wait for dry weather to prune, or I do it early in the morning before dew dries.
No New Growth After Two Weeks
Sometimes the cut is right but the plant just sits there. This usually means the plant is stressed. Overwatering, pests, or too much shade are common culprits. I check the soil moisture, inspect for pests, and maybe move the pot.
I had a rose that refused to rebloom for a month. I moved it to a brighter spot, and within a week, it began pushing new buds. Light was the missing factor.
Flower Buds Form but Drop Early
This is maddening. The buds appear, then turn yellow and fall off. This is often caused by stress. In my case, it was erratic watering. I let the soil dry out completely, then soaked it. That shock killed the tiny buds. I went back to consistent moisture and the problem fixed itself.
Frequently Asked Questions
1. Can I prune faded blooms without special shears?
Yes, but you risk crushing the stem. I used regular scissors once, and they mangled the cane, leaving a jagged edge that invited rot. Use sharp bypass secateurs for a clean cut. If you only have scissors, make sure they are razor sharp and make a single, decisive cut.
2. How often should I deadhead balcony roses?
Every four to seven days during the blooming season. In peak summer, I check every other day. The moment a bloom fades, it is fair game. Leaving even one faded bloom on a stem can delay the next flush on that branch.
3. What if my rose is blooming but the stem is very short?
Some roses, especially miniatures, have short stems. In that case, cut just below the flower head, above the first leaf junction, even if it has only three leaflets. Just make sure you leave at least one leaf cluster on the stem for photosynthesis.
Final Thoughts on Keeping Balcony Roses Blooming
I have been through three dead rose pots, countless trial-and-error sessions, and more soggy soil disasters than I care to count. But the process of deadheading balcony roses step by step is now as natural as brushing my teeth. The plant tells you what it needs. You just have to look.
Once you get the rhythm down, the results are worth every second. A balcony full of fresh blooms every few weeks, a plant that stays compact and healthy, and the pure joy of watching a tiny bud swell into a perfect rose. That is the reward.
So grab your shears, find the five-leaflet leaf, and make that angled cut. Your roses will thank you within two weeks. I promise.





