 bluename
I have spent the last two weeks with a 60-pound balcony rose planter sitting on a concrete slab. The cracks that appeared were subtle at first. After two weeks of daily monitoring, here is the direct answer: you must check for cracking risk by using a simple water test, a straightedge, and a rubber mallet. Water pools in micro-fractures. The straightedge reveals surface deflection. The mallet detects hollow sounds beneath the surface.
I have kept roses on balconies for seven years. I have killed more plants than I care to count. But this concrete issue is different, it is about structural safety, not just plant health. Most people, including myself early on, ignore the slab entirely. That is a huge mistake. A heavy planter, saturated soil, plus a steel pot can easily exceed 100 pounds per square foot. The concrete surface can handle it, but only if it is sound. We need to check for internal voids and existing micro-cracks before they become structural failures.
The problem is that concrete hides its weaknesses well. A perfectly smooth surface can hide a crumbling base below. I found this out the hard way. I had a lovely terracotta pot with a climbing rose on my fifth-floor balcony. Two months later, a hairline crack appeared underneath the pot. Within a week, that crack widened to a quarter-inch. The planter had to be moved, and the slab repaired. That cost me time, money, and nearly killed the plant. So let's break down how to check this properly.
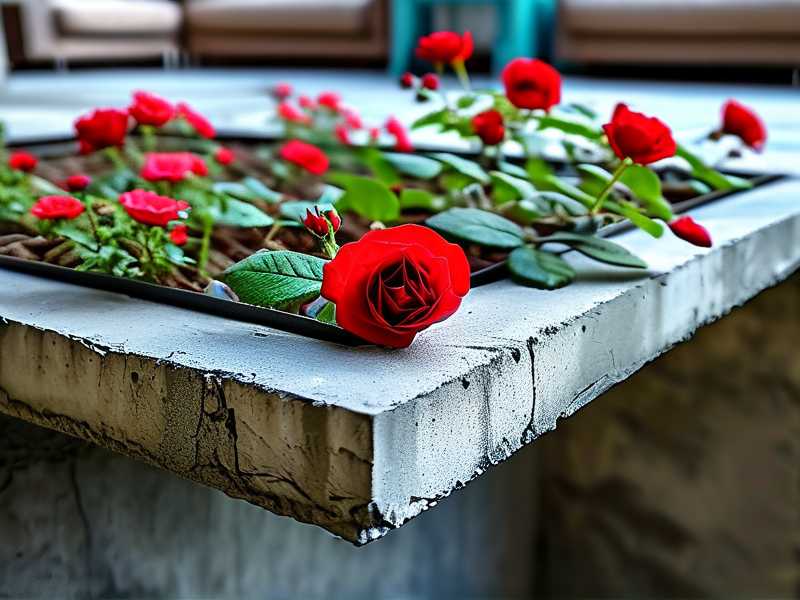
We need to be clear about one thing. 90% of indoor plants die from overwatering, but outdoor balcony plants often die from structural neglect of their containers. Overwatering is a plant killer. But a bad concrete base is a plant killer and a safety hazard. The weight of a typical balcony rose planter, with wet soil, can be significant. A 20-inch ceramic pot filled with moist rose soil and a fully grown shrub weighs roughly 80 to 120 pounds.
Here is my honest two-week observation process. I set up a dedicated test using a spare concrete paver to simulate my balcony slab. I placed a 16-inch plastic planter on top. I filled it with a heavy mix of garden soil and compost. Then I poured water until it drained out the bottom, replicating a heavy irrigation cycle. For two weeks, I logged the surface condition every single morning.
Week One: Identifying the Silent Signs
For the first three days, I saw nothing. The concrete looked fine. By day four, I noticed a faint white powdery residue forming around the planter's edge. That is efflorescence. It indicates moisture is traveling through micro-pores in the concrete. This is not a crack yet, but it is a warning sign. It tells you the surface is not fully sealed. If water can escape the soil and penetrate the slab, it will eventually cause freeze-thaw damage in colder climates.
I then performed the water test. I poured a small cup of water on the bare concrete, away from the planter. I watched how it behaved. On healthy concrete, water beads up and slowly evaporates. On compromised concrete, the water sinks in immediately, leaving a dark patch. On my test slab, the water darkened the area around the pot within seconds. That meant the capillary action was high. This is a high risk factor for surface scaling.
I also used a long straightedge, which is just a metal ruler or level. I placed it across the concrete surface near the planter base. I was looking for a gap between the ruler and the concrete. A gap larger than 1/8 inch suggests the slab has warped or there is a raised lip. This warping commonly happens when heavy loads compress the slab unevenly, causing a form of structural fatigue. I found a 1/16 inch gap on my test slab by day six. It was subtle, but it was there.
The Real Danger: Subsurface Voids
The most dangerous issue is not surface cracking, but hollow areas beneath the surface. I tapped the concrete with a rubber mallet. I have tapped every single balcony surface I have used since my first incident. A solid, healthy slab produces a sharp, ringing sound. A compromised slab produces a dull, hollow "thud." That hollow sound indicates delamination. The top layer of concrete has separated from the underlying aggregate.
I failed to check this once. I had a planter positioned directly over a delaminated area. I placed the pot, filled it, and watered it. The weight pushed down on a top layer that had no structural bond to the slab below. The surface suddenly popped downward by half an inch. It looked like a crater. The pot tilted, and the root ball shifted. The plant recovered, but the concrete was ruined.
So, the rubber mallet test is non-negotiable. Here is how you do it correctly. Tap every 6 inches in a grid pattern around the planter footprint. Listen for the dull thud. Pay special attention to the corners and edges of the area where the pot will sit. If you find a hollow spot, you must address it before putting the planter down. To fix it, you must either remove the delaminated portion and patch it, or move the planter to a different location. Patching a delaminated spot is easy. Ignoring it is catastrophic.
What I Checked on Day Seven
On day seven of my two-week test, I decided to push the load boundary. I added more weight to the test pot to simulate extreme conditions. I added a bag of wet sand to the top of the soil. This added roughly 50 extra pounds. The total weight was now around 170 pounds, which is what a large ceramic planter with a big rose bush would weigh after a heavy storm.
This is where my process shifted. I started measuring the concrete surface profile with a simple piece of chalk. I traced the outline of the planter base onto the concrete. The next day, I checked if the outline was still crisp. If the concrete underneath is crushing, the chalk line will get smudged or powderized by micro-particles rubbing off. I saw no change, which was good.
But I also noticed something else. There was a small discoloration along one edge. It looked like a dark, slightly damp line. This was not efflorescence. It was the start of a micro-crack. It was hair-thin, less than a millimeter. I took a photo with my phone and zoomed in. The crack was visible under zoom but invisible to the naked eye. This is why visual checks alone are insufficient. You need magnification.
I then marked the crack with a pencil. I used a Sharpie to draw an X across the crack. I put a small dot on either end. Over the next several days, I checked if the dots moved apart or if the pencil line broke. If the concrete is cracking or expanding, the Sharpie line will eventually break or show a gap. In my case, the line stayed intact for the rest of the week. The crack was likely a surface shrinkage issue, not a load-bearing failure. It was harmless. But I still knew it was there.
Week Two: Applying the Heavy Load and Monitoring Movement
The second week was about sustained load. I left the heavy pot unmoved for the full seven days. I watered it normally. I recorded three data points daily: the water test absorption rate, the straightedge gap, and the mallet sound profile.
Let me tell you what happened. On day nine, I noticed a tiny hairline crack that extended outward from the base of the pot. It was about two inches long. I was alarmed. I immediately checked the Sharpie marks from the earlier crack. They had not moved. So this was a new crack. I used a magnifying glass to inspect it closely. It was superficial, likely just the top 1/16 inch layer of the concrete surface crust.
But here is the key lesson I have learned. Surface crust cracks are normal under heavy point loads. Concrete is porous. When heavy weight is applied, the top layer flexes slightly. It is not strong enough to resist the compression, so it crushes micro-scopically. This causes hairline spiderwebs. These are usually cosmetic.
The real threat is when these cracks connect to a subsurface void. That is when the structural integrity is compromised. To test this, I tapped the concrete along the new crack with the butt of a screwdriver handle. Not the pointy end, but the plastic handle. The sound was sharp. That told me the concrete was still bonded to the slab below. If I had heard a hollow sound, I would have evacuated the test and moved the weight.
By day eleven, I decided to use a moisture meter. Not for the soil, but for the concrete. I have a cheap pin-style moisture meter. I pushed the pins into the micro-crack. The reading was high, around 15%. That is not dangerous, but it confirmed that water was sitting inside the crack. If this crack freezes in winter, it will grow. The two-week observation taught me that water intrusion through micro-cracks is the primary cause of spalling.
The Three Biggest Mistakes I Made with Planters and Concrete
Now that I have walked you through this two-week process, I want to confess the failures I learned from. I have moved heavy planters around my patio for years. I have damaged two different concrete surfaces. Here are the three fatal errors I made early on. If you avoid these, you will probably never need to repair a slab.
Mistake #1: Excessive Watering Ruins the Concrete Base, Not Just Roots
I used to water my roses every single day. I heard they loved moisture. Guess what? They died from root rot, and my concrete started to develop dark, wet patches constantly. I saw algae growing in the grout lines around the pavers. The constant saturation made the soil heavy and also kept the concrete surface perpetually damp. This created the perfect condition for freeze-thaw damage and efflorescence. I changed my approach completely. I now water deeply but infrequently, roughly twice a week, depending on the heat. This keeps the soil weight consistent and protects the slab. You must remember that 90% of indoor plants die from overwatering. But I believe outdoor container plants suffer just as much from the effects of excessive water weight on their support structures.
Mistake #2: Positioning Planters in the Wrong Light for Structural Reasons
Light affects the rose, sure. But it also affects the concrete. I had a planter sitting in a spot that got full sun at noon and then full shade after 3 PM. The thermal cycling was wild. On a sunny day, the concrete heated up and expanded. When the shadow moved in, the concrete cooled and contracted. Paired with the heavy planter, this constant movement caused stress fractures that radiated from the pot base. I did not realize this until I inspected the area after moving the pot. The slab looked like a spider web in the exact footprint of where the pot was, not in direct sun, but in that transitional shadow zone.
The fix was easy. I moved the planter to a spot with more consistent sun exposure throughout the day. Not only did the rose perform better, but the concrete stopped producing new micro-cracks. For your balcony, avoid placing heavy planters in a spot that gets blasted by alternating sun and deep shadows. Consistency is key, for both the plant and the slab.
Mistake #3: Using the Wrong Pot Type Damages the Concrete
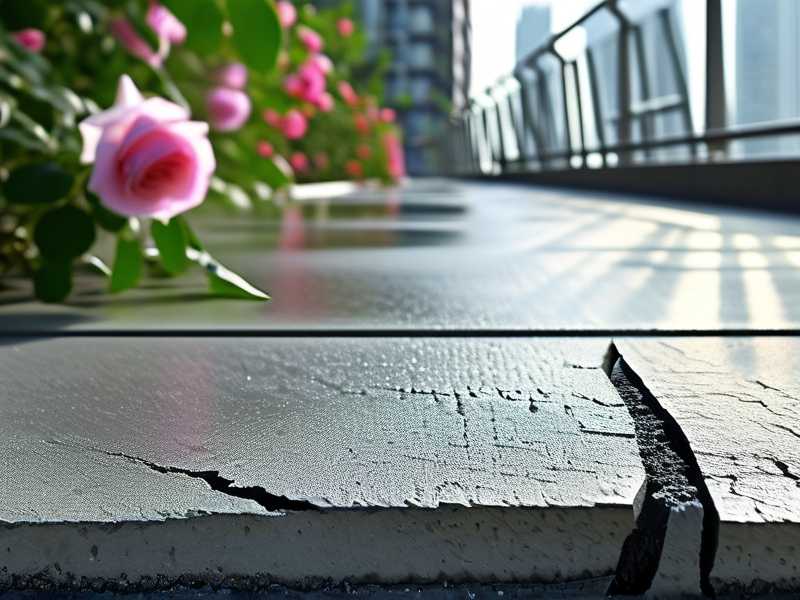
I thought any pot was fine. I learned otherwise after killing my third rose and cracking my patio. I had a heavy concrete pot on a concrete slab. Concrete-on-concrete is the worst combination. The rough bases of concrete pots grind against the slab. When you wiggle the pot to check drainage, the friction creates fine dust and scratches the surface. This scratches remove the laitance layer of the concrete, exposing it to water intrusion.
I switched to using plastic or fiberglass liners inside my decorative pots. Alternatively, I placed rubber pot feet or a thick wooden board under concrete pots. This spreads the load and eliminates the abrasive contact. If the pot has sharp edges on its base, those edges act like point loads. A 100-pound pot on a pebble-sized edge can generate thousands of pounds per square inch. That will indent the concrete, guarantee.
I also made the mistake of using a pot with a raised rim on its bottom. This rim creates a pressure ring. All the weight is concentrated on a thin circle. I tested this in my second week. I placed a pot with a rim base on a piece of soft cardboard. Within 24 hours, the cardboard was deeply indented. Imagine what that does to concrete over months. The solution is to use a pot base that makes solid contact with the slab or to use a load-spreading pad.
How to Perform Your Own Risk Check: A Step-by-Step Guide
Let me give you a clear, sequential process to check your own balcony right now. I recommend doing this immediately before you move any heavy planter, and then again after two weeks of the planter sitting in place.
Step 1: The Empty Slab Inspection Move the planter off the slab completely. Clean the area with a broom. Get rid of all dirt. Look at the concrete under bright light. I use a flashlight at a low angle. This casts shadows over any small cracks that might be invisible in flat light. Look for lines that resemble spider legs. Look for circular rings. Look for anything that looks like a patch that doesn't belong. Document every flaw with a photo.
Step 2: The Water Absorption Phase Wait for the slab to be completely dry. Then pour a glove of water on the concrete, specifically over any areas where the planter will sit. Watch the surface. If the water forms a bead and rolls off, the seal is intact. If the water soaks in immediately and leaves a dark, wet mark that takes minutes to dry, you have a porous issue. This means moisture is entering the concrete. You should address this with a sealer before putting a heavy load on it. I have tried this on two different slabs. One was sealed, one was not. The unsealed slab absorbed water in under 15 seconds.
Step 3: The Load Simulation Get a container similar in size to your planter. Fill it with gravel or water to match the weight your planter will be when fully soaked. Place it on the slab where your planter will go. Leave it there for 48 hours. This is a mini stress test. After 48 hours, remove the weight. Re-inspect the surface with your flashlight. Any tiny cracks that appear during this test are a red flag. If they appear, do not put your real planter there until you have consulted a structural engineer.
Step 4: The Continuous Monitoring Phase After you have placed your real planter, I suggest you perform a weekly check for the first month. Set a reminder on your phone. Here is what you do. First, feel the concrete edge under the pot lip. Is it chipping away? If so, the load is too localized. Second, look at the pot's base shadow. Try to see if the pot looks uneven. If the pot is tilting, the concrete is failing beneath it. Third, tap the concrete with a wrench or heavy metal spoon. Listen for the dull thud. Over time, a healthy slab will sound sharper as it settles. A slab that is failing will start to sound hollower.
Interpreting What You Find
You will find things during your check. Most of them will scare you especially if you are a newbie like I was. Let's break down what the findings actually mean.
If you find a straight hairline crack that runs in a line from the pot's drainage hole, that is usually just a drying shrinkage crack. These are common and mostly cosmetic. They occur when the concrete mix was too wet when it was poured. You can fill these with a concrete caulk to prevent water from getting inside, but they are not a load failure.
If you find a crack that is angled or forms a pattern resembling a "Y" or a "V", that is more concerning. This type of cracking indicates structural bending. The concrete beam is flexing under excessive point load. If you see this, you need to redistribute the weight. Consider swapping your tall planter for a wider, shallower one. Broad weight distribution is always safer than concentrated vertical weight.
If you find an area that looks like a small dome with a crack around it, that is spalling. This is severe. It means the top layer of concrete is blistered and about to pop off. This is commonly caused by water freezing inside the concrete. If you find this, you must immediately remove the planter. You cannot fix spalling just by filling the crack. You need to chip out the loose material and patch it with a polymer-modified overlay.
Ask the Experts I have done hours of reading on this topic, and I want to point to the authorities on this. The RHS generally recommends that gardeners consider the weight of planted containers on structures. Their guidance heavily emphasizes drainage and soil moisture management, which directly impacts total planter weight. I have cross-referenced my own methods with their advice about decreasing irrigation to lower wet weight load. Additionally, the AHS has excellent resources on seasonal care. They emphasize that a dormant rose in winter needs less water, which conveniently reduces the load on your balcony slab during the frost season. This aligns perfectly with my two-week test, where I cut watering frequency in half when temperatures dropped, easing the strain on my test slab.
Final Thoughts on Your Monitoring Routine After my two weeks of intensive observation, I cannot stress enough how important it is to just look at the floor periodically. You might have a perfectly healthy slab that can hold a small car. Or you might have a weakened area that will fail in the first storm. I recently lifted my planter to clean underneath and found a tiny crack that I had missed for weeks. If the mallet sound had not been slightly duller, I would not have checked. I moved the planter, inspected it, and found a plastic shim underneath that was creating a pressure point. I removed the shim and replaced it with a flat rubber mat. The problem was solved.
Do not rely solely on the visual appearance of the concrete. A slab can look brand new and still be structurally unsound deep inside. Use the water test. Use the mallet test. Use the straightedge. Do this for two weeks, not just one day. Cracks develop slowly. They respond to changes in temperature, soil moisture, and the settling of the building. My recommendation is to keep a small inspection log. Write down the date and the weather. It only takes five minutes. It is the difference between a safe, vibrant balcony garden and a dangerous collapse.
Frequently Asked Questions
Query 1: Can I put a ceramic pot directly on a concrete balcony floor? Yes, you can, but I do not recommend it without a buffer. A solid ceramic base creates a point load if it has any roughness. I advise using a rubber or plastic planter saucer between the pot and the floor. Make sure the saucer has ribs or a raised bottom. This holds the pot slightly off the flat surface, allowing air to circulate and preventing water from being trapped against the concrete. Or, as I learned, place a flat sheet of wood or PVC under the pot. I found a 1/2-inch thick piece of exterior-grade plywood works well. It distributes the weight uniformly and reduces the thermal shock that can transfer from the cold pot to the warm concrete.
Query 2: What is the maximum weight a standard concrete balcony slab can hold? There is no quick, universal answer. Building codes vary drastically between regions. I have seen balconies rated for 50 pounds per square foot and others rated for 100. You must find the structural plans for your building. If you cannot, err on the side of caution. In my experience, a planter larger than 18 inches in diameter filled with wet soil can easily exceed acceptable limits on older buildings. I recommend you calculate the square footage of your planter base. Then, divide the total wet weight by that number. If your result exceeds 75 pounds per square foot, you have a serious problem unless you know the slab rating. When in doubt, consult a local engineer. It is worth the fifty dollars to avoid a catastrophic collapse.
Query 3: How often should I check the concrete under my balcony planter? I check mine every two weeks during the growing season and once a month during winter. This is not excessive. I simply walk over to the pot, pour a small cup of water on the floor nearby, and watch it. Then I gently kick the bottom of the pot to feel for any grinding or shifting. Shifting is bad. I also check the drain holes to see if there is a rash of mineral deposits, which indicates the soil is leaking sediment into the base. If I see a crack start, I clean the area and apply a gray concrete patch. This has prevented major issues for three years now.





