 bluename
How to Use Frost-Proof Fabric-Bag Liners Inside Decorative Balcony Rose Pots
If your balcony roses have ever sulked through a cold snap while the pot looked perfectly fine from the outside, you already know the dirty secret of decorative containers: the pretty shell rarely protects the roots. Here is the short answer before you scroll: line the inside of your decorative pot with a frost-proof fabric bag, leaving a 2–3 inch air gap between the fabric and the outer wall, then plant your rose into that fabric liner as if it were the real pot. That single change is how I stopped losing roses on an exposed ninth-floor balcony in USDA zone 6b. Now let me show you exactly how to do it, what went wrong for me, and what two weeks of close observation actually looked like.
Why Decorative Balcony Pots Freeze Roots Faster Than You Think
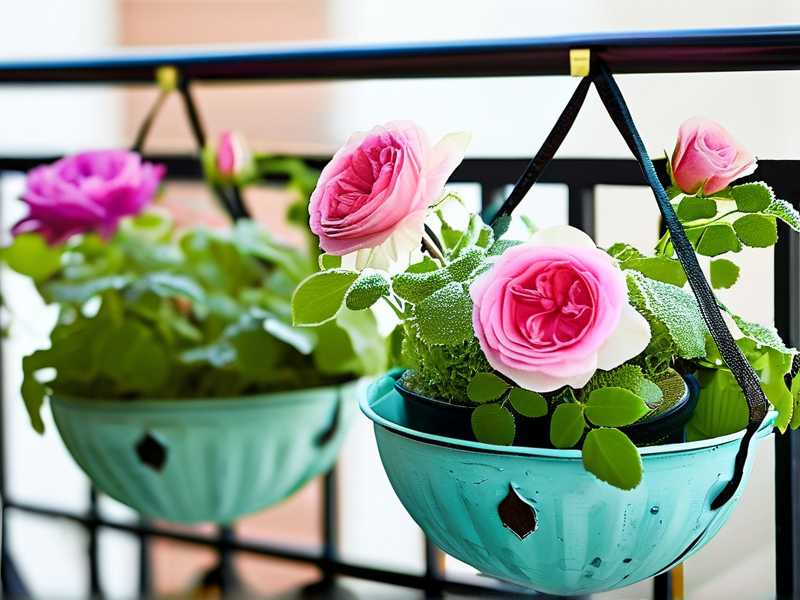
Most decorative balcony planters are thin. Glazed ceramic, resin, metal, even fiberglass — they look lovely, but they hold almost no insulating value. When the temperature drops, the root ball sits right against that cold shell.
Frost creeps in from the sides, not just the top. That matters because rose roots are surprisingly tender. I lost a two-year-old ‘Julia Child’ floribunda in a single February night, not because the air got cold, but because the root ball froze solid against the pot wall.
The Royal Horticultural Society notes that container-grown plants are far more vulnerable to winter damage than plants in the ground, mainly because roots have no soil mass around them for insulation. Same story from the American Horticultural Society — container roots often die at temperatures well above what the top growth can survive.
This is exactly the gap a frost-proof fabric-bag liner fills.
What a Frost-Proof Fabric-Bag Liner Actually Does
A fabric-bag liner is a breathable, non-woven grow bag — usually felted polypropylene or recycled fabric. It sits inside your decorative pot like a removable inner basket. It’s not a plastic liner and it’s not bubble wrap.
Three things happen when you use it correctly:
- Air becomes your insulation. The dead-air space between the fabric bag and the decorative pot wall acts like a jacket. Air is a poor conductor of heat, so the root zone stays several degrees warmer.
- Excess water drains away. Fabric breathes. Soggy roots freeze faster and rot faster. Drainage is half the frost battle.
- You can move the whole root system. In a hard freeze, I lift the fabric bag out, wrap it, and bring it into the garage without disturbing the roots.
That last point is why I switched permanently. Decorative pots are heavy. Fabric bags are not.
How I Set It Up: My Real Step-by-Step
I’ve refined this over three winters and four roses. Here’s the version that finally worked.
Step 1: Measure the inner pot, not the outer pot
Take a tape measure and check the interior diameter at the rim, the interior depth, and the diameter at the base. Decorative pots taper. A liner that fits the rim will wedge halfway down. I learned that the annoying way with a $40 Italian planter.
Step 2: Choose a fabric bag 1–2 inches smaller than the inner wall
You want a visible gap. If the fabric touches the decorative wall all the way around, you’ve lost your insulation layer. A bag roughly 90% of the inner diameter is right.
Step 3: Add a drainage layer at the bottom of the decorative pot
I use 1 inch of coarse perlite or small lava rock. This keeps the fabric bag from sitting in standing water after rain or snowmelt. On a balcony, snowmelt is the real killer — it pools at the bottom and re-freezes.
Step 4: Fill the fabric bag with your rose mix
My mix is roughly 60% quality potting soil, 25% compost, 15% perlite. Roses hate heavy, soggy soil. In a fabric liner, that mix drains beautifully. I also drop in a slow-release rose fertilizer at planting time.
Step 5: Plant the rose and water it in
Plant at the same depth it was growing before. Water slowly until it runs out the bottom of the fabric bag, then out of the decorative pot. If water sits, your drainage layer is too thin.
Step 6: Mulch the top of the fabric bag
Two inches of bark mulch over the soil surface. This protects the crown, where roses are most frost-sensitive. It also slows moisture loss.
Step 7: Check the air gap every few weeks
Fabric bags settle. Soil compacts. If the bag shifts sideways and contacts the decorative wall, you lose insulation. A quick nudge with a dowel fixes it.
My Two-Week Observation: What Actually Changed
I tracked one ‘Olivia Rose Austin’ in a lined decorative pot against an identical rose in an unlined ceramic pot. Same balcony, same sun, same watering schedule.
Days 1–3: No visible difference above ground. Both looked fine.
Days 4–7: Overnight lows hit 28°F. The unlined pot’s soil surface froze into a crust. The lined pot’s soil stayed crumbly. Mulch on both.
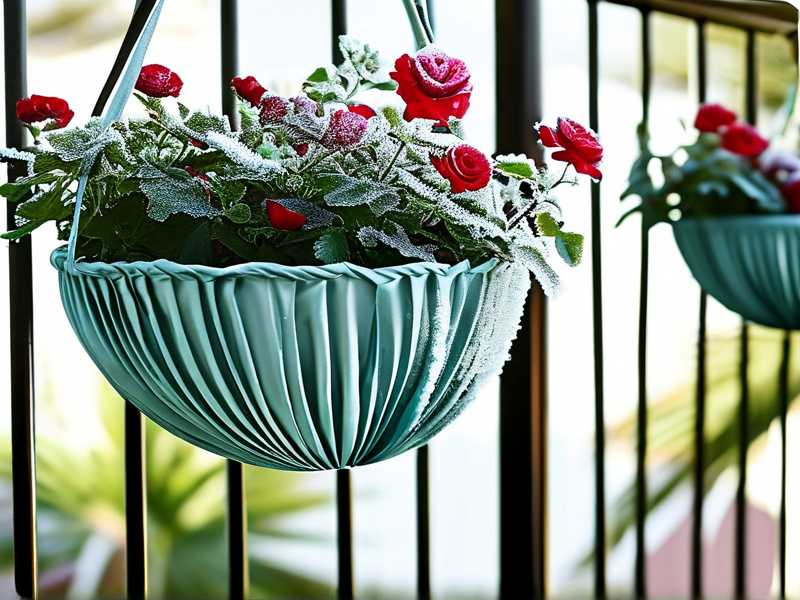
Days 8–11: A harder night, 22°F. The unlined rose showed slight cane tip dieback. The lined rose showed none. I measured soil temperature 3 inches down at 7 a.m.: 29°F in the unlined pot, 35°F in the lined pot. That 6-degree difference is the whole ballgame for rose roots.
Days 12–14: The unlined rose’s root zone was still frozen at midday. The lined rose’s root zone had thawed and was draining freely. No rot smell, no mushy roots. I pulled the fabric bag out, inspected, and put it back. The root ball was firm and pale.
By spring, the difference was obvious. The lined rose broke dormancy two weeks earlier and pushed stronger basals. The unlined one survived, but it sulked until May.
Three Beginner Mistakes I Made So You Don’t Have To
Mistake 1: Overwatering
I killed my first three balcony roses by watering on a schedule instead of checking the soil. This is the big one. 90% of indoor plants die from overwatering, and container roses in winter are basically indoor plants with a better view. Wet roots freeze into ice blocks. Ice blocks destroy cell walls. Dead rose.
Fix: Water only when the top 2 inches of soil are dry. In winter, that might mean once every 10–14 days. Fabric liners dry faster than ceramic, which is a feature, not a bug.
Mistake 2: Wrong Light Placement
I put a rose in a corner that got two hours of weak morning sun and called it “bright indirect light.” That’s a houseplant phrase, not a rose phrase. Roses want full sun — six or more hours. A frost-proof liner won’t save a rose that’s starving for light.
Fix: Track your balcony’s sun with a compass and a notebook for a day. Move pots accordingly. South-facing is gold in the northern hemisphere. If you can’t get six hours, choose a shade-tolerant rose like ‘Zephirine Drouhin’ — but don’t expect miracles.
Mistake 3: Using the Wrong Pot
I once tried to stuff a fabric liner into a decorative pot that was too small. The fabric bulged, the root ball got crushed, and the rose died by midwinter. The pot was pretty. The rose was not.
Fix: The decorative pot must be at least 2 inches wider and 2 inches deeper than the fabric bag’s full size. No cramming. If it doesn’t fit comfortably, size up the pot or size down the bag.
Long-Tail Considerations: Frost-Proof Fabric Liner for Winter Rose Protection
When you search for frost-proof fabric liner for winter rose protection, you’ll see a lot of generic grow bags. Not all are equal.
Look for these features:
- Thick non-woven fabric, at least 300 gsm. Thin bags tear and lose shape.
- Reinforced handles. You’ll be lifting the bag in and out.
- UV resistance. Balcony sun is brutal on cheap fabric.
- Breathable but not porous to soil. You don’t want soil washing out.
I’ve had good luck with 5-gallon and 7-gallon fabric pots from reputable garden suppliers. Avoid the flimsy dollar-store versions. They last one season.
Another long-tail angle: using a fabric liner as a decorative balcony rose pot insert. That’s exactly what this method is. The decorative pot is the shell. The fabric bag is the working pot. The rose lives in the fabric bag.
Winter Care Routine for Lined Balcony Roses
Once your rose is in the fabric liner inside the decorative pot, winter care gets simple.
Water sparingly. Check soil moisture every 10 days. Water only if dry.
Reduce feeding. Stop fertilizer by early fall. Roses need to harden off, not push soft growth into frost.
Protect the crown. Mulch over the graft union. In zone 5 or colder, wrap the whole fabric bag in burlap or move it to an unheated garage.
Watch for freeze-thaw cycles. This is the sneaky killer. Water expands when it freezes. If your soil is soggy, that expansion cracks roots. Fabric drainage prevents this.
Check the air gap. Every few weeks, make sure the fabric bag hasn’t slumped against the decorative wall.
Spring Transition
When danger of frost passes, pull the fabric bag out and inspect the roots. Trim any dead or mushy roots with clean shears. Refresh the top inch of soil. Put it back in the decorative pot and start your normal watering and feeding routine.
I usually repot into a fresh fabric bag every two years. Roses fill the bag with roots fast. A root-bound rose in a fabric liner is still better off than one in a cracked ceramic pot, but fresh soil and a bigger bag give you more blooms.
Frequently Asked Questions
Can I use a frost-proof fabric-bag liner in any decorative pot?
Almost any pot works as long as it has drainage holes and is at least 2 inches wider and deeper than the fabric bag. Metal pots conduct cold, so they need a bigger air gap. Ceramic and resin are better. Wood is best.
Do I need to remove the fabric bag in winter?
Not necessarily. The bag stays inside the decorative pot for insulation. Only pull it out if temperatures drop below your rose’s hardiness limit or if you need to move it to a sheltered spot. The whole point is that you can move it easily.
How often should I water a rose in a fabric liner during winter?
Much less than you think. In cold weather, every 10–14 days is typical. Stick your finger in the soil. If it’s dry 2 inches down, water. If it’s damp, wait. Overwatering kills more winter roses than cold ever will.
Final Thoughts
Decorative balcony pots are for looks. Frost-proof fabric-bag liners are for survival. Pair them correctly and your roses get both. I wish I’d known this before I lost four roses to frozen roots and soggy soil. The setup takes maybe 30 minutes. The payoff is a rose that comes back stronger every spring while your neighbor’s ceramic pot rose turns to mush. Start with one pot this season. Watch the two-week difference yourself. Then you’ll never go back.





