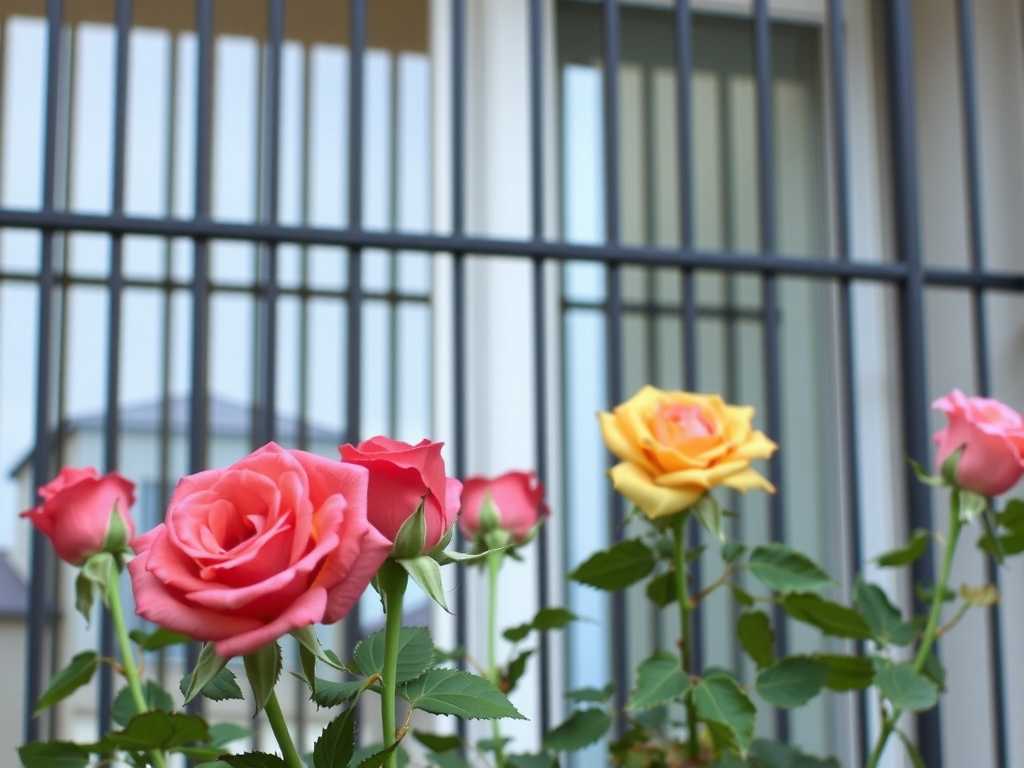
How to Remove Weeds from Balcony Rose Planters: A 2-Week Battle Plan from a Passionate Gardener
There’s nothing more disheartening than seeing unwelcome green invaders stealing nutrients and sunlight from your prized balcony roses. I’ve been there. You nurture your rose planters, dreaming of lush blooms, only to find a stubborn carpet of weeds taking over. The confined space of a balcony planter makes this a unique challenge—it’s an intense, close-quarters battle for resources. After years of trial and error with my container garden, I’ve developed a reliable, plant-friendly system for how to remove weeds from balcony rose planters effectively and for the long term. This isn't just theory; it's a method born from getting my hands dirty. Let me walk you through my exact two-week process, including the mistakes I made and how you can avoid them.
Understanding Your Enemy: Why Balcony Planter Weeds Are Tough
Before diving into removal, it’s crucial to know what you’re facing. Weeds in balcony planters aren't just random; they usually come from contaminated potting soil or seeds blown in by the wind. Their roots compete fiercely with your roses in the limited soil volume. The Royal Horticultural Society (RHS) notes that consistent, early intervention is key in containers to prevent weeds from establishing. Ignoring them can quickly lead to stressed, underperforming roses.

My core strategy focuses on two main approaches: manual removal for immediate results and strategic prevention to stop regrowth. The long-tail keywords guiding this process are "natural weed removal for container roses" and "preventing weeds in balcony flower pots."
My Step-by-Step, Two-Week Removal and Observation Protocol
Here is the exact sequence I followed, observing the results over a full 14 days.
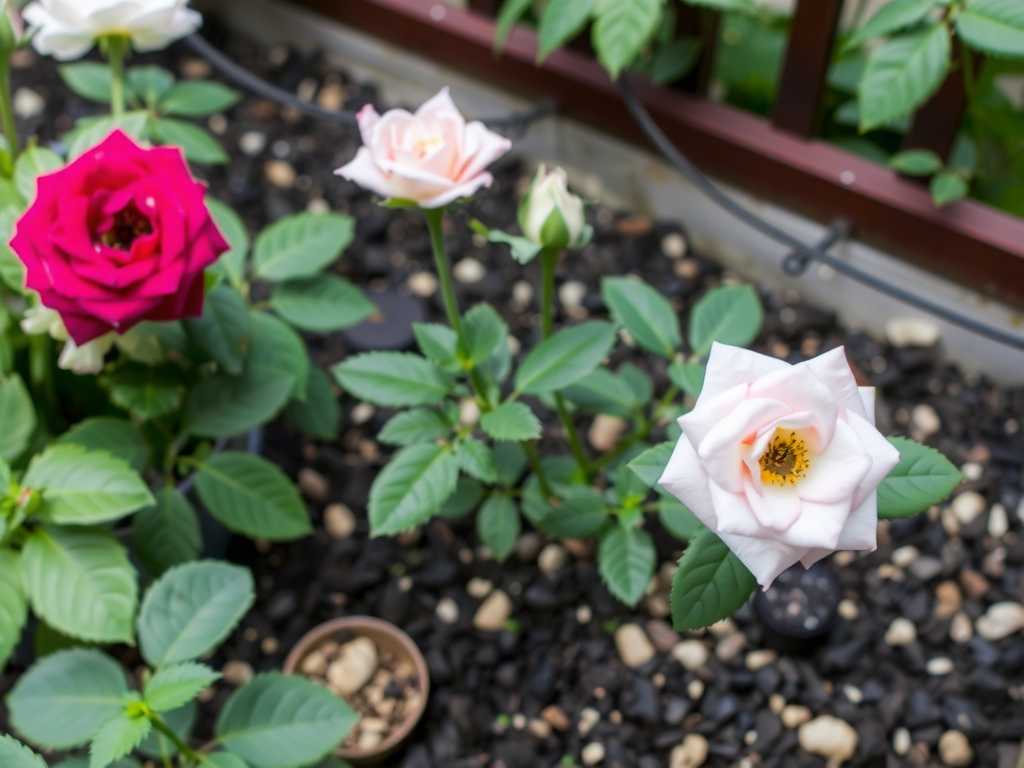
Week 1: The Initial Assault and Careful Monitoring
")
Day 1: The Thorough Manual Removal I gathered my tools: a pair of fine-tipped weeding tweezers (indispensable for containers), a small hand fork, and a kneeling pad. The goal was to remove the entire weed, root and all.
- Step 1: I moistened the soil slightly to make it more pliable, careful not to overwater the roses.
- Step 2: Using the tweezers, I gripped each weed as close to the soil base as possible. For larger intruders, I used the hand fork to gently loosen the soil around them first.
- Step 3: I applied steady, vertical pressure to pull the weed out, aiming to get the whole root system. Any broken roots left behind can regrow.
- Step 4: I placed all discarded weeds into a sealed bag, not my compost, to prevent seed spread.
The First Pitfall I Encountered: In my eagerness, I initially pulled too hard on a few weeds growing very close to a rose stem. This disturbed the rose's own shallow feeder roots. The Solution: For weeds nestled against rose canes, I used scissors to snip them at the soil line first, then used the tweezers with extreme care to tease out the remaining root fragments over the next few days without disturbing the rose.
Days 2-4: Application of a Natural Weed Suppressant For any remaining tiny seedlings and to create a hostile environment for new seeds, I applied a natural mulch. Following American Horticultural Society (AHS) advice on sustainable practices, I used a 1-inch layer of organic cocoa bean hulls. They are lightweight, smell pleasant, and form a mat that inhibits weed germination while retaining moisture for the roses. I kept the mulch a few inches away from the main rose stem to prevent potential rot.
Days 5-7: Observation and Spot Treatment I inspected the planters daily. A few missed weedlings emerged. I promptly removed them with the tweezers—this took less than a minute each day. The mulch layer was already showing its value by keeping the soil surface drier and less inviting.
Week 2: Reinforcement and Long-Term Strategy Implementation
Days 8-10: Boosting Rose Health A strong rose is the best defense. I gave my roses a balanced, half-strength liquid feed to help them recover from any root competition stress. I also ensured they received optimal sunlight and practiced careful watering—directly at the soil, not overhead—to avoid creating a moist seedbed for weeds on the surface.
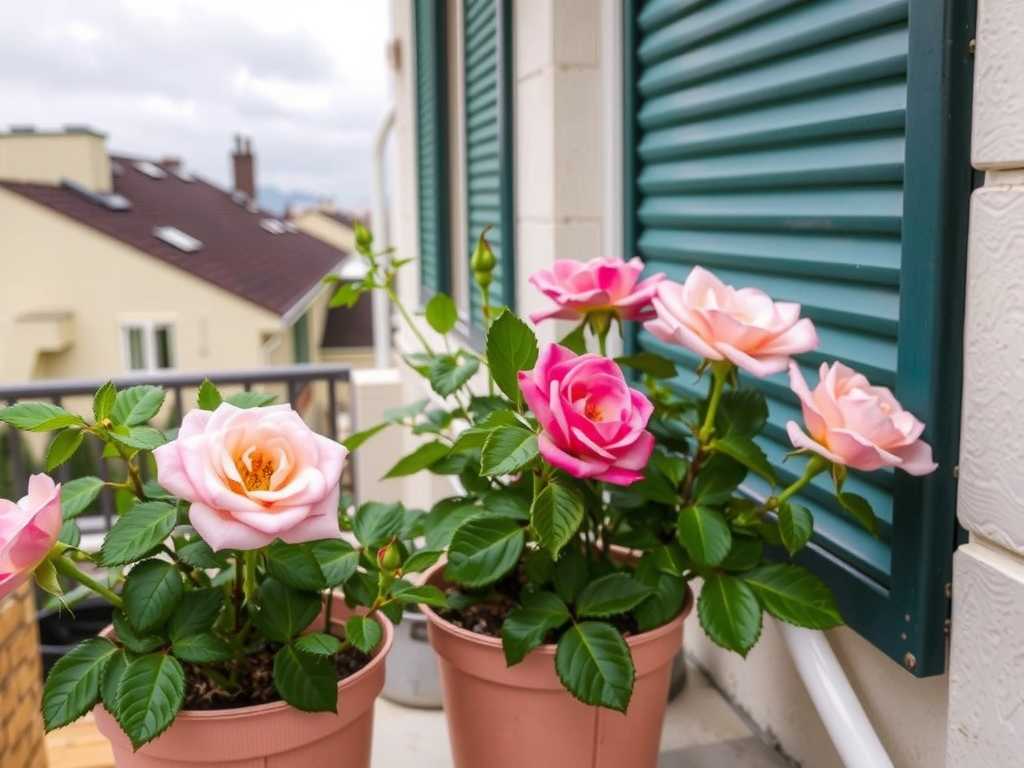
Days 11-14: Final Evaluation and Preventative Planning By the end of the second week, the planters were virtually weed-free. No new significant weeds had broken through the mulch barrier. The roses, freed from competition, showed visible perking up of their leaves and even some new bud formation. The "natural weed removal for container roses" approach had succeeded.
Key Lessons from My Mistakes and How to Fix Them
- The Wrong Mulch: In the past, I used heavy wood chips which decomposed slowly and created a hiding place for slugs. Solution: Switch to fine, organic mulches like cocoa hulls, finely shredded bark, or even a layer of decorative pebbles for "preventing weeds in balcony flower pots." They are more effective and aesthetically pleasing.
- Reusing Contaminated Soil: I once tried to save money by reusing old potting mix from a weedy planter. It was a disaster of regrowth. Solution: Always use fresh, high-quality potting mix for new rose plantings. If you must reuse, solarize it by sealing it in a black plastic bag in full sun for 4-6 weeks to kill weed seeds.
- Neglecting the Drainage Holes: Weeds like Oxalis can sometimes sprout up from the drainage holes if the planter sits on a dirty surface. Solution: Elevate planters on feet and occasionally check and clear the drainage holes.
Maintaining a Weed-Free Balcony Rose Sanctuary
Consistency is everything. My routine now involves a weekly 2-minute visual check to pluck any stray seedling. I refresh the mulch layer every season. This proactive approach, centered on weed control for potted roses and balcony gardening weed management, saves immense time and frustration later.
Will pulling weeds hurt my rose roots? If done carefully with the right tools, minimal disturbance occurs. Moistening the soil first and using tweezers for precision is far safer than yanking. For deeply rooted weeds near the main stem, repeated cutting at the soil line will eventually exhaust the weed's root system without harming your rose.
Are vinegar or salt solutions safe to use in my rose planters? I strongly advise against them. As non-selective herbicides, they can easily damage or kill your roses' roots and leaves in the confined space of a planter. They also harm soil biology. Manual removal and mulching are much safer and more effective methods for eradicating weeds in rose containers.
How often should I check for weeds? For balcony planters, a quick visual scan once a week is perfect for early intervention. It becomes a simple, habitual part of your plant care routine, stopping problems before they start.
Keeping your balcony rose planters free from weeds is an ongoing but manageable task. It combines immediate, careful action with smart, preventative strategies. By dedicating a small amount of regular attention, you ensure all the beauty, fragrance, and vitality of your container roses remain the undisputed centerpiece of your outdoor space. The reward of vibrant, healthy blooms, unspoiled by invaders, is well worth the effort.

发表评论