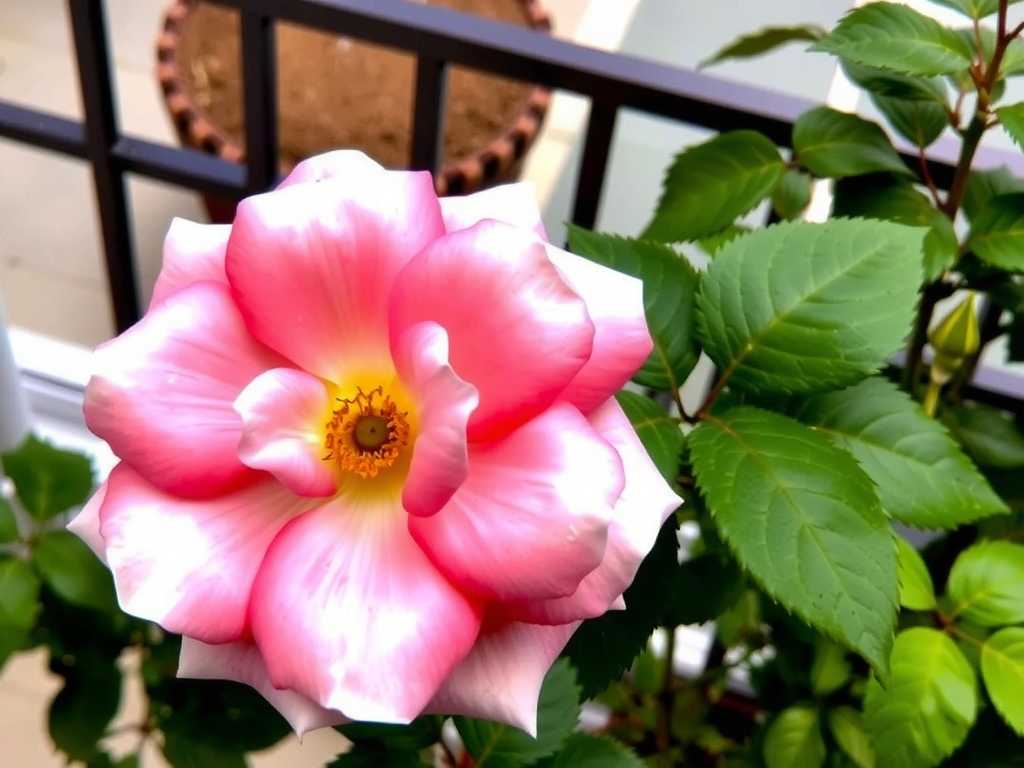
How to Fix Balcony Roses to Security Grilles: A Gardener’s Practical Guide
I love my balcony roses. They bring a splash of color and life to my urban space. But for years, I faced a common dilemma: I wanted to train my climbing roses beautifully, but my only vertical space was taken up by sturdy, metal security grilles. The question of how to fix balcony roses to security grilles effectively, without damaging the plant or the structure, became my personal project. Through trial, error, and two weeks of meticulous observation, I’ve perfected a method that is both plant-friendly and secure.
If you’re struggling with the same issue, you know the pain points. You worry about stems chafing against harsh metal, about ties that cut into growing canes, or about a gust of wind undoing all your work. More importantly, you want a solution that promotes healthy growth, not one that hinders it. This guide is born from my hands-on experience, and I’ll walk you through every step I took, the results I saw, and the pitfalls I navigated along the way.

Understanding the Challenge: Roses vs. Metal
Before attaching a single stem, it’s crucial to understand what you’re working with. Security grilles are unforgiving. They are designed for safety, not horticulture. The metal can heat up significantly in the sun, potentially scorching tender growth. Sharp edges and rough welds can act like saws on soft rose canes. My goal was to create a gentle, flexible interface between the living plant and the static metal.
I consulted guidelines from the Royal Horticultural Society (RHS), which emphasize the importance of allowing for stem thickening and movement. They recommend using soft, expandable ties. This principle became the cornerstone of my approach.
My Step-by-Step Method for Securing Roses
Here is the exact process I followed, using materials that are easy to find and gentle on plants.
Gathering the Right Supplies My kit was simple:
- Soft Plant Ties: I chose flexible, rubber-coated wire ties with a green coating. They are stretchy and have a wide, flat surface to distribute pressure.
- Scissors or Pruners: For trimming ties and doing light pruning.
- A Clean, Damp Cloth: To wipe down the grille.
- Optional – Garden Twine: For initial, very loose guidance of long, pliable canes.
Step 1: Preparation and Cleaning I started on a cool, overcast morning to avoid stressing the roses. First, I wiped down the sections of the security grille I planned to use. Removing dust and grime ensures the ties don’t slip and gives you a clean workspace. I then gently assessed my rose plant, identifying the healthiest, longest, and most flexible primary canes to train horizontally. Training horizontally encourages more flowering side shoots along the entire length of the cane.
Step 2: The Initial Attachment (The Figure-Eight Loop) This is the most critical technique. I never loop a tie directly around the stem and grille in one circle. This creates a point of abrasion.
Instead, I used a figure-eight pattern. I wrapped one loop of the tie loosely around the rose cane, then crossed the tie over itself before looping it around the metal bar of the grille. I then fastened the tie. This creates a buffer of material between the cane and the metal, preventing direct contact. I made sure every tie was snug but not tight—I could easily slide a finger underneath it. The American Horticultural Society (AHA) notes that improper staking or tying is a leading cause of stem girdling, so this slack is non-negotiable.
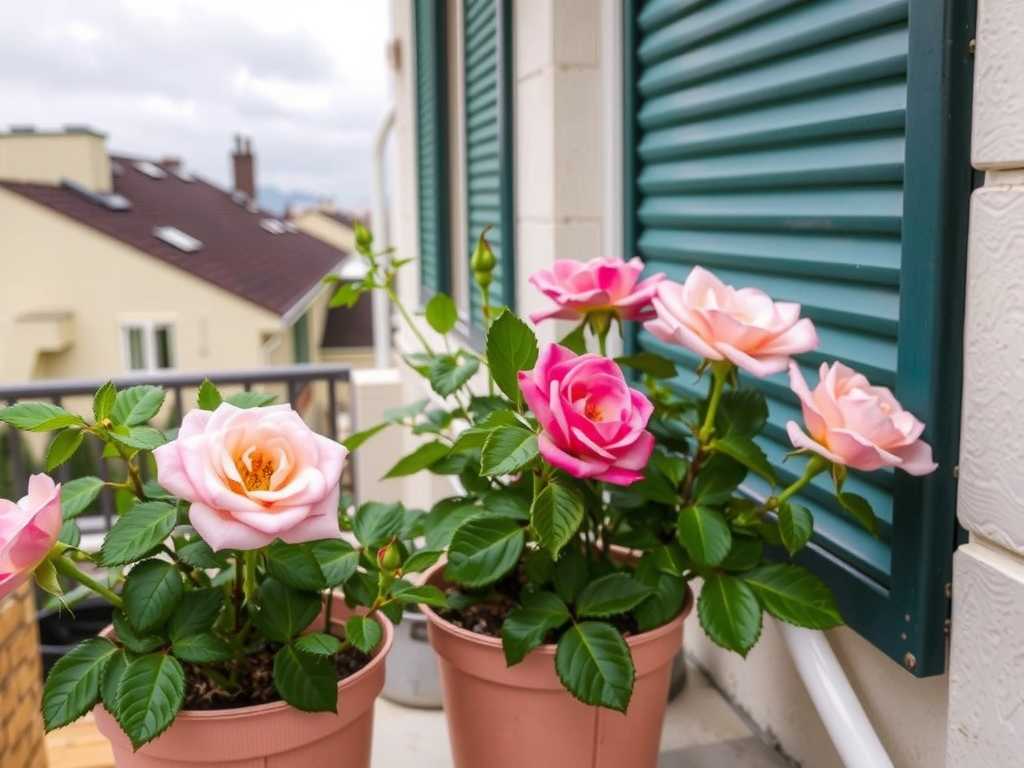
Step 3: Strategic Placement I attached ties at intervals of about 12-18 inches along each cane. The key is to provide support at natural bending points and after any side shoots. I primarily fixed canes to horizontal bars of the grille, training them in a gentle fan shape. This maximizes sun exposure and air circulation, which is vital for preventing diseases like powdery mildew.
Step 4: Training Direction For climbing roses, I trained the main canes as horizontally as possible along the lower part of the grille. This technique, called espalier, tricks the plant into sending up more vertical flowering shoots, creating a wall of blooms. I used additional loose ties to gently guide these vertical shoots upwards.
The Two-Week Observation: Growth and Adjustment
The real test began after installation. I checked my ties every other day for two weeks.
Week 1 Observations: By day 3, I noticed the roses had already started to orient their leaves toward the light. The canes showed no signs of stress or abrasion at the tie points. However, after a particularly windy afternoon on day 5, I found one of the newer, softer vertical shoots had slipped out of its loose twine guide. It wasn’t damaged, but it was out of position.
")
- The Fix: I replaced the garden twine with a proper soft tie using the figure-eight method, securing it to a different part of the grille to better anchor the whip-like growth.
Week 2 Observations: Growth was visibly accelerating. Small red buds (new growth) were appearing along the horizontally trained canes—exactly what I wanted to see. During my day 14 inspection, I discovered my first major "pitfall."
- The Big Pitfall: On one of the thickest, oldest canes, the tie was beginning to look slightly tight. The stem had started its seasonal thickening growth, and the tie was no longer as loose as it was two weeks prior.
- The Solution: I immediately snipped that tie and replaced it with a fresh one, giving it even more slack than before. This drove home a vital lesson: fixing balcony roses to security bars is not a "set and forget" task. It requires ongoing maintenance and adjustment.
Common Pitfalls and How I Solved Them
-
The Strangling Tie: As mentioned, stems thicken. A tie that was perfect in spring can be a constrictor by midsummer.
- Solution: Make a calendar note to check all ties every 4-6 weeks during the growing season. Re-tie as necessary.
-
Wind Whip and Abrasion: Even with soft ties, a cane vigorously rubbing against metal in high winds can get damaged.
- Solution: I added an extra tie at points where a long section of cane was between grille bars, minimizing lateral movement. For extremely vulnerable new shoots, I sometimes used a tiny piece of foam pipe insulation around the grille bar as a cushion.
-
Poor Aesthetic Result: The rose looked messy and tangled, not like a trained display.
- Solution: I stepped back frequently during the initial training. The goal is a balanced, fan-shaped structure. Don’t be afraid to do some light pruning to remove weak, inward-growing, or crossing stems before you start tying. This opens up the plant’s structure and makes training easier.
Frequently Asked Questions
Will this method damage my security grilles? Not at all. The soft ties cause no scratches or corrosion. They are easily removable without a trace, making this a completely non-invasive solution for rented apartments or homes where you cannot modify the structure.
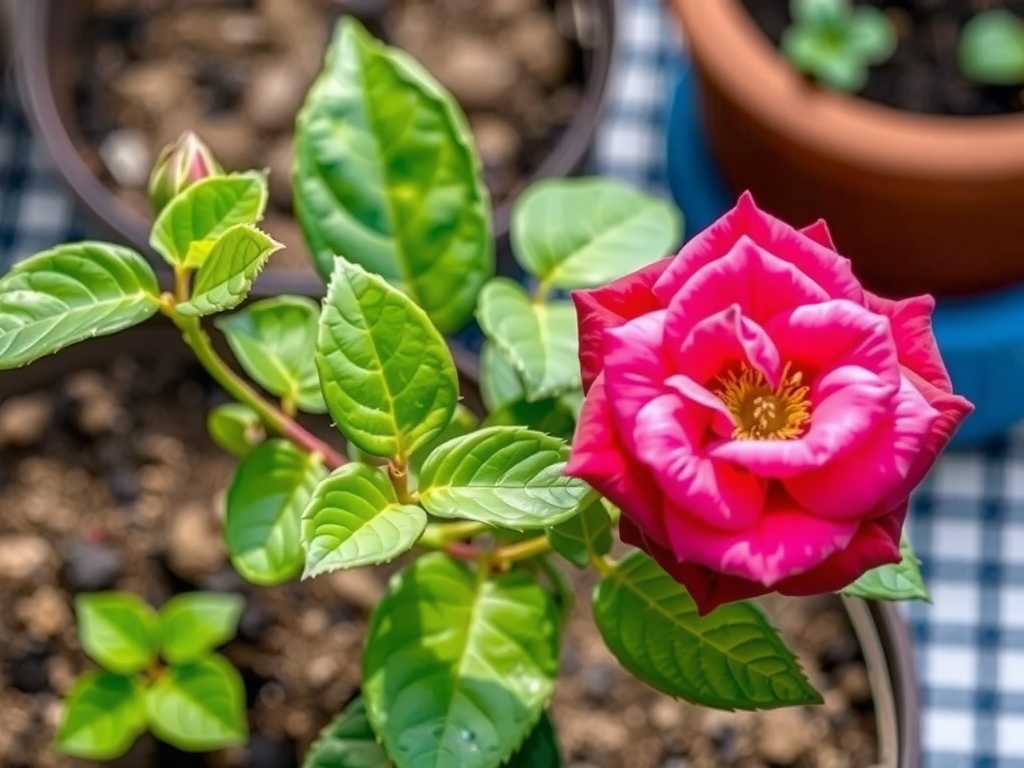
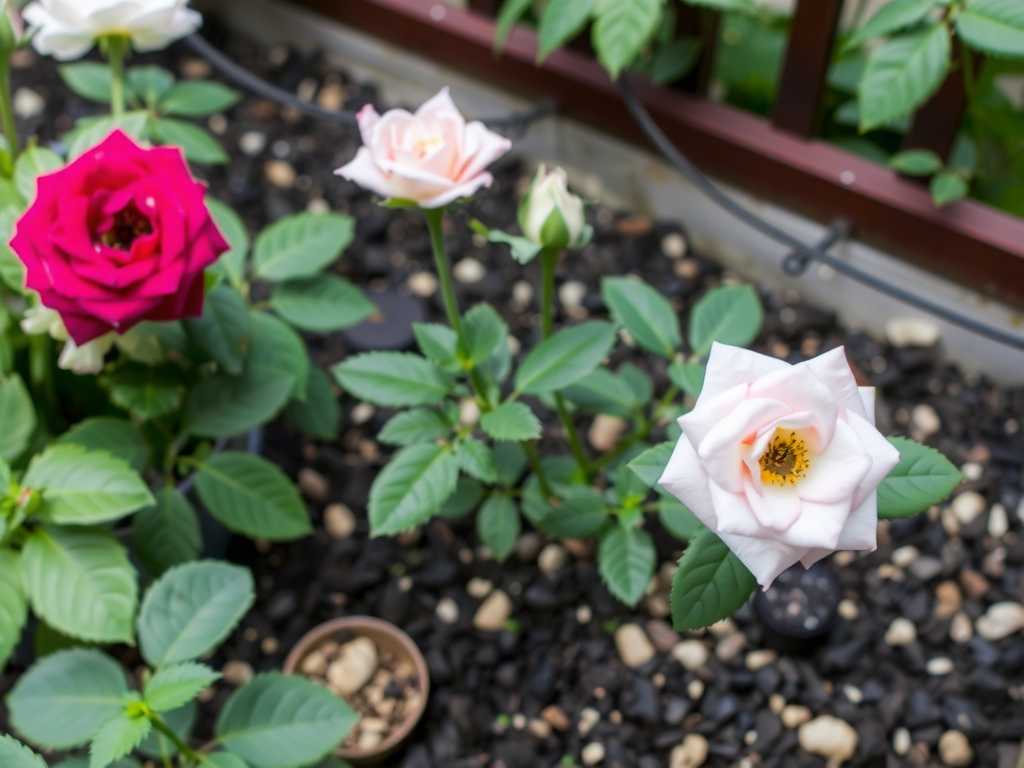
What type of rose is best for fixing to a balcony grille? True climbing roses and large-flowered ramblers are ideal due to their long, flexible canes. Shrub roses can also be trained if you select varieties with arching or pliable growth. Check plant labels for terms like "pillar," "climber," or "suitable for training."
How often should I water roses grown this way? Balcony roses in containers dry out much faster than garden plants. The grille doesn’t affect watering, but the exposure might. During my two-week test in sunny weather, I watered every other day, checking the soil moisture with my finger first. Proper watering is essential for healthy growth on any support structure.
Fixing your balcony roses to security grilles is a wonderfully rewarding way to transform a functional barrier into a living work of art. It requires the right materials, a gentle hand, and a commitment to ongoing care. By using the figure-eight tie method, allowing for growth, and conducting regular check-ups, you can create a stunning, healthy vertical rose garden that thrives season after season. The sight of those first blooms against the metal backdrop makes every bit of the effort worthwhile.

发表评论