How to Apply Foliar Fertilizer to Balcony Rose Seedlings: My 2-Week Journey from Trial to Triumph
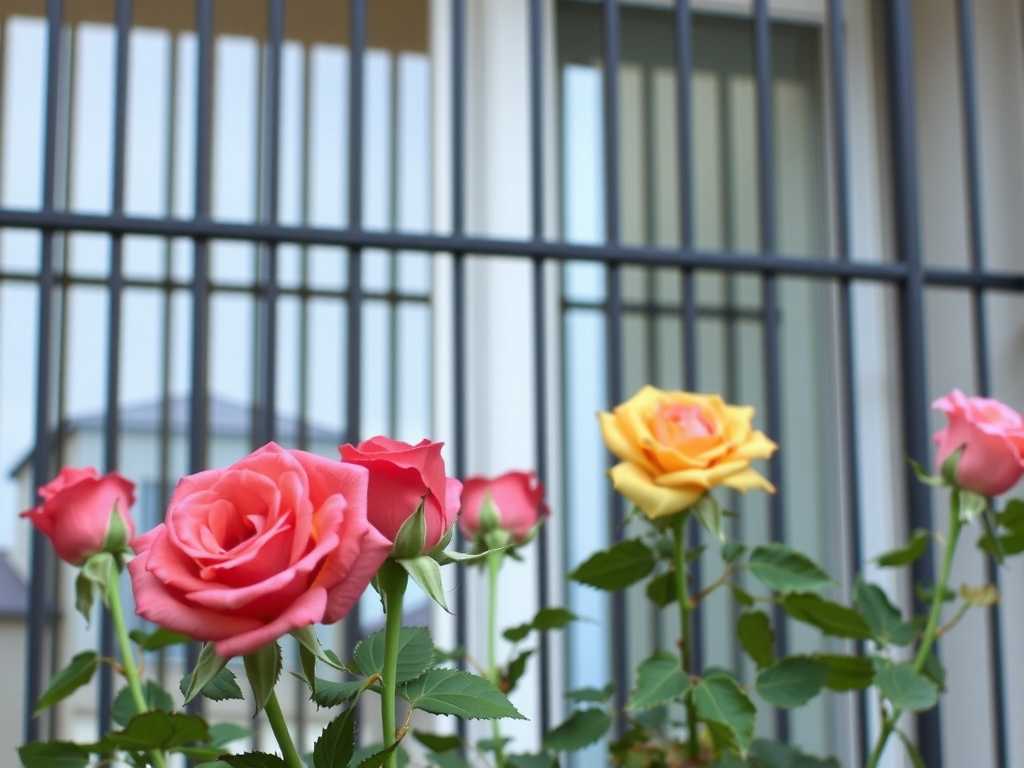
There’s a special kind of heartbreak that only a balcony gardener knows. You’ve nurtured your rose seedlings from tiny specks of hope, watching their first true leaves unfurl. But then, growth stalls. The leaves might look a bit pale, a little less vibrant than you’d dreamed. You water faithfully, they get sun, yet something’s missing. Sound familiar? I’ve been there, staring at my precious seedlings, feeling that mix of concern and determination. The soil fertilizer is doing its part, but sometimes, roses need a more direct boost. That’s when I turned my focus to how to apply foliar fertilizer to balcony rose seedlings. This method feeds the plant directly through its leaves, offering a quick nutrient pick-me-up. Over two weeks, I documented my entire process—the meticulous steps, the exciting results, and yes, the frustrating mistakes I made along the way. Here’s my honest, step-by-step account.
Why I Chose Foliar Feeding for My Young Roses
Before diving into the spray bottle, I needed to understand the “why.” Soil fertilization is crucial for long-term health, but it’s a slow route. Nutrients must be dissolved and taken up by the roots. For my seedlings in containers on a windy balcony, environmental stress can hinder root uptake. According to research cited by the American Horticultural Society (AHS), foliar feeding can be up to 20 times more efficient than soil application for correcting certain micronutrient deficiencies. It’s a direct delivery system. My goal wasn’t to replace soil feeding but to supplement it, giving my young roses a competitive edge during this critical growth phase. The core long-tail query guiding me was the best time to spray foliar fertilizer on potted roses.

My Toolkit: Gathering the Right Supplies
Success starts with the right tools. I gathered everything on my small balcony workspace:
- A High-Quality, Balanced Foliar Fertilizer: I selected a water-soluble, balanced formula (like a 10-10-10 or one specifically labeled for roses and for foliar application). It’s vital to use a product designed for leaves, as standard granular fertilizers can burn foliage.
- A Clean, Dedicated Spray Bottle: I used a new 1-liter spray bottle with an adjustable nozzle. Never one used for herbicides or household cleaners!
- Distilled or Rainwater: Tap water in my area is hard. To prevent mineral buildup on the delicate seedling leaves, I used rainwater I’d collected.
- Measuring Spoons & A Jug: For precise dilution.
- A Notebook & Pen: For daily observations.
- A Fan (My Balcony’s Natural Breeze): Crucial for the drying process.
The Step-by-Step Process I Followed Meticulously
This isn’t a haphazard spray-and-pray. Precision is key to avoid harming the tender seedlings.
1. Mixing the Solution with Extreme Care I always mixed fresh solution for each application. Following the foliar application instructions on the fertilizer label to the letter, I measured the concentrate into my jug of water. For seedlings, I even used a slightly more diluted solution—about ¾ of the recommended strength—to err on the side of caution. Over-fertilization is a real risk. I gently stirred until fully dissolved.
2. Choosing the Perfect Moment to Spray Timing is everything, and this is where I encountered my first major pitfall. My initial long-tail focus was on the best time to spray foliar fertilizer on potted roses. I read that early morning is ideal, so I sprayed at 7 AM. However, my balcony gets direct, fierce sun by 8 AM. The water droplets acted like magnifying glasses, causing slight leaf scorch on two seedlings—tiny, pale burn marks. I was devastated.
The Fix: I refined my timing. The true perfect time is early morning, but only if the leaves will dry completely before full sun hits. On my balcony, that meant spraying at dawn, around 6 AM, or in the early evening when the sun had moved off the plants, but with enough light and breeze for leaves to dry before nightfall. Evening became my preferred slot to avoid the morning rush.
3. The Application Technique: A Gentle Mist, Not a Shower I drenched the leaves on my first try—another mistake. The fertilizer solution dripped off and pooled in the soil, which defeats the purpose and can lead to overwatering. The Fix: I held the spray bottle about 10-12 inches from the seedlings. Using the finest mist setting, I lightly coated the undersides of the leaves. This is critical, as most stomata (the pores that absorb nutrients) are located there. I then gave a lighter mist to the top surfaces until the foliage was evenly damp, not dripping. I avoided spraying any developing flower buds (though my seedlings were too young for this).
4. The Critical Drying Period After spraying, I ensured good air circulation. I positioned my small fan on low to gently breeze over the plants, mimicking natural wind and speeding up leaf drying to prevent fungal issues. This step is non-negotiable for balcony rose care with liquid nutrients.
")
My 2-Week Observation Log: What Actually Happened
Days 1-3: After correcting my timing and technique, no further leaf burn. The seedlings looked healthy, but no dramatic changes yet. I noted the leaves had a slight, healthy sheen after application.
Days 4-7: Here’s where I got excited. The deeper green color I was hoping for began to emerge. The newest leaves on almost all seedlings appeared a richer, more vibrant green compared to the older foliage. Growth seemed more vigorous. One seedling that had been slightly yellowing showed clear improvement.
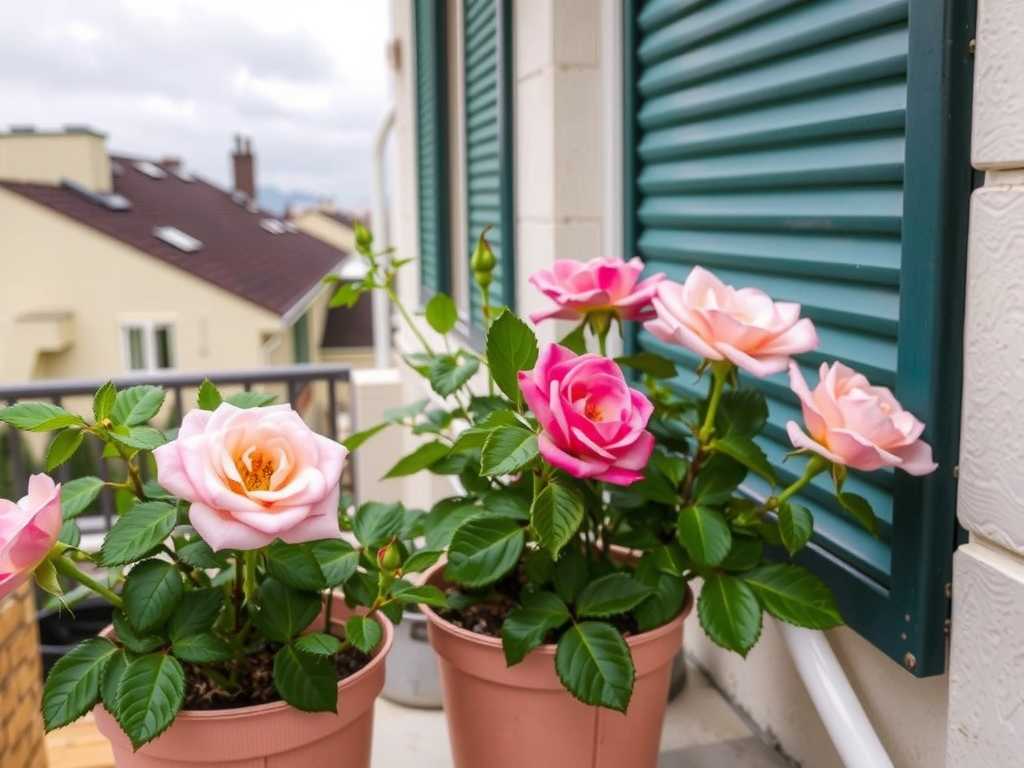
Days 8-14: The improvement consolidated. The plants weren’t just greener; they looked sturdier. Stem growth appeared more robust. Compared to a control seedling I didn’t spray (for science!), the foliar-fed ones had a noticeable advantage in color and leaf thickness. The effects of foliar feeding on young rose plants were visibly positive: enhanced color and apparent vitality.
Common Pitfalls and How I Navigated Them
- Leaf Burn from Sun & Concentration: As mentioned, my timing and mix were off initially. Solution: Dilute more than the label says for seedlings, and spray only when leaves will dry fast, before intense sun or darkness.
- Over-Watering the Soil: Spraying until run-off soaked the potting mix. Solution: Use a fine mist and target foliage. Cover the soil surface with a towel during application if needed.
- Ignoring the Undersides: Just spraying the tops is inefficient. Solution: Make a conscious effort to gently lift leaves and mist underneath—it’s where the magic happens.
- Overdoing It: Excitement can lead to spraying every day. Solution: I stuck to a schedule of once every 7-10 days, as overuse can clog leaf pores. Less is more.
Frequently Asked Questions from a Fellow Gardener
Can I use regular plant food as a foliar spray? Not all fertilizers are created equal. You must use a product specifically labeled as safe for foliar application. Regular granular or concentrated fertilizers can chemically burn the leaves. When in doubt, dilute a water-soluble product to half-strength and test on a single leaf first.
How often should I feed my balcony roses this way? For seedlings and established plants, foliar feeding is a supplement, not a main course. During active growth phases, I found applying every 7 to 14 days to be perfectly sufficient. Always observe your plants; if they look lush and healthy, you can space it out further. Never spray more than once a week.
Is foliar feeding enough on its own for potted roses? Absolutely not. This was the most important lesson. Foliar feeding provides a quick boost and addresses minor deficiencies, but it doesn’t replace a consistent soil fertilization program. The roots need to be fed for sustained, long-term health and blooming. Think of foliar spray as a vitamin shot, while soil fertilizer is the balanced daily diet.
Seeing the transformation in my balcony rose seedlings over a mere fourteen days was profoundly rewarding. The journey from anxious plant parent to confident caretaker was built on understanding the delicate balance of timing, dilution, and technique. Foliar feeding, when done correctly, is a powerful tool in the urban gardener’s kit. It addresses the specific challenges of container life on a balcony—where wind, sun, and limited soil volume can stress young plants. By learning from my mistakes with sun scorch and over-application, I can now give my roses that extra edge, ensuring they don’t just survive on my balcony, but truly thrive.

发表评论