How to Transplant Balcony Rose Seedlings Without Damaging Roots: A Gardener’s Trial and Triumph
There’s a special kind of heartbreak that only a balcony gardener knows. You’ve nurtured those tiny rose seedlings for weeks, watching their first true leaves unfurl with paternal pride, only to face the daunting task of moving them. The fear is real: one wrong move, and those fragile, hair-like roots could be severed, stunting your dream of a blooming balcony oasis. I’ve been there, staring at the delicate seedlings, paralyzed by the thought of causing harm. That’s why I embarked on a meticulous, two-week experiment to master the art of transplanting balcony rose seedlings without damaging roots. This guide is the distilled result of my hands-on process, the pitfalls I encountered, and the proven techniques that led to thriving plants.
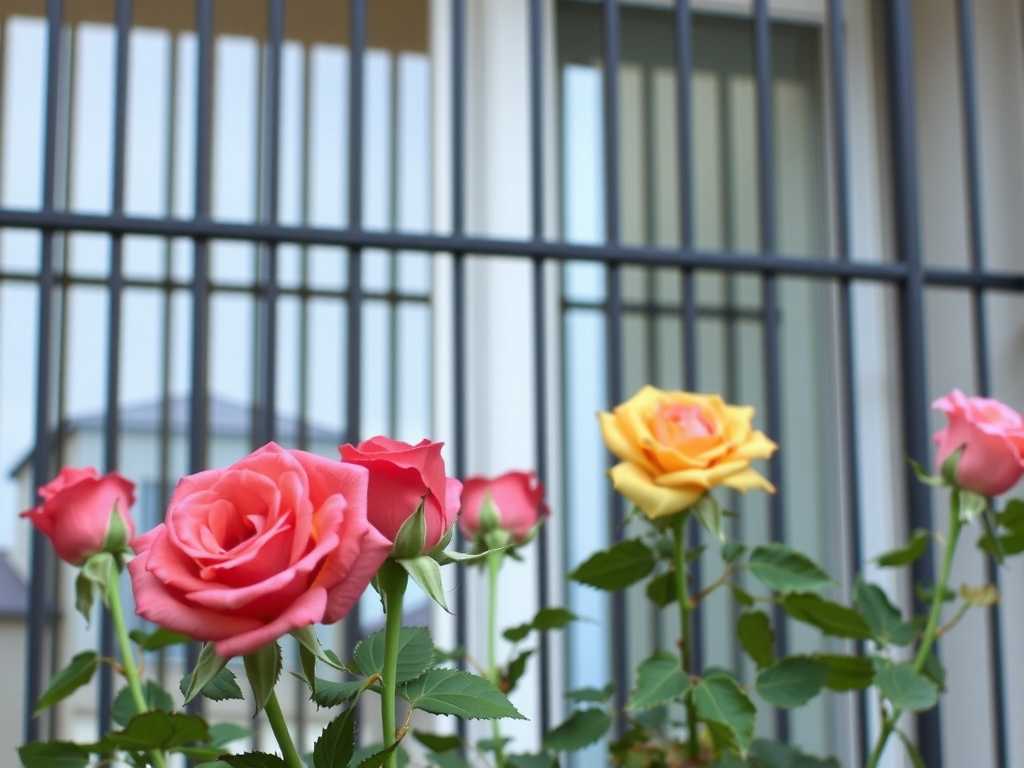
My goal was simple but critical: achieve a 100% survival rate with zero transplant shock. The stakes were my prized ‘Patio Sunshine’ and ‘Miniature Romance’ rose seedlings. Over the next sections, I’ll walk you through my exact steps for repotting delicate rose seedlings, share the crucial two-week recovery timeline I documented, and explain how to avoid the common mistakes that can set your plants back.

Why Root Care is Everything for Balcony Roses
Before we touch a single seedling, it’s vital to understand the “why.” Rose seedlings, especially those destined for container life on a balcony, have a compact but sensitive root system. According to principles often emphasized by the American Rose Society (ARS), the fine feeder roots are responsible for water and nutrient uptake. Damaging them doesn’t just wound the plant; it cripples its ability to recover. In a container environment, there’s no vast soil network to explore for recovery—the pot is their entire world. A successful transplant is the foundation for drought tolerance, disease resistance, and prolific blooming.
My Step-by-Step Process for a Seamless Transition
I scheduled the transplant for a cool, overcast evening to minimize moisture stress. Preparation is 80% of the success.
Gathering the Right Supplies I used:
- New Pots: 8-inch diameter containers with massive drainage holes. Size up only 1-2 inches to prevent soggy soil.
- Premium Potting Mix: A well-draining, slightly acidic mix labeled for roses. I avoided garden soil completely.
- A Root-Toning Solution: A mild, seaweed-based transplant fertilizer to reduce shock.
- My Tools: A small garden trowel, a chopstick (my secret weapon), and a watering can with a fine rose.
The Gentle Uprooting Technique This is the moment of truth. I did not pull the seedlings! First, I watered the seedling tray thoroughly an hour before. Moist soil holds together better. Then, I inserted the chopstick deep into the side of the cell, loosening the soil’s grip. I turned the tray sideways, supported the soil ball with my fingers, and let the seedling slide out into my palm. The key was letting gravity do the work.
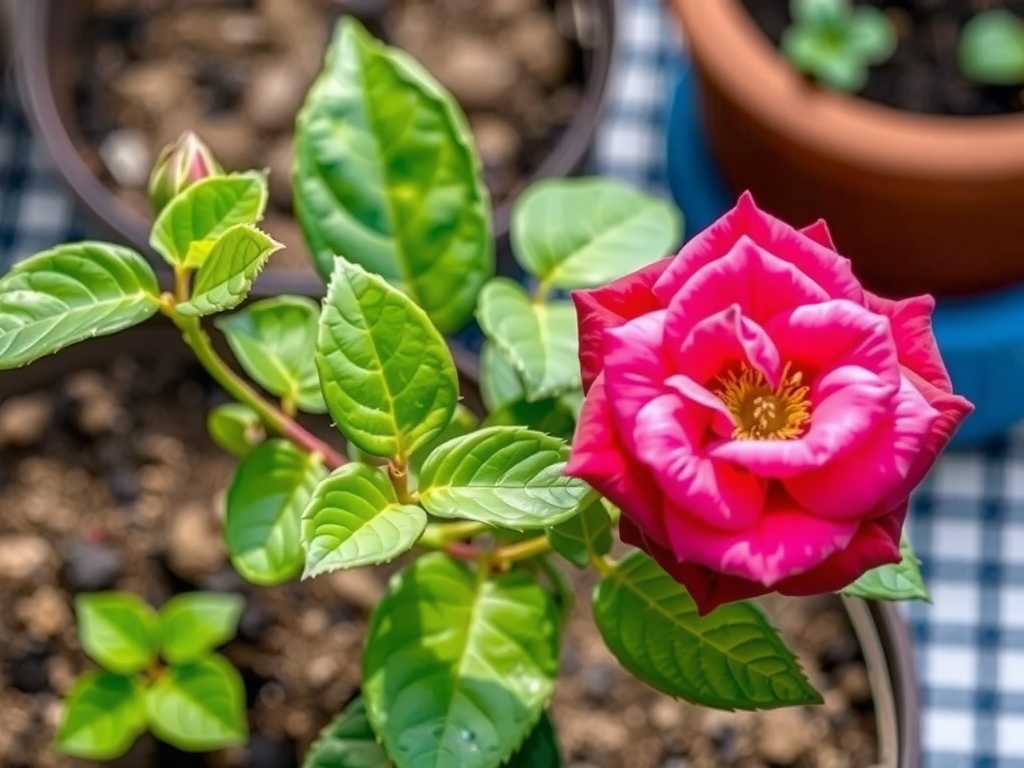
Root Inspection and Potting With the root ball resting in my hand, I gently teased the very bottom of the roots. They were a dense, white mass. I made shallow vertical cuts on the sides—a technique known as “butterflying” recommended for pot-bound plants—to encourage outward growth. I pre-moistened the new potting mix so it was damp, not wet. I placed a base layer in the new pot, set the seedling at the same depth it was growing before, and gently filled around it. I used the chopstick again to carefully work soil into air pockets, tapping the pot to settle—never compacting with my hands.
The First Crucial Watering I watered slowly with the root-toning solution until it ran freely from the bottom. This “soil priming” ensures the roots make immediate contact with moisture. I placed the pots in dappled shade on my balcony, sheltered from direct wind and harsh sun for the next five days.
The 2-Week Observation Diary: From Shock to Growth
Days 1-3: The Quiet Period The seedlings looked unchanged, perhaps a little droopy by the afternoon heat. This is normal. I kept the soil consistently moist but not waterlogged. No fertilizer yet. The focus was on root recovery below the surface.
Days 4-7: Signs of Life On the morning of day four, I noticed the stems seemed firmer. By day seven, the tiniest hint of new, reddish growth appeared at the leaf nodes. This was the first major victory—the plants had stopped merely surviving and had started growing again. I began introducing morning sun for an hour.
")
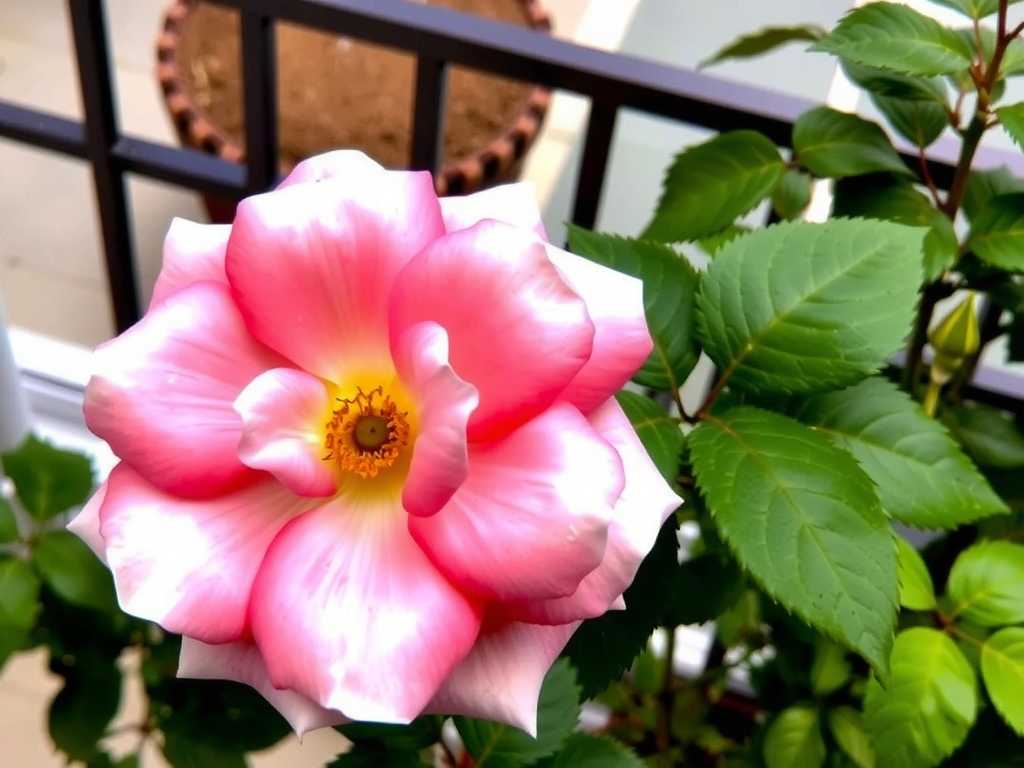
Days 8-14: Established and Thriving Growth became visibly active. New leaves were expanding, and the stems thickened. I resumed my regular half-strength liquid feeding schedule. After two weeks, the seedlings were demonstrably larger and lusher than before the transplant. There was no yellowing, no leaf drop—just vigorous, healthy growth. The method for moving rose seedlings safely had proven itself.
The Pitfalls I Hit (And How You Can Avoid Them)
My journey wasn’t flawless. Here’s where I stumbled so you don’t have to.
Pitfall 1: The “Too Big, Too Soon” Pot In an earlier attempt, I transplanted a seedling into a huge pot, thinking it would give it room to grow. The excess soil stayed wet for too long, the roots stagnated, and I saw the onset of root rot. The fix is simple: pot up gradually. A slightly snug pot encourages a robust root ball.
Pitfall 2: Overhandling the Root Ball I once got overzealous with “untangling” roots, essentially bare-rooting the seedling. This caused severe shock, and the plant took nearly a month to recover. The lesson: minimal disturbance is key. Handle only the root ball as a whole unit. Gentle teasing is enough.
Pitfall 3: Immediate Full Sun Thinking I was “hardening them off,” I gave a newly transplanted seedling too much sun too quickly. The leaves scorched as the compromised roots couldn’t supply enough water. The solution is a mandatory recovery period in bright, indirect light for at least 5-7 days.
Ensuring Long-Term Health on the Balcony
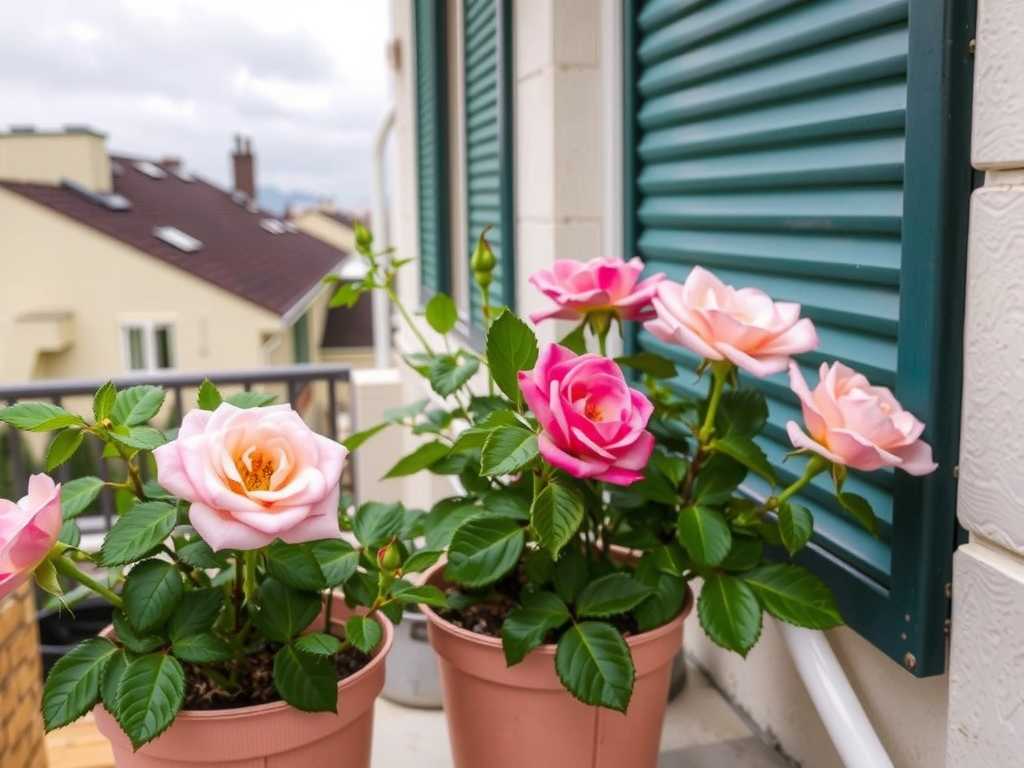
Transplanting is just the beginning. For ongoing health, I ensure my balcony roses get at least 6 hours of direct sun, water deeply when the top inch of soil is dry, and feed them every two weeks during the growing season. Regular inspection for pests like aphids is easier when the plant is strong from the roots up.
What is the absolute best time of day to transplant rose seedlings? Early morning or late afternoon is ideal. Cooler temperatures and lower light reduce evaporation and give the plant the night to start recovering before facing the sun.
Can I use regular garden soil for my balcony rose pots? I strongly advise against it. Garden soil compacts in containers, hindering drainage and aeration. A quality, lightweight potting mix formulated for roses or containers is non-negotiable for healthy root development.
How do I know if my transplanted seedling is in shock, and what should I do? Signs include wilting that doesn’t improve with watering, yellowing leaves, or leaf drop. Don’t panic. Ensure it’s in a protected spot, keep the soil evenly moist (not soggy), and mist the foliage lightly to increase humidity. Resist the urge to fertilize. Patience is often the only cure.
Transplanting balcony rose seedlings can feel like a high-wire act, but with a gentle touch and the right process, it becomes a simple, rewarding step. By focusing on the unseen world of the roots, preparing meticulously, and providing a gentle recovery period, you can move your seedlings with confidence. The reward is not just survival, but the sight of those resilient plants pushing out vigorous new growth, ready to cover your balcony in color. Happy gardening

发表评论