How to Grow Evergreen Rose Varieties on the Balcony: A 2-Week Journey from Bare Root to Bud
For years, I dreamed of having a lush, green balcony dotted with blooms, but my urban space and busy schedule made it seem impossible. The idea of growing roses, especially ones that stay vibrant year-round, felt like a fantasy reserved for gardeners with sprawling yards. That was until I discovered the world of evergreen rose varieties. These resilient beauties promised foliage that wouldn’t quit and blooms that could brave more than just a perfect summer’s day. This is my hands-on, two-week chronicle of turning that dream into a leafy, budding reality on my fifth-floor balcony.
Why I Chose Evergreen Roses for Container Gardening

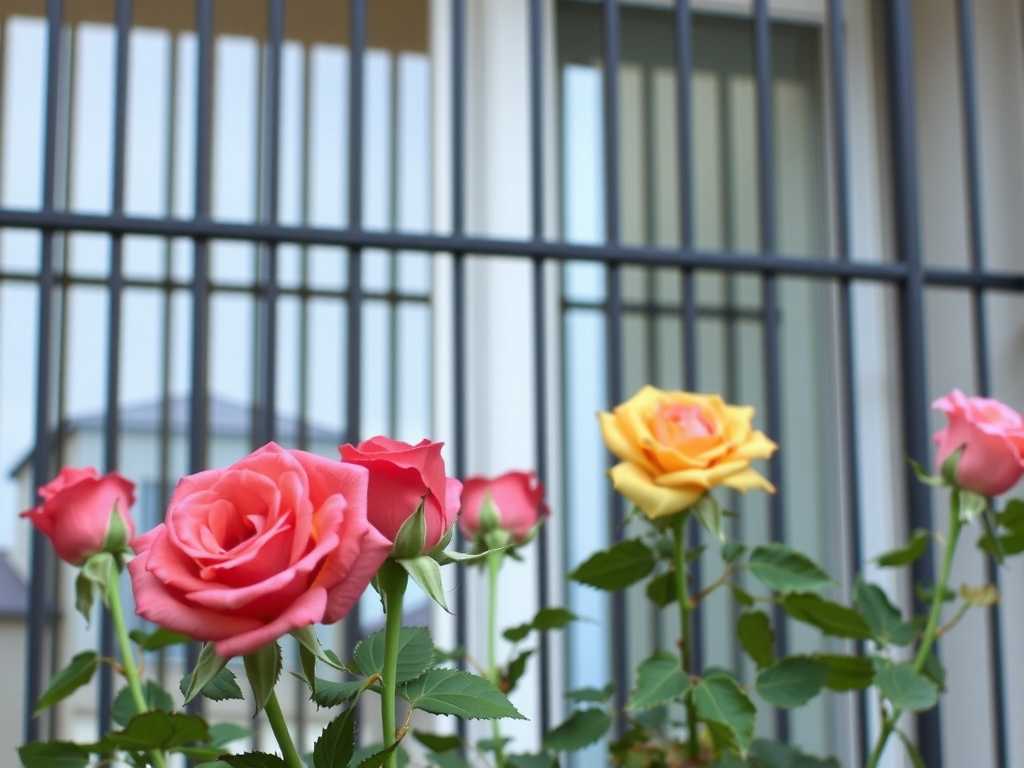
Not all roses are created equal for balcony life. After extensive research, including insights from the American Rose Society (ARS), I learned that true evergreen tendencies are rare in roses, but several varieties are “near-evergreen” or “semi-evergreen” in milder climates. Their key advantage is superior foliage retention, which means a constantly attractive plant and often, better disease resistance. For containers, this is gold. I zeroed in on two types renowned for their robust, persistent foliage and suitability for pots: the ‘Flower Carpet’ series (a groundcover type) and ‘Knock Out’ shrub roses. My goal wasn’t just a summer fling; I wanted evergreen rose varieties for small spaces that would provide structure and color through multiple seasons.
My Step-by-Step Balcony Setup and Planting Process
Week 1: Preparation and Planting
My journey began with a delivery of bare-root ‘Flower Carpet Amber’ and a potted ‘Knock Out Pink’. Here’s exactly what I did:
Day 1-2: The Foundation is Everything. I chose large, 20-inch diameter pots with massive drainage holes. According to the Royal Horticultural Society (RHS), container depth is critical for rose root development. I filled the bottom third with a layer of broken pottery for drainage, then used a premium, loam-based potting mix specifically formulated for roses, which has the right balance of drainage and water retention. I soaked the bare-root ‘Flower Carpet’ in a bucket of water for 24 hours, as per instructions.
Day 3: Planting Day. For the bare-root plant, I mounded the soil in the pot, spread the roots over the mound, and filled in, ensuring the graft union was about an inch below the soil surface. For the potted ‘Knock Out’, I carefully teased out some circling roots and planted it at the same depth it was in its nursery pot. I watered them thoroughly until water ran freely from the bottom—a step I can’t overstate in importance.
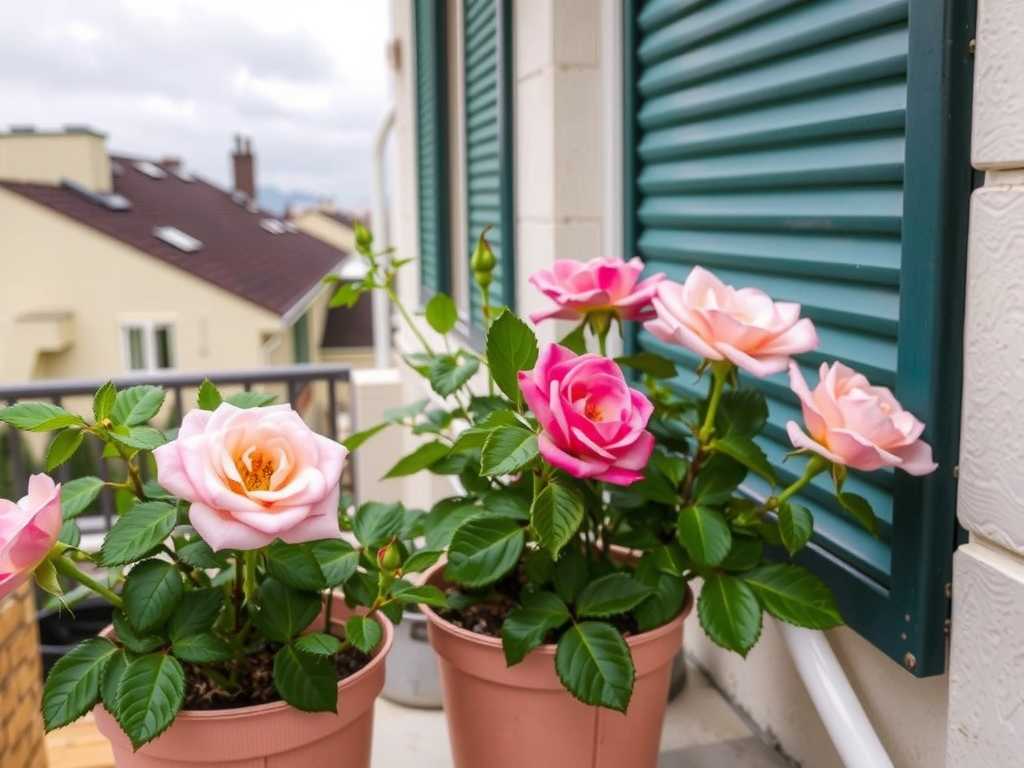
Day 4-7: Location & Initial Care. I placed the pots on wheeled saucers in a spot that gets a minimum of 6 hours of direct sunlight, a non-negotiable for bloom production. I began a watering routine: checking soil moisture daily by sticking my finger an inch deep. I watered only when it felt dry. I did not fertilize yet, allowing the roots to settle.
The First Critical 2 Weeks: Observation, Adjustments, and Problem-Solving
This initial period was all about vigilance. Here’s what I observed and the hurdles I faced.
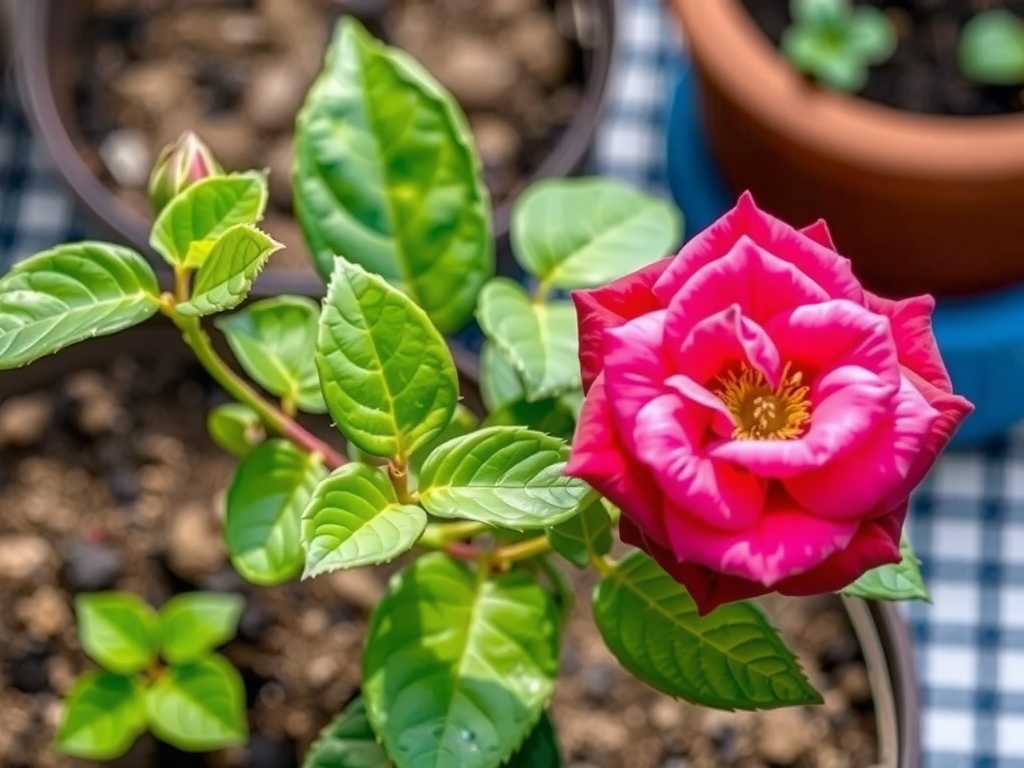
Week 1 Observations: By day 5, the ‘Knock Out’ showed signs of new, red growth at the stem tips—a thrilling sight! The ‘Flower Carpet’ bare root remained dormant-looking, which is normal. However, I noticed the soil in the large pots was staying wet for quite a long time, especially for the dormant plant.
The First “Crisis” and Fix: On day 7, I saw a few yellow leaves on the lower part of the ‘Knock Out’. Panic set in: was it disease? Overwatering? I recalled an RHS article mentioning that transplant stress can cause lower leaf drop. I checked the soil—it was still quite moist. I realized my “thorough” initial watering, combined with a cooler-than-expected week, had created a soggy environment. I immediately stopped watering and moved the pots to the sunniest, breeziest part of the balcony to accelerate evaporation. This was my first major lesson: balcony rose care is less about a schedule and more about responsive observation. The “fix” was simply patience and letting the elements do their work.
Week 2: Signs of Success and Feeding. By day 10, the soil had dried appropriately. The yellow leaves on the ‘Knock Out’ had dropped (I cleaned them up to prevent any fungal issues), but the new red growth was accelerating. The ‘Flower Carpet’ finally showed a tiny, green bud swelling on one of its canes—success! On day 14, I applied a half-strength dose of a balanced, water-soluble fertilizer to support this new growth, a practice aligned with ARS recommendations for newly planted container roses. The plants were clearly establishing themselves.
Ongoing Care Secrets for Lush Foliage and Blooms
My two-week test run established a baseline. For maintaining evergreen roses in pots long-term, here’s my actionable plan:
Watering Wisdom: The finger-test is my gospel. Deep, infrequent watering that encourages roots to grow downward is the goal. In the peak of summer, this might mean daily checks; in spring, it could be every three days.
Feeding for Foliage: I’ll switch to a fertilizer higher in potassium (the third number on the NPK ratio) as we approach bloom time to support flower development and overall hardiness, which in turn supports that prized evergreen foliage.
Pruning for Permanence: Unlike hybrid teas, these shrubs require less formal pruning. My plan is to deadhead spent blooms to encourage more and, in late winter, just remove any dead or spindly wood to maintain air circulation in the pot.
The Overwintering Strategy: To ensure they truly act as evergreen rose varieties, I’ll group the pots together in the most sheltered corner of the balcony when frost threatens, and perhaps wrap the pots in bubble wrap to insulate the roots. The goal is to protect the root zone, which keeps the plant healthy enough to hold onto its leaves.
What’s the best soil mix for balcony roses? A loam-based, soil-specific potting mix is superior to generic mixes. It provides weight for stability, better nutrient retention, and proper drainage—the holy trinity for container rose health.
Can evergreen roses really survive winter on a balcony? Many modern shrub and groundcover roses, like the ones I chose, are remarkably cold-hardy. Survival depends on protecting the pot (the roots are most vulnerable) from freeze-thaw cycles. Insulating the container and ensuring excellent drainage are the keys.
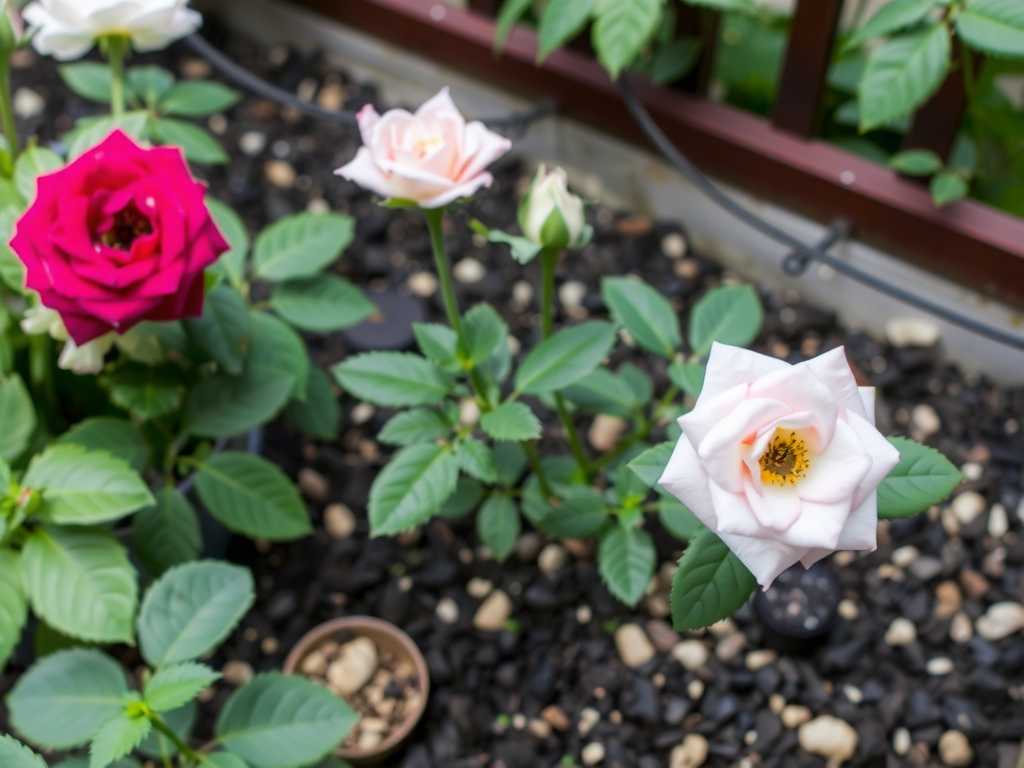
How often should I expect blooms? The varieties I selected are known as “self-cleaning” and repeat bloomers. With sufficient sun and proper feeding, they cycle through bloom periods from late spring until frost, offering near-continuous color.
Growing evergreen rose varieties on a balcony is an exercise in attentive, joyful patience. It’s not about having a green thumb, but about understanding a few core principles: brilliant drainage, abundant sunlight, and responsive care. Those first two weeks taught me more than any guide could—to watch, to wait, and to adapt. Now, with promising new growth on both plants, my balcony is no longer just a concrete slab. It’s the beginning of a perennial, evergreen sanctuary.
")

发表评论