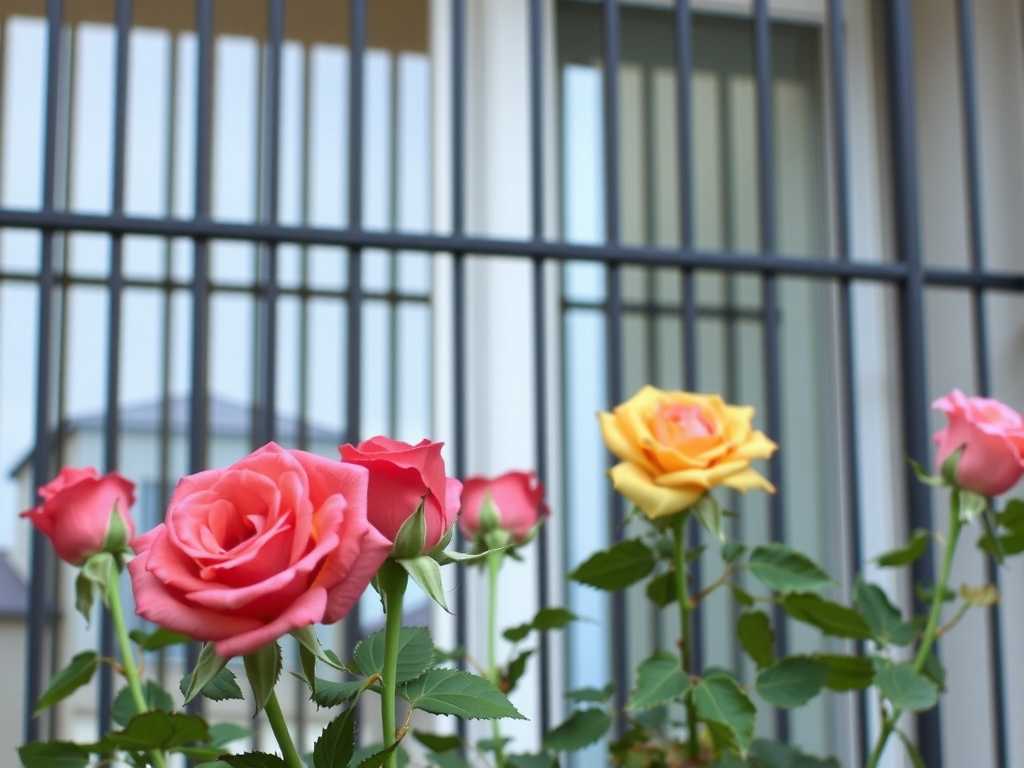
How to Prevent Overwatering of Balcony Rose Seedlings: A Gardener's Hard-Won Guide
There's a special kind of heartbreak that comes from loving a plant to death. I learned this the hard way with my first batch of balcony rose seedlings. I was so eager to see them thrive, to transform my small urban space into a floral haven, that I watered them with unwavering dedication. The result? Yellowing leaves, stunted growth, and a tragic case of root rot. It was a classic, and utterly preventable, case of overwatering. If you're nurturing tender rose seedlings on your balcony, understanding how to prevent overwatering of balcony rose seedlings is the single most critical skill you can master. It's the difference between a thriving, blooming oasis and a damp, disappointing graveyard of young plants.
For two weeks, I committed to a new, disciplined regimen to save my remaining seedlings and understand the precise balance these plants need. Here is everything I learned, from the tactile tests that never lie to the simple tools that changed everything.

The Golden Rule: Water Only When Needed, Not on a Schedule
My biggest mistake was treating watering like a daily chore. I'd give them a splash every morning, thinking consistency was key. For established plants in the ground, maybe. For delicate seedlings in containers on a windy balcony, it's a death sentence.
")
My New, Foolproof Process:
I abandoned the calendar. Instead, my watering can only came out after I performed the "Finger Test." I would insert my index finger into the soil up to the second knuckle (about 2 inches deep). If the soil at that depth felt cool and slightly damp, I walked away. No water. If it felt dry, it was time for a deep, thorough soak.
The Two-Week Observation:
This simple shift was revolutionary. In the first week, I was shocked to find that some seedlings didn't need water for 3-4 days, especially during a cool, cloudy spell. The seedlings' growth, which had stalled, began to visibly perk up. New, healthy green stems started to emerge from the base. By the end of the second week, the overall vigor of the plants was unmistakably better. The leaves were a deeper green and felt firmer to the touch.
The Pitfall and Fix:
The pitfall here is impatience and assumption. I assumed they were always thirsty. The fix is objective, tactile data. Your finger is the best moisture meter you own. For those who prefer a tool, a simple, inexpensive soil moisture probe takes the guesswork out completely. I started using one to confirm my finger tests, and it gave me immense confidence.
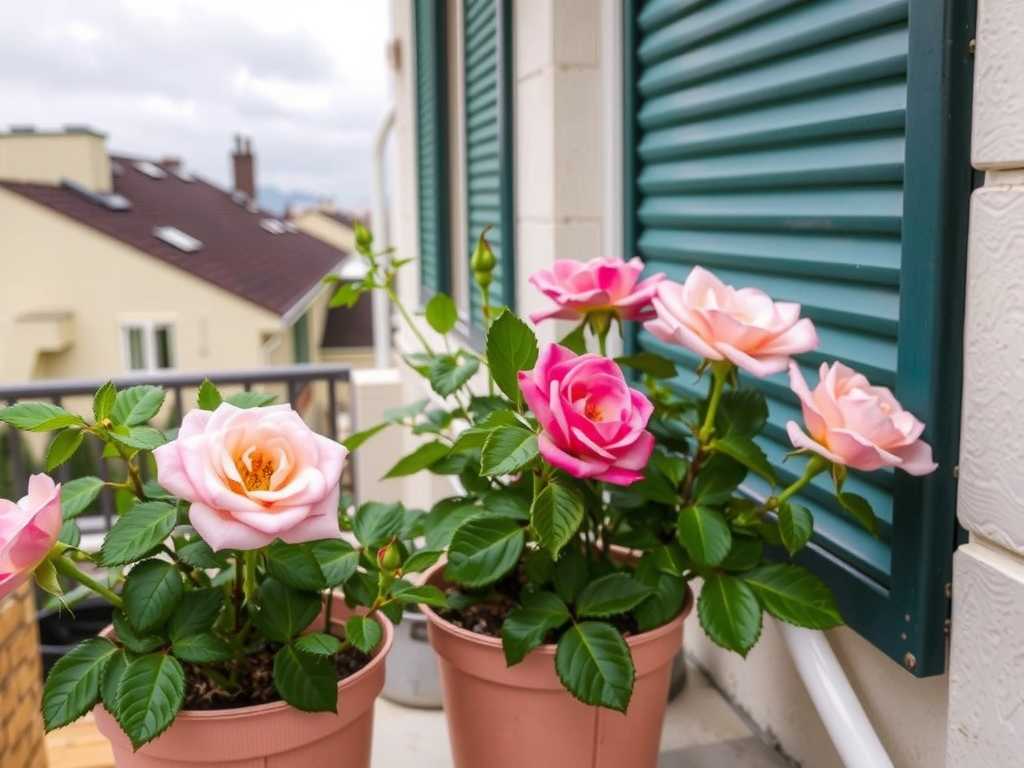
Choosing the Right Soil and Pot: Your First Line of Defense
Overwatering isn't just about how much you pour; it's about how long the roots sit in moisture. I started my seeds in a dense, moisture-retentive potting mix, which was my second critical error.
My Corrective Steps:
I carefully repotted my struggling seedlings into a new, well-draining mix. I created a blend of 60% high-quality potting soil, 30% perlite, and 10% coarse horticultural sand. This mixture is airy and allows water to flow through freely, while still retaining enough nutrients and moisture for the roots.
Equally important was the container. I moved them into terracotta pots. Unlike glazed ceramic or plastic, terracotta is porous. It "breathes," allowing excess moisture to evaporate through the walls of the pot itself.
The Two-Week Observation:
The improvement in root health was dramatic, even from the surface. Within days of repotting, the pallor in the leaves began to recede. The soil surface dried at a much more appropriate rate, matching what I was feeling with the finger test. There was no more sour, damp smell from the soil. After two weeks, when I gently tipped a pot to check, I could see healthy white root tips peeking from the drainage holes—a sign of active, happy growth seeking new space, not rotting in place.
The Pitfall and Fix:
Using generic, heavy soil and non-porous pots creates a swampy environment. The fix is to invest in drainage from day one. According to the American Rose Society, excellent drainage is non-negotiable for container roses. Don't just rely on a hole in the bottom; ensure the entire soil medium promotes aeration.
Mastering the Technique of Deep, Infrequent Watering
When I did water, I was doing it wrong. Light, frequent sprinkling only moistened the top inch, encouraging roots to stay shallow and weak, while the bottom of the pot could paradoxically remain a soggy mess.
My New Watering Technique:
When the soil passed the dry test, I would water slowly and deliberately at the base of the plant, avoiding the leaves. I continued pouring until I saw a steady stream of water run out of the drainage holes at the bottom. This ensured the entire root ball was evenly moistened. I then let the pot drain completely on a rack before placing it back on its saucer, ensuring it never sat in a puddle of runoff.
The Two-Week Observation:
This deep watering method meant longer intervals between sessions, but the seedlings responded with stronger growth. The stems became sturdier, better able to support themselves. The plants seemed less stressed by wind and sun on the balcony because their root systems were delving deeper into the pot in search of the deep moisture reserves, making them more resilient.
The Pitfall and Fix:
The pitfall is surface-level watering. The fix is the "until it runs through" rule. It feels like you're using more water, but you're actually watering far less often. This practice is strongly supported by horticultural best practices for container gardening, as it promotes robust root architecture.
Reading Your Plant's Signals: They're Talking to You
Roses are communicative. Overwatering symptoms are their distress call. I learned to recognize the subtle signs before severe rot set in.
- Yellowing Lower Leaves: This was my first clue. Not just a leaf or two, but a general yellowing, often starting with the older leaves at the bottom.
- Constantly Wet Soil: If the soil surface is still wet 2-3 days after watering, it's a major red flag.
- Wilting with Wet Soil: This is a classic and confusing sign. The plant wilts not from lack of water, but because rotten roots can't absorb it. If the soil is damp and the plant is drooping, think overwatering first.
- Soft, Mushy Stems and Foul Odor: This is the advanced, often fatal stage of root rot.
My Two-Week Diagnostic Routine:
Every morning during my plant check-in, I'd look for these signs. As I corrected my practices, the yellowing ceased. New growth was uniformly green and healthy. The wilting I had mistaken for thirst disappeared. The plants just looked… content.
The Balcony Microclimate Factor
A balcony is a unique environment. It's often windier and sunnier than a backyard, which can dry pots faster, but it can also create rain shadows. I learned to be a weather watcher.
If a week was forecast with rain, I moved my seedlings under the eaves. If it was intensely hot and windy, I checked the finger test daily, as they dried out faster. Understanding my specific balcony's conditions—its sun exposure, wind patterns, and rainfall access—became an integral part of my watering decisions.
How often should I water my balcony rose seedlings? There is no set schedule. It depends entirely on your soil mix, pot type, weather, and seedling size. Always use the finger test or a moisture meter. In my conditions, after correcting my setup, it typically became every 3-5 days in moderate weather.
Can overwatered rose seedlings be saved? Yes, if caught early. Immediately stop watering. Let the soil dry out completely. If the plant is severely wilted and the stems are soft, gently remove it from the pot, brush away soggy soil, trim any black, mushy roots with sterile pruners, and repot into fresh, dry, well-draining mix. Water very lightly once after repotting and then wait.
Is it better to underwater or overwater rose seedlings? While neither is ideal, seedlings are generally more resilient to slight underwatering. They may wilt but often bounce back with a good drink. Overwatering attacks the root system directly, which is often a death sentence. When in doubt, err on the side of slightly dry.
Preventing overwatering isn't about neglect; it's about informed, attentive care. It's learning to listen to the soil and the plant rather than following a rigid routine. My two-week journey from concerned plant parent to confident caretaker was built on these principles: test before you water, ensure ruthless drainage, water deeply but infrequently, and always observe. Your balcony rose seedlings don't need a flood of love, just the right amount at the right time. Give them that, and they'll reward you with the vigorous, beautiful growth you're dreaming of.

发表评论