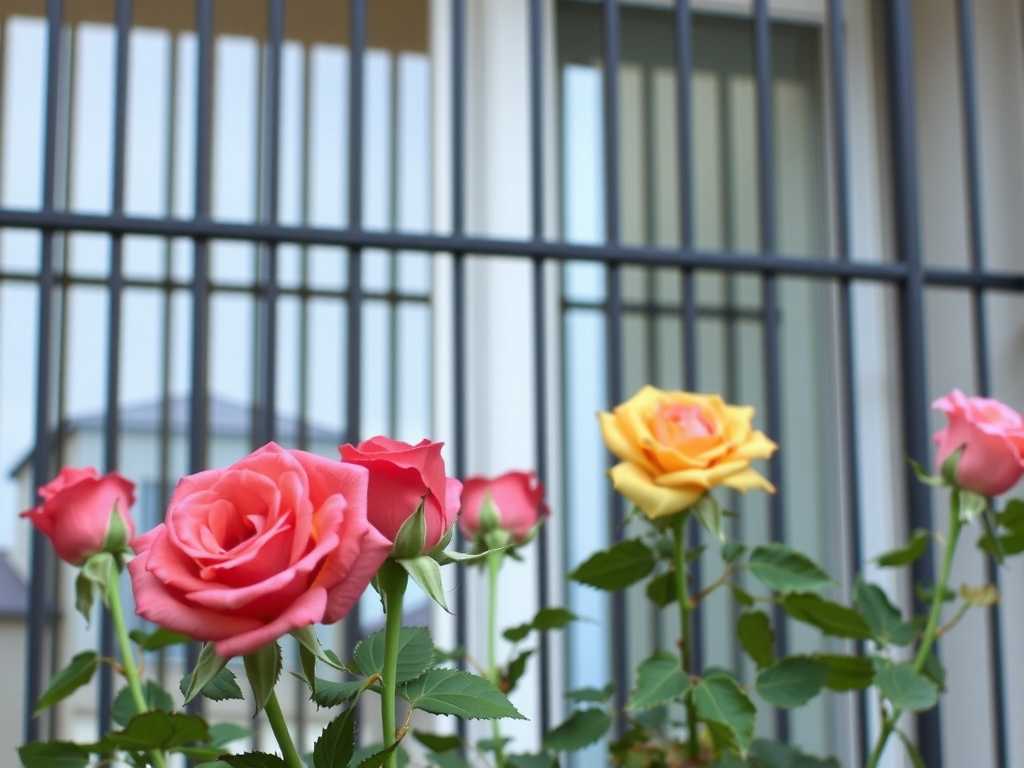
How to Maintain Soil Ventilation for Balcony Rose Planting: My 2-Week Experiment to Save My Roses
I almost lost my beloved balcony rose garden to one silent killer: compacted, suffocating soil. For weeks, I watched my floribundas struggle with yellowing leaves, stunted growth, and a complete lack of blooms, despite my diligent watering and feeding. The problem wasn't neglect; it was the very foundation of their home. I realized that maintaining soil ventilation for balcony roses wasn't just a best practice—it was the non-negotiable secret to vibrant health. This is the story of my two-week mission to transform my soil from a dense brick into a fluffy, breathable paradise, detailing every step, mistake, and triumphant result.
")
Why Your Balcony Rose Soil is Suffocating (And Why It Matters)

Balcony gardening presents unique challenges. Our containers are closed ecosystems. Unlike garden beds, there’s no endless earth for roots to explore, no worms to naturally aerate. Over time, watering compacts the soil, organic matter decomposes and settles, and the once-light potting mix collapses. The Royal Horticultural Society (RHS) explicitly states that poor drainage and aeration are primary causes of root rot in container plants. Roots need oxygen to respire and absorb nutrients. Without proper soil aeration for potted roses, they essentially drown, becoming susceptible to disease and pests. My roses weren't hungry or thirsty; they were gasping for air.
My Step-by-Step Plan to Restore Breathable Soil
I decided on a two-pronged approach: an immediate intervention for my most distressed plant and a systemic change for all my balcony rose containers.
Week 1: The Emergency Repot and Baseline Assessment
I started with ‘Queen Elizabeth,’ my most visibly suffering rose. Here was my action plan:
- Gathering the Right Materials: I didn't just buy any potting mix. I sought out a high-quality, well-draining potting mix for roses. Key ingredients I looked for were coarse horticultural grit, perlite, and bark chips. I also purchased a bag of pure perlite and some organic compost.
- The Surgical Repot: Gently removing the rose from its pot confirmed my worst fears. The roots were coiled tightly at the bottom, pale, and had a faint musty smell—early stage root rot. I carefully teased apart the root ball, shaking away the old, clumpy soil.
- Creating the Perfect Airy Mix: This was my recipe for success. I used a 3:1:1 ratio:
- 3 parts premium rose potting soil.
- 1 part perlite (for permanent drainage and aeration).
- 1 part screened compost (for slow-release nutrients). I mixed them thoroughly in a large tub. The difference was immediately tactile—light, crumbly, and obviously full of air pockets.
- Pot Preparation is Key: I cleaned the old pot with a bleach solution to remove any pathogens. I then ensured the drainage holes were clear and covered them with a single piece of broken pottery (curved side up) to prevent soil washout without blocking water.
- The Replanting: I placed a layer of my new mix in the pot, set the rose in, and gently filled around it, tamping lightly to avoid creating new compaction. I watered it thoroughly until water ran freely from the bottom, settling the soil around the roots.
For my other roses, I performed a quick health check. I gently loosened the top 2 inches of soil with a hand fork, being careful not to damage surface roots—a technique known as top-dressing aeration. I then watered them with a diluted seaweed extract to help with root stress.
The First Week's Observations: Stress and Hope
The first 3-4 days were tense. ‘Queen Elizabeth’ drooped slightly, a normal transplant shock. My other roses, with their lightly aerated topsoil, showed no negative reaction. By day 5, I noticed the first sign of hope: the soil in the repotted container dried at a noticeably even rate. Previously, the top would be crusty while the core remained soggy. Now, moisture seemed consistent. No new yellow leaves appeared.
Week 2: Systemic Changes and The Turning Point
Encouraged, I implemented long-term maintenance strategies for all my plants.
- The Chopstick Aeration Technique: Every 10 days, I now take a wooden chopstick and gently push it deep into the soil in several spots around the plant, then wiggle it slightly to create tiny air channels. It’s a simple, non-invasive way to combat surface compaction between waterings.
- Mulching for Surface Protection: I applied a thin layer (about an inch) of fine pine bark mulch to the soil surface. The American Horticultural Society (AHA) notes that mulch regulates soil temperature and prevents crusting from rain or watering, which dramatically improves oxygen flow to rose roots. It also gave my containers a polished look.
- The "Soak and Dry" Watering Discipline: I abandoned my calendar-based watering. Instead, I used the finger test: inserting my finger up to the second knuckle. Only when it felt dry did I water deeply, ensuring a full soak that mimicked a good rain. This cycle of wet and dry is crucial for pulling oxygen down into the root zone.
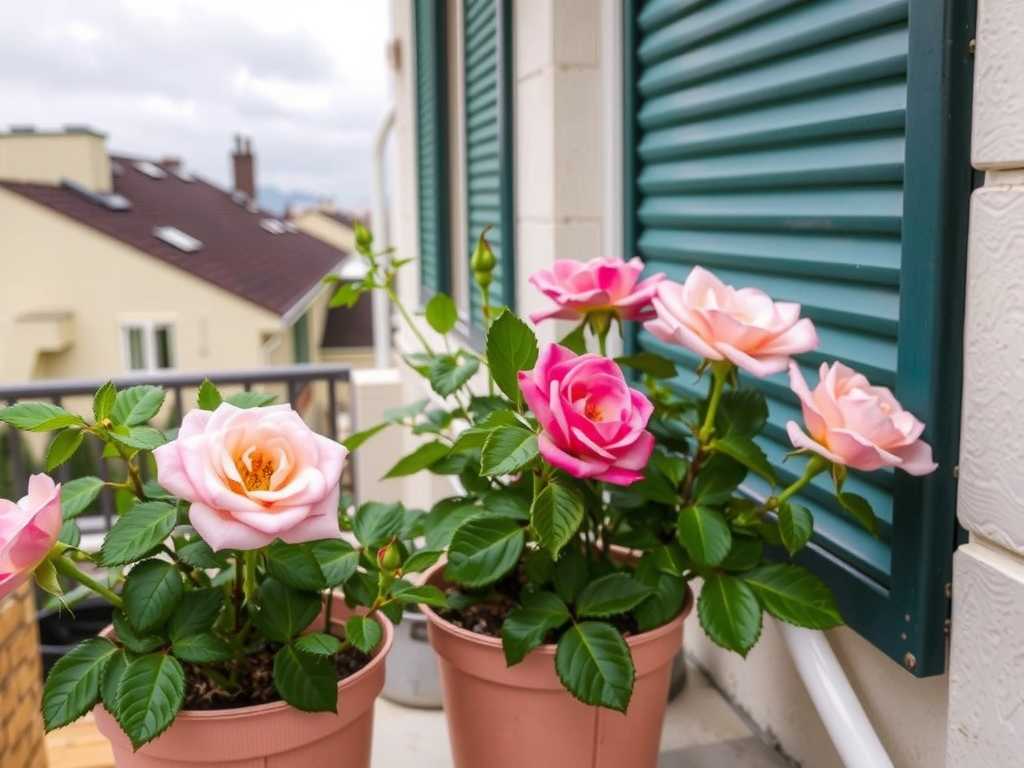
The Two-Week Results: A Clear Victory
At the end of my experiment, the transformation was undeniable.
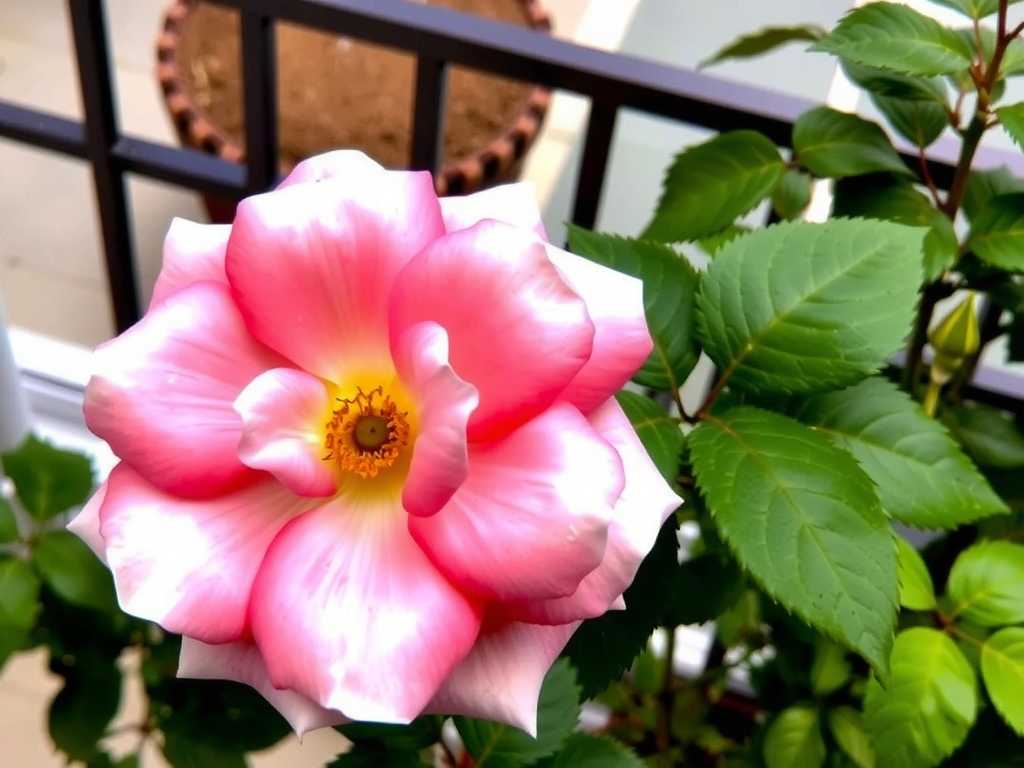
- ‘Queen Elizabeth’ (Repotted): The drooping stopped entirely. The existing foliage deepened to a healthier green. Most excitingly, I spotted two new, deep red shoots emerging from the base—a sure sign of happy roots. The soil smelled fresh and earthy, not musty.
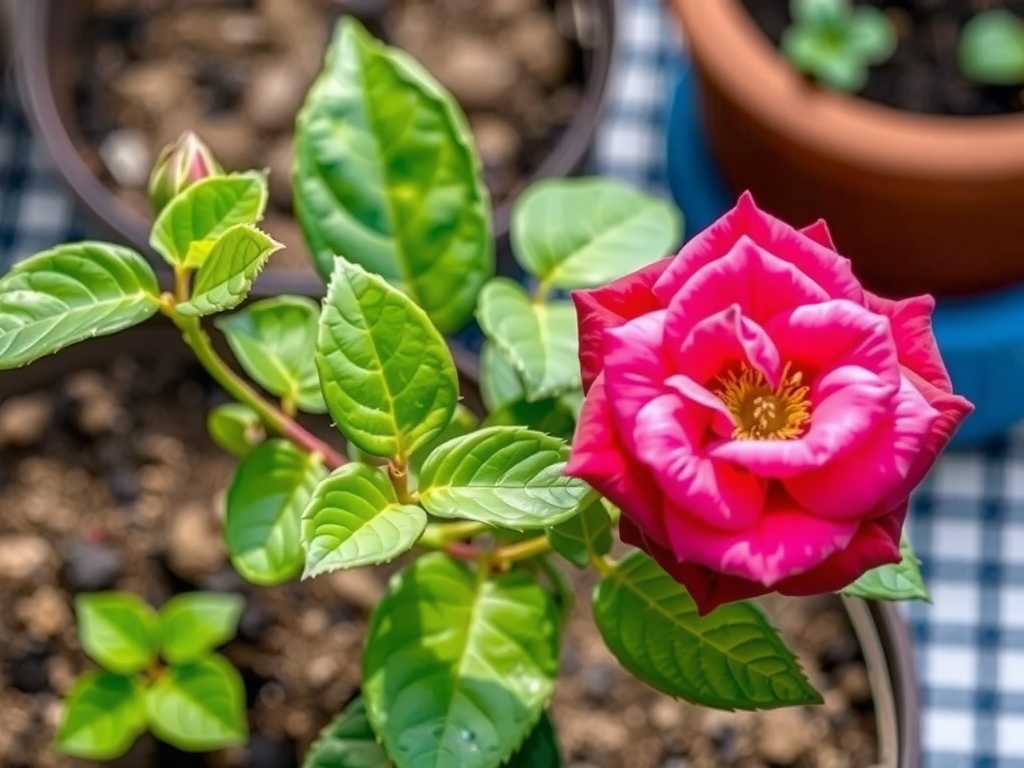
- My Other Roses (Top-dressed & Maintained): Growth, which had been stagnant, resumed. I observed plumper leaf buds and an overall more vigorous appearance. The dreaded yellowing ceased completely.
- The Soil Itself: The texture was the ultimate proof. It remained loose and crumbly. Water infiltration was instant—no more pooling on the surface before slowly seeping in.
The Pitfalls I Encountered (And How You Can Avoid Them)
My journey wasn't flawless. I made two critical errors early on.
Mistake 1: The "More is Better" Compost Fallacy. In my initial mix for a different plant, I overdid the compost, thinking it would boost fertility. The result was a mix that held too much water and re-compacted quickly. Solution: Stick to a maximum of 20-25% compost in your total mix. Fertility can be added later with targeted fertilizers; aeration must be built into the structure.
Mistake 2: Overzealous Top Dressing. With one plant, I got too aggressive with my hand fork and heard a faint snap—a damaged root. Solution: Be gentle and work slowly. Loosen only the very top layer where there are fewer feeder roots. The chopstick method is far safer for deeper aeration.
Addressing Your Balcony Rose Ventilation Concerns
Can I just add pebbles to the bottom of the pot for drainage? This is a widespread myth. Research from university extension programs shows that a layer of pebbles actually creates a "perched water table," raising the soggy zone higher into the root ball. It makes drainage worse, not better. Always use a uniformly well-draining mix throughout the entire pot.
How often should I completely change my rose's soil? For established balcony roses, a full repot with fresh mix is ideal every 2-3 years, typically in late winter or early spring before new growth surges. In the interim, annual top-dressing with fresh compost-and-grit mix and consistent chopstick aeration will maintain ventilation.
Are there signs that my soil ventilation is failing? Absolutely. Watch for these red flags: water sitting on the surface for more than a few seconds after watering; a hard, cracked soil surface; a sour or anaerobic smell from the soil; and, of course, the plant symptoms like yellowing lower leaves, stunted growth, and a lack of flowering despite adequate sun and food.
The health of your balcony roses truly starts from the ground up. Maintaining proper soil aeration is not a one-time task but a fundamental aspect of your care routine. By choosing the right mix, incorporating physical aeration tools like a simple chopstick, and adopting mindful watering habits, you create an environment where roots can thrive. My two-week experiment rescued my roses from a slow decline and redefined my approach to container gardening. Your balcony roses don't need more water or more fertilizer—they just need room to breathe. Give them that, and they will reward you with resilience and breathtaking blooms.

发表评论