How to Grow Roses in Hanging Vertical Gardens on Balconies
I love roses. Their fragrance, their beauty, the sheer joy of a blooming bud. But for years, I thought they were off-limits for my small apartment balcony. The classic image of a sprawling rose bush just didn't fit. That was until I discovered the magic of growing roses in hanging vertical gardens. It transformed my tiny outdoor space into a cascading wall of color and scent.
If you're like me, dreaming of roses but limited by square footage, this guide is for you. I’ll walk you through my exact process, from setup to bloom, including the very real mistakes I made and how I fixed them. After two weeks of careful observation and adjustment, I finally saw my vertical rose garden thrive.

Why Vertical Gardening is a Game-Changer for Rose Lovers
")
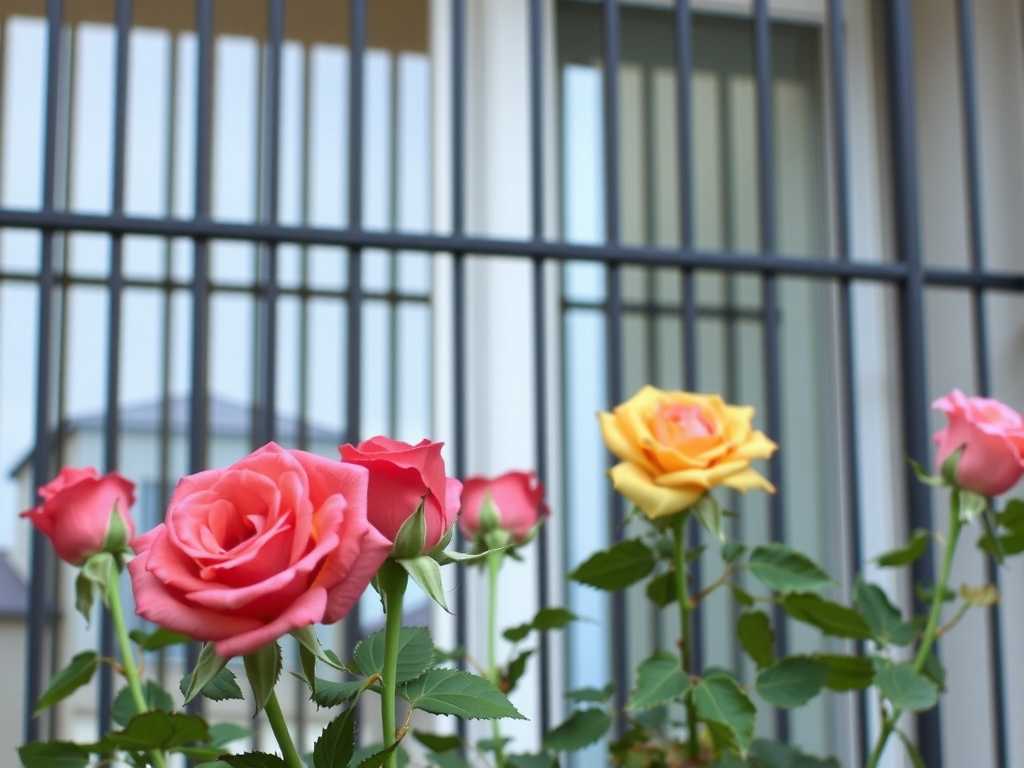
Traditional rose gardening requires ground space, which many urban dwellers simply don't have. A hanging vertical garden solves this by using the often-overlooked vertical plane of your balcony wall or railing. It’s not just about saving space; it’s about creating a stunning living art piece.
According to the American Horticultural Society (AHS), vertical gardening can improve air circulation around plants, which is crucial for preventing fungal diseases like black spot—a common rose ailment. By lifting the foliage off the ground and into better airflow, you’re giving your roses a healthier start.
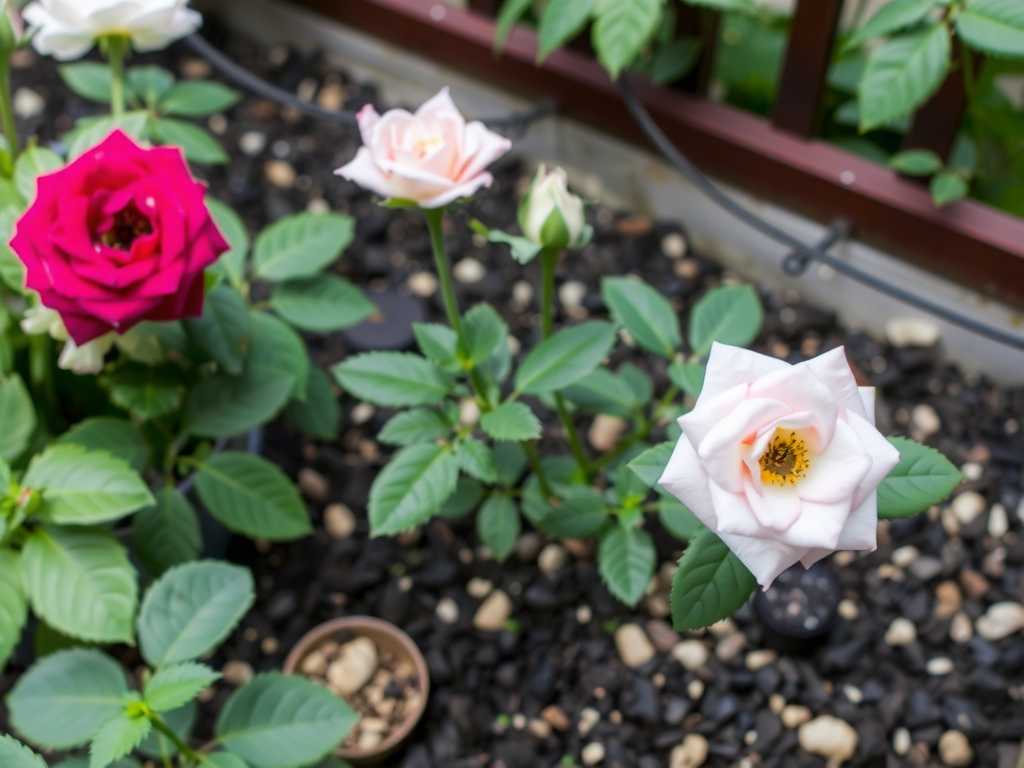
My core focus for this project was on compact climbing roses and miniature rose varieties for vertical growth. These are the true heroes for this method.
My Step-by-Step Journey to a Vertical Rose Haven
I was determined to make this work. Here’s the exact roadmap I followed, complete with the hiccups I encountered.
Choosing the Right System and Roses
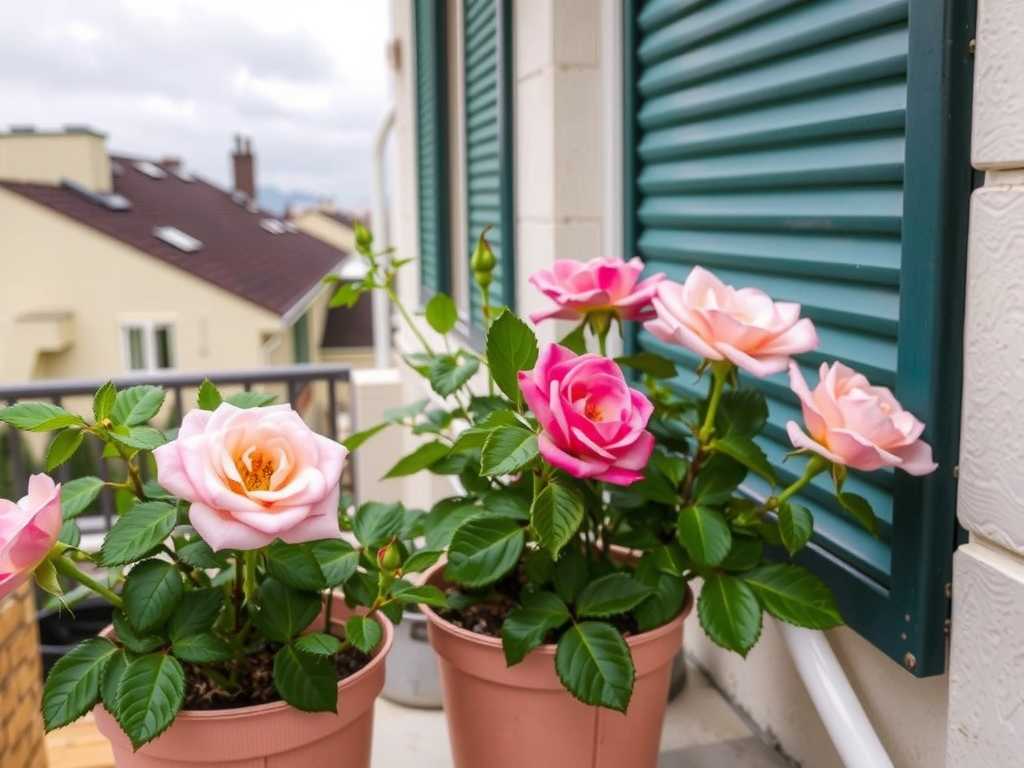
My first decision was the structure. I opted for a modular, fabric pocket vertical planter system because it was lightweight, easy to install on my balcony’s brick wall, and offered good drainage. A key tip: ensure your balcony wall or railing can support the weight of the planter, soil, and mature plants, especially when wet.
The rose selection was critical. I needed roses suitable for balcony vertical gardens. I chose two varieties:
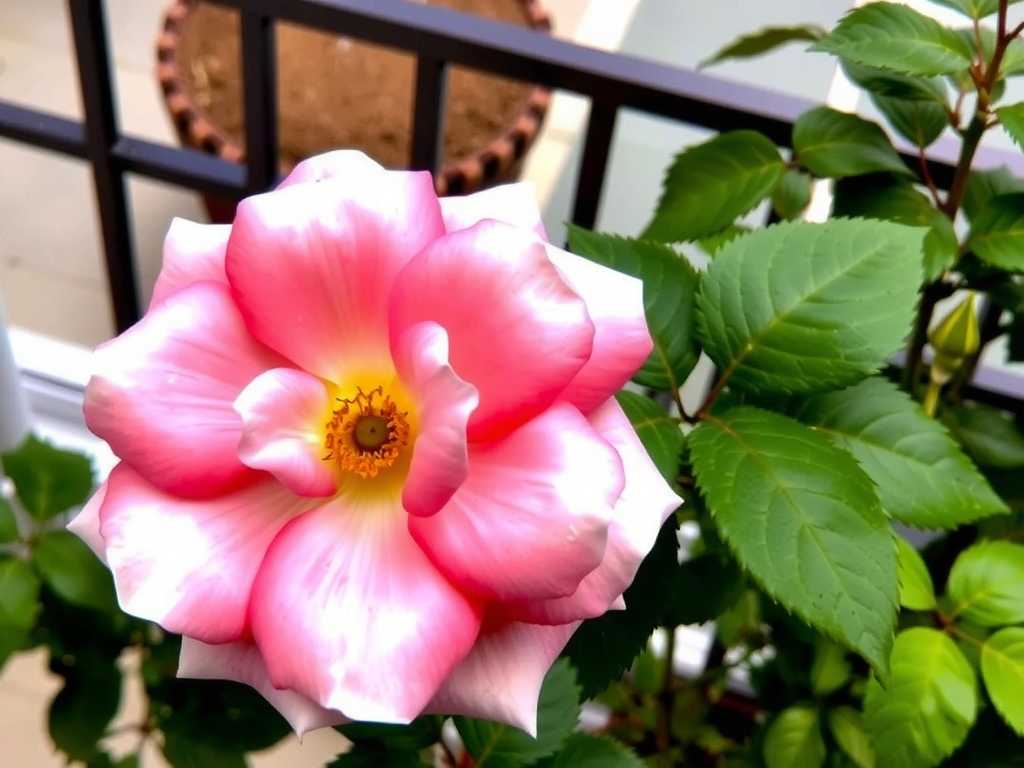
- ‘Climbing Iceberg’: A floribunda type known for its prolific white blooms and disease resistance.
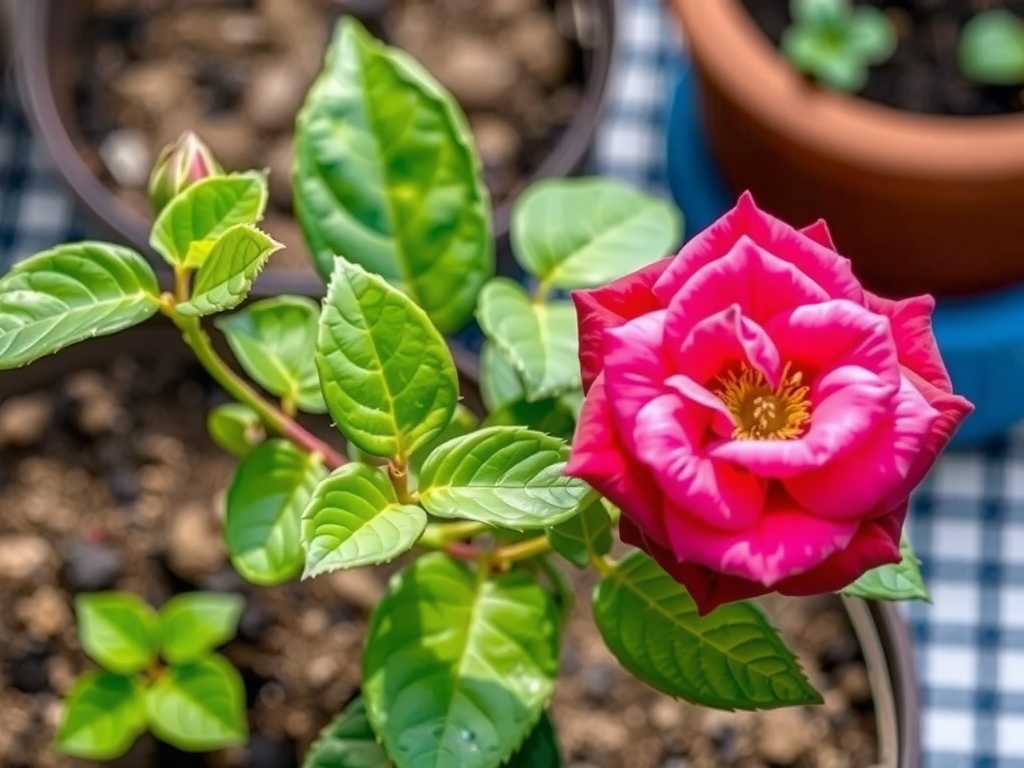
- ‘Gourmet Popcorn’ Miniature Rose: A compact, bushy variety with clusters of small white flowers, perfect for the smaller pockets.
The Royal Horticultural Society (RHS) emphasizes choosing disease-resistant cultivars for container and small-space gardening, so I made that a priority in my search.
The Planting Process: Getting the Foundation Right
I filled the planter pockets with a premium, well-draining potting mix formulated for roses. I mixed in a slow-release granular fertilizer as recommended on the package. Here was my first major mistake and solution.
Mistake #1: I initially planted the bare-root ‘Climbing Iceberg’ rose too deeply in its designated pocket, burying the graft union. I also didn’t adequately loosen the root ball of the miniature rose.
The Solution & Observation (Days 1-3): After reading an RHS guide, I quickly replanted. The graft union (the knobby bump where the rose is joined to the rootstock) must sit just above the soil line. I gently teased out the roots of both plants to encourage them to spread into the new soil. I watered them thoroughly until water ran freely from the bottom of the pockets. For the first three days, I kept the planter in partial shade on my balcony to reduce transplant shock. The leaves on the miniature rose looked slightly wilted, but the stems remained green and firm—a normal sign of adjustment.
Training and Securing the Climber
For my compact climbing rose, training is essential. The vertical planter itself acts as the initial support. I used soft plant ties to gently attach the longest canes to the top of the planter frame, encouraging horizontal growth along the top row. This technique, called espalier, promotes more flowering shoots along the cane’s length. I left the younger, smaller canes to grow freely for now.
The Crucial First Two Weeks: Monitoring and Adjustments
This period was all about daily check-ups and learning my balcony’s microclimate.
Watering Woes and Wisdom (Days 4-10): Vertical planters, especially fabric ones, dry out faster than ground soil. My second mistake was sticking to a rigid every-other-day watering schedule.
The Solution: I learned to check soil moisture daily by sticking my finger about an inch into a few different pockets. The top pockets dried out much faster than the lower ones! I adjusted my routine to a light morning check, watering only the pockets that felt dry. By day 10, I noticed the ‘Climbing Iceberg’ was pushing out tiny, red new shoots—a fantastic sign of establishment. The miniature rose also showed new leaf growth.
The Fertilizer Fumble (Day 11): Excited by the new growth, I thought a liquid feed would give them a boost. This was mistake #3. I applied a half-strength dose, but the afternoon sun was intense that day.
The Solution & Observation (Days 11-14): The next morning, the edges of some new leaves on the miniature rose looked slightly scorched. I had likely over-fertilized a still-establishing plant. I immediately gave the entire planter a deep, slow watering to help leach out excess salts from the soil. For the next three days, I held off on any fertilizer and provided afternoon shade with a temporary screen. The plants recovered well. The scorching stopped, and the new growth continued, albeit a bit more slowly. This taught me the importance of waiting at least 4-6 weeks before supplemental feeding after planting, as the slow-release fertilizer was already working.
Sunlight and Pest Patrol My balcony gets about 6 hours of direct sun, which is ideal. I observed that the roses leaned slightly toward the light. Every few days, I would rotate the entire planter system a few inches to ensure even growth—a simple trick for growing roses on small balconies.
I also inspected the undersides of leaves every other day. On day 12, I spotted a few aphids on the tender shoots of the climber. I sprayed them off with a strong jet of water from my spray bottle, a method endorsed by both AHS and RHS for minor infestations. This solved the issue without chemicals.
By the end of week two, my vertical rose garden was no longer just a project; it was a living, adapting part of my balcony. The roses had clearly rooted, were producing healthy new foliage, and showed no signs of disease. The initial pitfalls had made me a more attentive gardener.
Essential Care for Long-Term Success
Based on my two-week intensive observation, here’s the ongoing care plan I follow:
- Consistent Watering: Morning deep watering when the top inch of soil is dry. Drip irrigation systems are a fantastic, low-effort upgrade for vertical gardens.
- Strategic Feeding: I will resume feeding monthly with a balanced, water-soluble fertilizer diluted to half-strength during the growing season, but only after the initial 6-week period.
- Pruning for Shape: I’ll lightly tip-prune the miniature rose to encourage bushiness. For the climber, I’ll continue to train new canes horizontally to maximize floral display on my vertical garden for flowering plants.
Questions I Had (And You Might Too)
Can any rose grow in a vertical garden? No. It’s essential to select the right types. Stick to miniature roses, patio roses, or specifically labeled compact climbers and short ramblers. Large hybrid teas or vigorous ramblers will quickly become root-bound and unhappy.
How do I protect the roses in winter on my balcony? This depends on your climate. In my zone, I will insulate the entire planter by wrapping it in burlap and horticultural fleece after the first hard frost. For the roots, I’ll mound extra mulch around the base of the pockets. In very cold zones, the entire planter may need to be moved to an unheated garage or shed.
The blooms are smaller than I expected. What’s wrong? This is common in containers and vertical setups. Ensure they are getting at least 6 hours of sun, you’re not over-fertilizing (which can promote leaves over flowers), and you’re using a fertilizer with a higher phosphorus (the middle number) content to encourage blooming. My ‘Gourmet Popcorn’ roses naturally have smaller blooms, which is part of their charm.
Growing roses in a hanging vertical garden is a deeply rewarding way to connect with nature in a small space. It requires attentiveness, especially in the beginning, but the payoff—a personal, blooming oasis high above the ground—is absolutely worth every moment. Start with the right roses, learn from your microclimate, and don’t be afraid to get your hands dirty. Your balcony paradise awaits.

发表评论