How to Use Organic Mulch for Balcony Rose Planting: A Gardener’s Real-World Guide
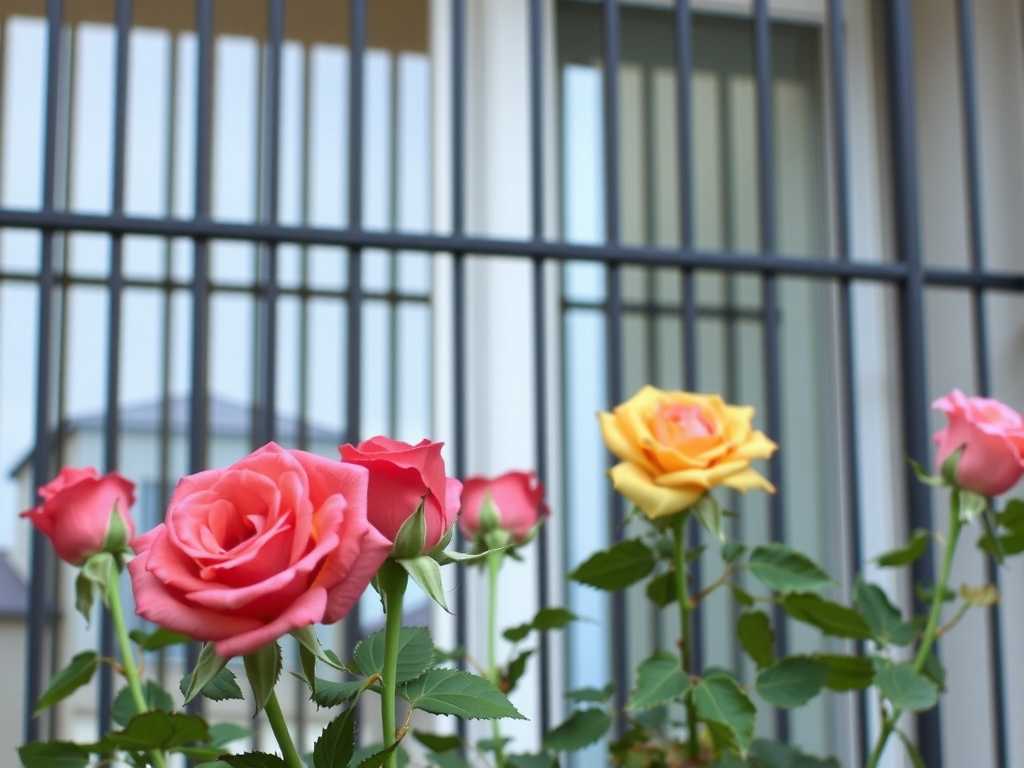
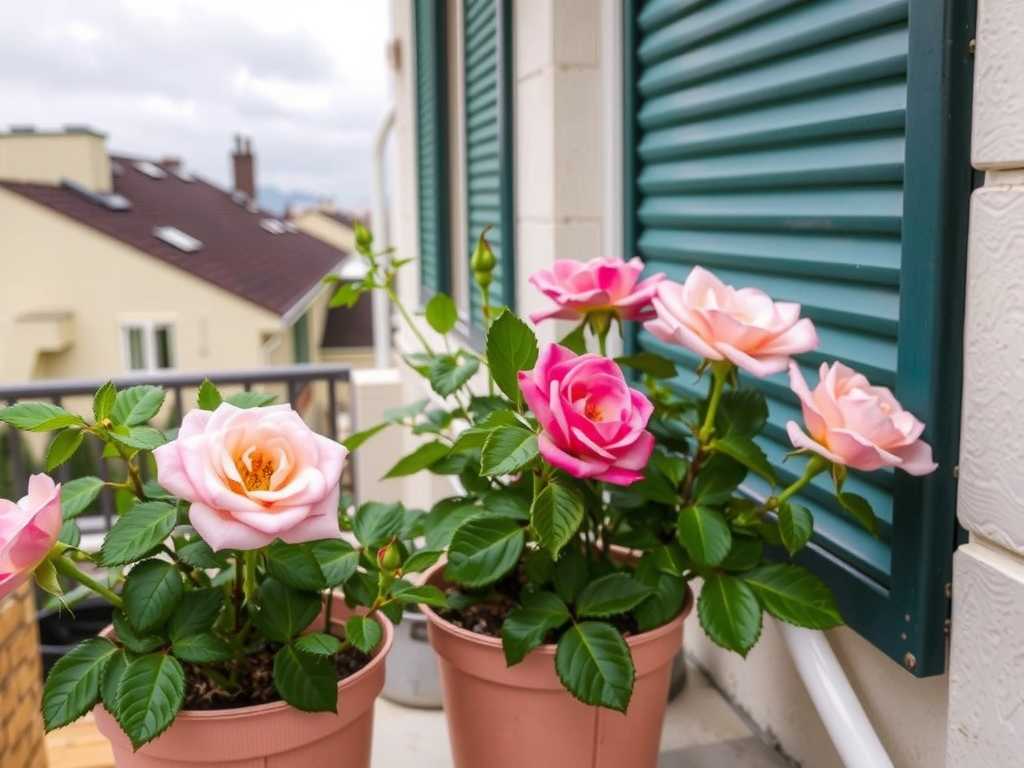
I’ve always believed that growing vibrant roses on a balcony is one of life’s great joys, but it also comes with unique challenges. Limited soil volume, faster moisture evaporation, and intense container heat can stress even the hardiest rose. For years, I struggled with constant watering, fluctuating soil temperatures, and the dreaded sight of weeds competing with my precious blooms. Then, I discovered the transformative power of organic mulch for balcony rose planting. This simple practice wasn't just a gardening tip; it became a game-changer for my container roses.
In this guide, I’ll walk you through my exact process, the tangible results I observed over two weeks, and the honest mistakes I made along the way. Whether you're nurturing a single potted hybrid tea or a mini rose garden in containers, using organic mulch correctly can mean the difference between survival and spectacular thriving.

Why Your Balcony Roses Desperately Need Organic Mulch
Balcony gardening is a world apart from in-ground planting. Pots heat up quickly under the sun, drying out the soil sometimes in just a day. According to the American Horticultural Society (AHS), root zones in containers can be 10-15 degrees Fahrenheit hotter than the ambient air, which can literally cook delicate feeder roots. This is where mulching container roses shines.
Organic mulch acts as a protective blanket. It moderates soil temperature, conserves water by significantly reducing evaporation, and slowly breaks down to feed the soil ecosystem. For roses, which are heavy feeders and prefer consistent moisture, these benefits are non-negotiable for healthy growth and prolific blooming on a balcony.
My Step-by-Step Process for Applying Organic Mulch
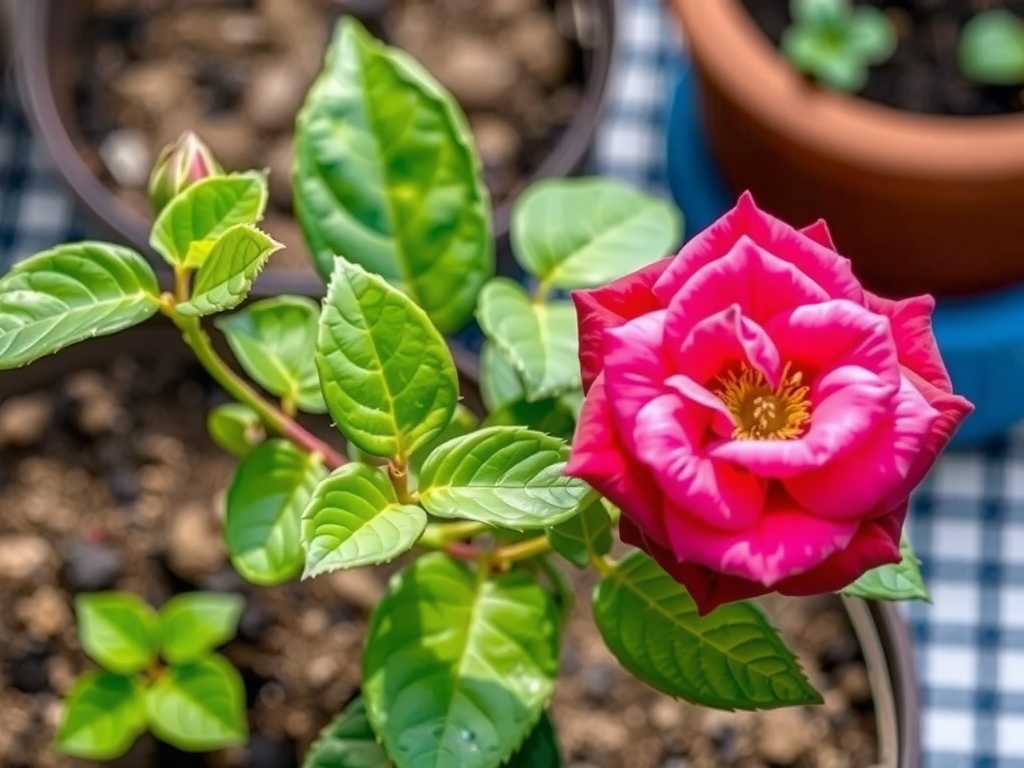
Before we get to the results, let me detail exactly what I did. I chose a sunny weekend to give my three potted ‘Queen Elizabeth’ shrub roses a mulch makeover.
Choosing the Right Mulch Material Not all organic mulches are equal for containers. I needed something lightweight, weed-free, and effective. I ruled out heavy bark chips (which can compact and rob nitrogen as they decompose in small soil volumes) and fresh grass clippings (which mat down and smell). After research and consulting resources from the Royal Horticultural Society (RHS), I settled on two options for my trial: finely shredded cedar bark and composted cocoa bean hulls. Both are recommended for their moisture retention and pleasant appearance.
Preparing the Roses and Containers This is a step I initially glossed over, and I paid for it. First, I gave each rose a deep, thorough watering. The goal is to have the soil uniformly moist before mulching—sealing in dry soil is a recipe for trouble. Next, I carefully weeded the surface of each pot, removing any unwanted seedlings. I also gently scratched the top inch of soil with a hand fork to loosen any crust, improving aeration.
The Application: How Much and How Here’s the golden rule I learned: apply mulch for potted roses correctly, or don't apply it at all. I created a donut-shaped layer around each rose bush.
- I kept the mulch a clear 2-3 inches away from the main stem. Piling mulch against the stem (a mistake called "volcano mulching") can lead to rot, harbor pests, and create a pathway for disease.
- I spread a uniform layer about 1.5 to 2 inches thick across the rest of the soil surface. In containers, a thicker layer can prevent water and air penetration, while a thinner one won’t be effective.
- I made sure the mulch layer was even and fluffy, not packed down.
The Two-Week Observation: What Actually Happened
This is where the magic became visible. I monitored my mulched roses alongside an unmulched control plant of the same variety.
Week 1: Immediate Moisture and Temperature Control The difference was apparent within days. While the unmulched rose needed watering every other day in the mild spring sun, the mulched pots felt noticeably heavier and their soil remained cool and damp to the touch for 4-5 days. I used a simple soil thermometer. The root zone temperature in the mulched pots was consistently 5-8 degrees Fahrenheit cooler during the peak afternoon heat. The roses looked less stressed, with no midday wilting.
Week 2: Healthier Growth and Fewer Problems By the end of the second week, the benefits compounded. The mulched roses showed a visible surge in new, deep green foliage. I also noticed the first tiny flower buds forming more vigorously on the mulched plants compared to the control. Furthermore, a light rain shower occurred mid-week. The mulch prevented soil compaction and splash-back onto the leaves—a key factor in preventing fungal diseases like black spot, a constant battle for rose lovers.
The Pitfalls I Encountered and How I Fixed Them
My journey wasn’t perfectly smooth. Here are the mistakes I made so you can avoid them.
The Fungus Gnats Fiasco About five days in, I noticed tiny flies around one pot mulched with cocoa bean hulls. I had made a classic error: I applied the mulch over soil that was a bit too rich in undecomposed organic matter and stayed moist. This created a perfect breeding ground for fungus gnats. My solution was two-fold. First, I let the top layer of soil dry out more thoroughly between waterings by adjusting my schedule. Second, I sprinkled a thin layer of horticultural sand on top of the mulch in that pot, which disrupted the gnats' life cycle. The problem was resolved within a week.
The Nitrogen Drawdown Scare With the shredded cedar mulch, I saw a slight yellowing of the lower, older leaves on one plant after ten days. This signaled a potential short-term nitrogen deficiency, as soil microbes worked to break down the carbon-rich mulch. The RHS notes this can happen with high-carbon materials. The fix was simple: I gave the rose a light feed with a balanced, water-soluble fertilizer. This provided an immediate nutrient boost, and the yellowing stopped. Now, I always give my roses a light feeding right after mulching to preempt this issue.
Maintaining Mulch in Potted Roses I learned that container mulch isn't "set and forget." Wind and heavy rain can displace it. I now make a quick weekly check to redistribute the layer and ensure it hasn’t matted down, which would defeat its purpose. Fluffing it lightly with a hand fork keeps it functional.
")
Choosing and Maintaining Your Mulch Layer
For balcony gardening with roses, your mulch choice is critical. Finely shredded bark, composted leaf mold, or well-rotted compost are all excellent. Replenish the layer as it naturally decomposes and thins, typically once or twice a season. Remember, the goal is to create a stable, living soil environment in the confined space of a pot.
How often should I water my mulched balcony roses? This is the most common question. The mulch will reduce watering frequency, but not eliminate it. Always check the soil moisture 1-2 inches beneath the mulch layer with your finger. Water deeply when that soil feels dry, rather than on a fixed schedule. In my climate, mulching extended my watering interval from every 2 days to every 5-6 days.
Can I use homemade compost as mulch for my potted roses? Absolutely, and it's fantastic! However, ensure it is fully composted (cool, crumbly, and earthy-smelling). Unfinished compost can be too hot, contain weed seeds, or cause the nitrogen imbalance I experienced. A 1-inch layer of finished compost acts as both a mulch and a gentle fertilizer.
Won’t mulch attract slugs or pests to my balcony? Organic mulch can provide shelter for slugs, but balcony gardens are less susceptible than ground-level gardens. I’ve found that using drier materials like shredded bark or cocoa hulls, and keeping the mulch away from the stem, minimizes this risk. If slugs are a concern, a thin top-dressing of diatomaceous earth can be an effective organic deterrent.
Embracing organic mulch for balcony rose planting transformed my small-space garden. It turned a high-maintenance chore into a more manageable, rewarding practice. The two-week experiment proved its worth in water savings, healthier plants, and more promising buds. By learning from my initial stumbles—managing moisture to deter pests and supplementing nutrients—I’ve created a resilient system. Your balcony roses are already working hard. Giving them the protective blanket of organic mulch is the simplest way to help them, and you, flourish.

发表评论