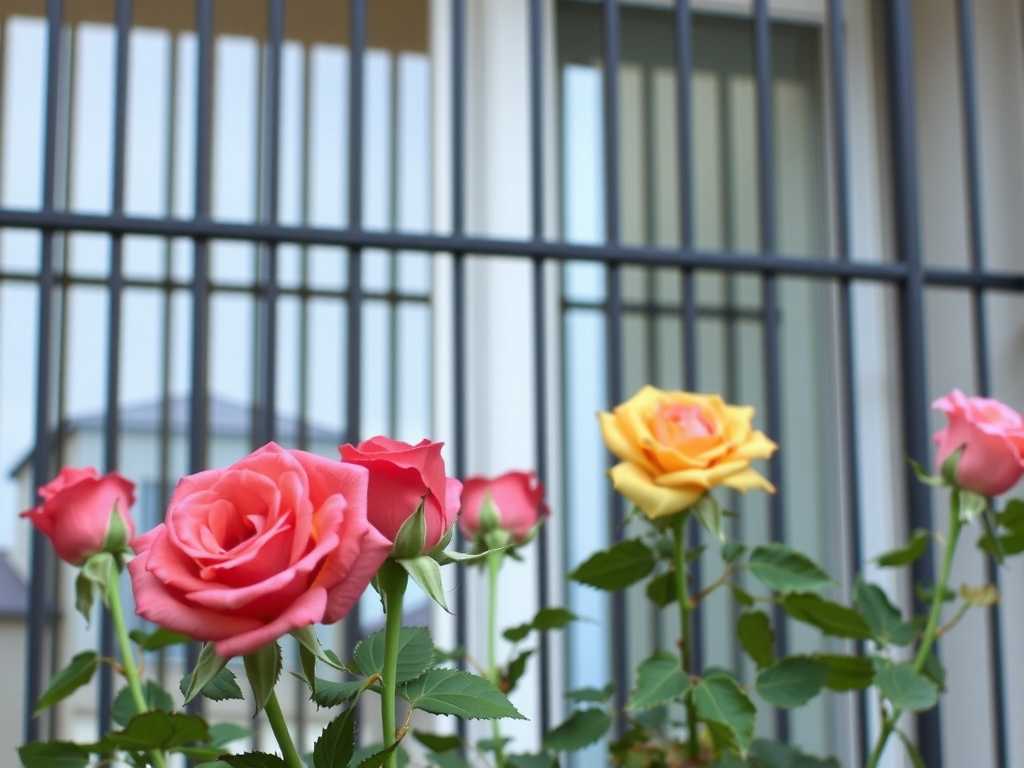
How to Grow Balcony Roses and Prevent Soil Compaction: My Two-Week Journey to Lush Blooms
There's nothing quite like the sight of roses blooming on your balcony, transforming a concrete space into a private, fragrant oasis. But if you've ever tried how to grow balcony roses, you've likely faced the silent killer of container gardening: hard, lifeless soil. I know I have. I've watched promising plants wilt, their growth stunted, because I didn't understand how to prevent soil compaction in pots. The soil would become so dense that water just pooled on top, roots suffocated, and my dream of a rose-covered balcony wilted with them.
This time, I was determined to get it right. I embarked on a focused, two-week experiment to establish my new balcony roses in a way that would ensure fluffy, aerated soil from the start and for seasons to come. Here’s my step-by-step journey, the results I saw, the mistakes I made, and exactly how I fixed them.
My Blueprint: Starting with the Right Foundation
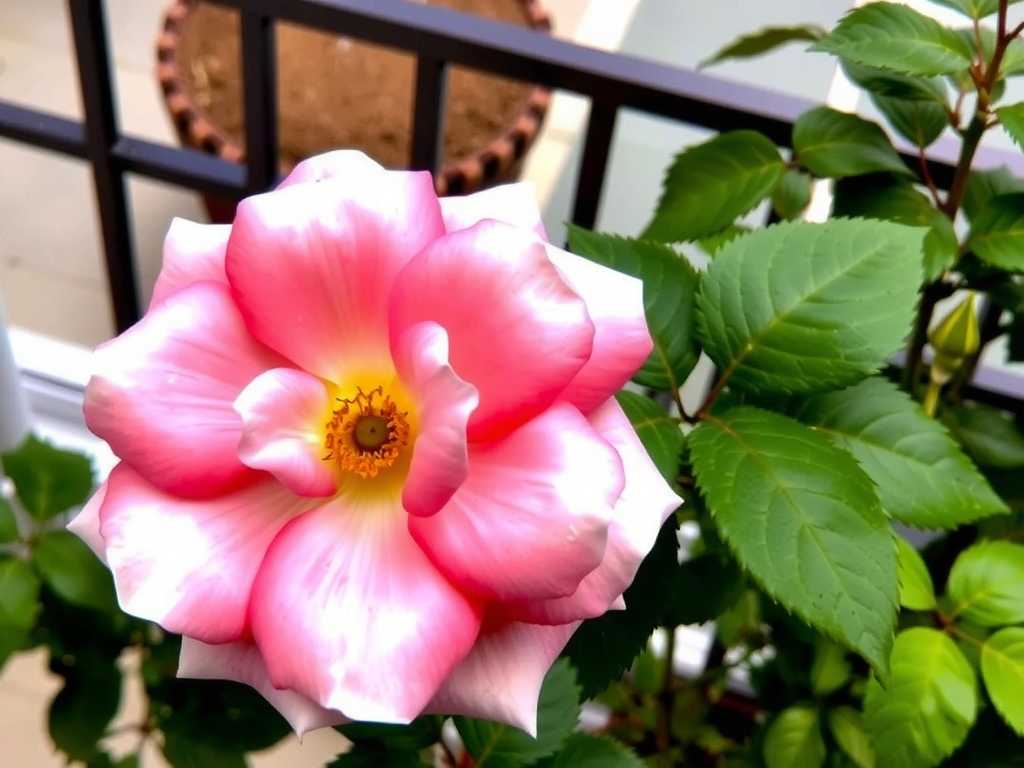
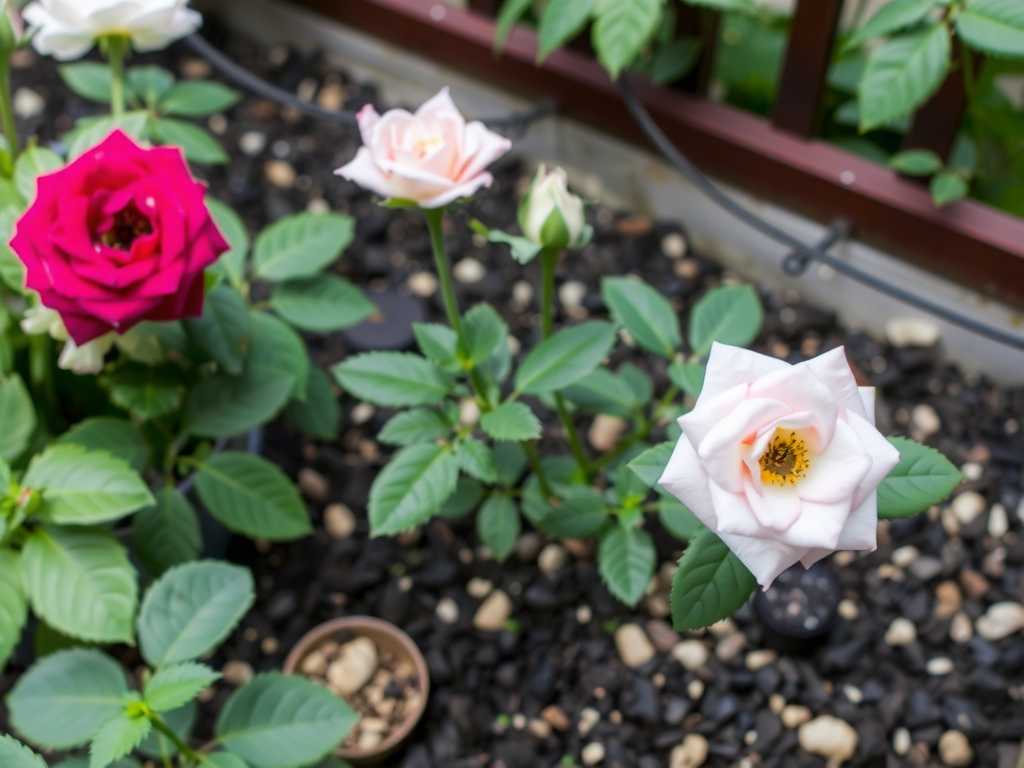
I chose two young, potted floribunda rose bushes, perfect for containers. My goal wasn't just planting; it was creating a resilient ecosystem in a pot.

Week 1: The Setup and Planting Process
My first step was acknowledging that generic potting soil wasn't enough. The Royal Horticultural Society (RHS) emphasizes the need for "free-draining compost" for container roses to avoid waterlogging. I took this to heart.
Day 1-2: Gathering and Mixing the "Perfect" Soil Blend I created my own mix:
- 60% high-quality, peat-free potting compost for structure.
- 30% coarse horticultural grit (about 1/4 inch size). This is the absolute key to preventing soil compaction—these tiny stones create permanent air pockets.
- 10% well-rotted compost for slow-release nutrients and microbial life. I mixed this thoroughly in a large tub. The texture was immediately different—crumbly and loose, not dense or clumpy.
Day 3: The Pot and Planting I selected deep, 18-inch terracotta pots. Terracotta breathes, allowing soil moisture to evaporate from the sides, which helps aerate compacted soil. Each pot got a generous layer of broken pottery shards over the drainage hole. I filled the pot one-third with my mix, placed the rose, and gently spread its roots. Then, I backfilled, firming the soil lightly with my fingers—not pressing down. I left a 2-inch gap between the soil and the pot rim for watering and a future mulch layer. A thorough watering settled everything in.
Day 4-7: Initial Care and the First "Aha" Moment I placed the pots in a spot that gets at least 6 hours of morning sun. I watered only when my finger felt dry an inch below the surface. By Day 5, I noticed something fantastic: when I watered, the moisture disappeared into the soil instantly. No pooling, no waiting for it to seep through. This was the free-drainage the RHS talked about, in action.
Week 2: Observation, a Scare, and Course Correction
Day 8-10: The Mulching Misstep and Recovery Confident, I decided to add a mulch layer to conserve moisture. Here was my first big mistake: I used fine, untreated wood chips. After two waterings, I noticed the water was taking longer to penetrate. The fine mulch was actually forming a crust and might eventually wash down and contribute to compaction! The Fix: I carefully scraped off the fine mulch. Following advice from the American Horticultural Society (AHS), which recommends organic mulches that don't mat, I replaced it with a one-inch layer of coarse, nugget-style bark mulch. The difference was immediate. Water now percolated beautifully through the coarse bark into the soil below.
Day 11-14: Monitoring Growth and Soil Structure This was the most revealing period. I gently scraped back a tiny section of mulch and soil at the pot's edge.
- Soil Texture: The soil was still loose and crumbly. I could easily push a thin stick into it. No sign of the hardpan layer I used to get.
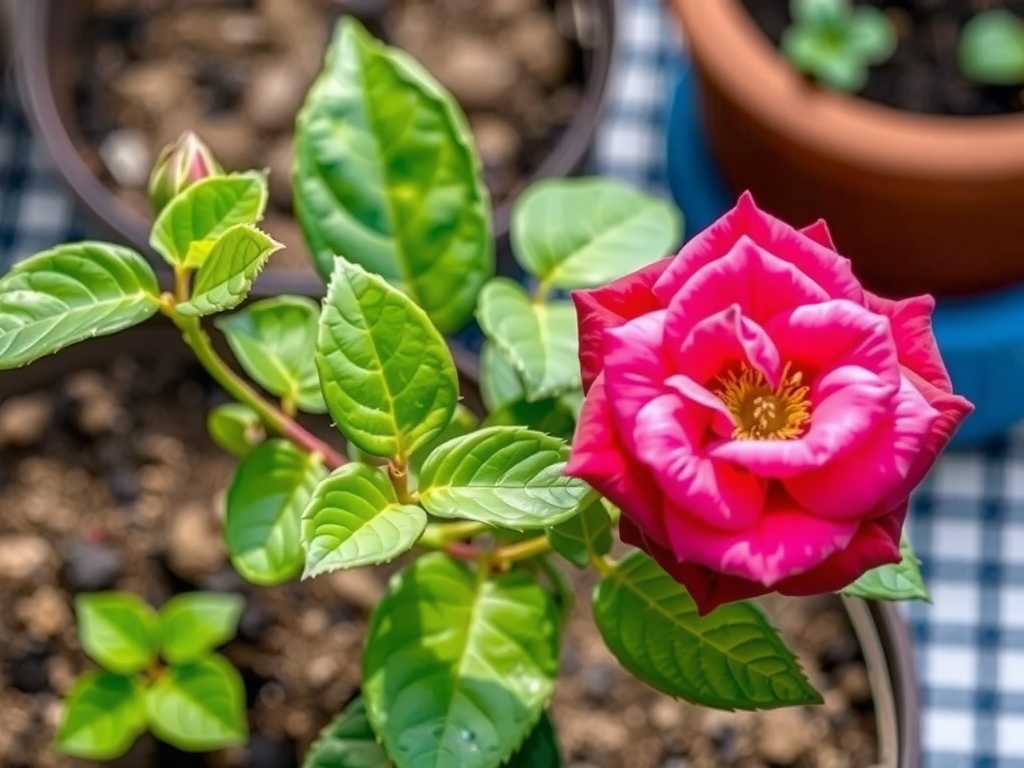
- Plant Response: Both roses showed visible new, red shoots emerging from their bases—a clear sign of happy, active growth. The existing leaves were perky and deep green.
- The Water Test: My ultimate test was a deep watering on Day 14. I timed it. The water drained from the bottom of the pot in under 20 seconds, confirming excellent porosity and no soil compaction in containers.
The Key Strategies That Made All the Difference
This two-week journey cemented several non-negotiable rules for growing roses on a small balcony successfully.
1. Soil is Everything: Don't Skimp on Grit My custom mix was the MVP. The horticultural grit is inert; it won't break down or compress over time like organic matter can. It's the permanent infrastructure that keeps pathways for air and water open. Think of it as building a tiny, breathable skyscraper for roots.
2. The Power of Strategic Mulching I learned mulch is a tool, not just a topping. The wrong kind harms, the right kind protects. Coarse bark mulch shields the soil surface from the compacting force of heavy rain or watering cans, while still allowing gas exchange. It's a simple shield against balcony garden soil problems.
3. Watering Wisely is a Form of Aeration I adopted the "soak and dry" method. Thoroughly drenching the pot until water flows freely from the bottom ensures the entire root zone is moistened, encouraging deep roots. Letting it dry slightly before the next watering allows air to be pulled back into the spaces between soil particles. This wet-dry cycle is a natural aeration pump.
4. Long-Term Prevention: Feed the Life in the Soil Compaction isn't just about physical pressure; it's about dead soil. In week two, I began incorporating a liquid seaweed feed into my watering routine every other week. This feeds beneficial microbes and fungi. These organisms produce natural glues that bind soil particles into stable, crumbly aggregates—the opposite of a hard, compacted slab. It's a biological solution to a physical problem.
Your Balcony Rose Questions, Answered
Can I fix already compacted rose soil without repotting? Yes, but it's delicate work. For a mild case, try gently loosening the top few inches with a hand fork. Then, water with a solution containing a soil wetting agent (surfactant) to help moisture penetrate. For severe compaction, repotting with fresh, gritty mix is the best long-term solution for your rose's health.
How often should I replace the soil in my balcony rose pots? You shouldn't need to do a full replacement if you manage compaction. Instead, practice top-dressing. Every spring or fall, carefully scrape away the top 2-3 inches of old soil and replace it with your fresh, gritty blend. This renews nutrients and structure with minimal root disturbance.
Are there specific rose varieties best for avoiding compaction issues? While all roses need good soil, more vigorous, disease-resistant shrub and floribunda types are generally more tolerant of less-than-perfect conditions. However, the real secret isn't the rose variety—it's the soil recipe you provide. A robust, gritty mix will make almost any suitable balcony rose thrive.
Growing breathtaking roses on a balcony is a deeply rewarding pursuit. It teaches patience and attention to detail. My two-week experiment proved that the challenge of soil compaction isn't a dead end—it's a puzzle with a clear solution. By investing in the right soil structure from day one, choosing materials that promote aeration, and understanding the rhythm of watering, you create an environment where roots can breathe and roses can truly flourish. Your balcony oasis isn't just a dream; it's a matter of building the right foundation, one gritty handful at a time.
")

发表评论