How to Use Organic Compost for Balcony Rose Planting: A 2-Week Journey from Skeptic to Believer
I’ve always dreamed of a balcony overflowing with lush, fragrant roses. But for years, my attempts ended in disappointment—spindly stems, few blooms, and a constant battle against pests. The core problem? I was relying on generic potting soil and synthetic fertilizers. My roses weren’t thriving; they were just surviving. That’s when I decided to dive deep into how to use organic compost for balcony rose planting. This isn't just theory; it's the story of my hands-on, two-week experiment that transformed my urban garden.
Why I Switched to an Organic Compost Strategy
The turning point was reading a report from the Royal Horticultural Society (RHS). They emphasize that roses are heavy feeders and require soil rich in organic matter for optimal health, bloom production, and disease resistance. My balcony pots, with their limited soil volume, were essentially a closed system. Nutrients were being depleted with every watering. Synthetic feeds provided a quick fix but did nothing for long-term soil structure. Organic compost, I learned, acts as a slow-release nutrient bank, improves moisture retention, and fosters beneficial microbial life. The goal wasn't just to feed the plant, but to build a living, healthy ecosystem in a container.

My Step-by-Step Process for Balcony Rose Success
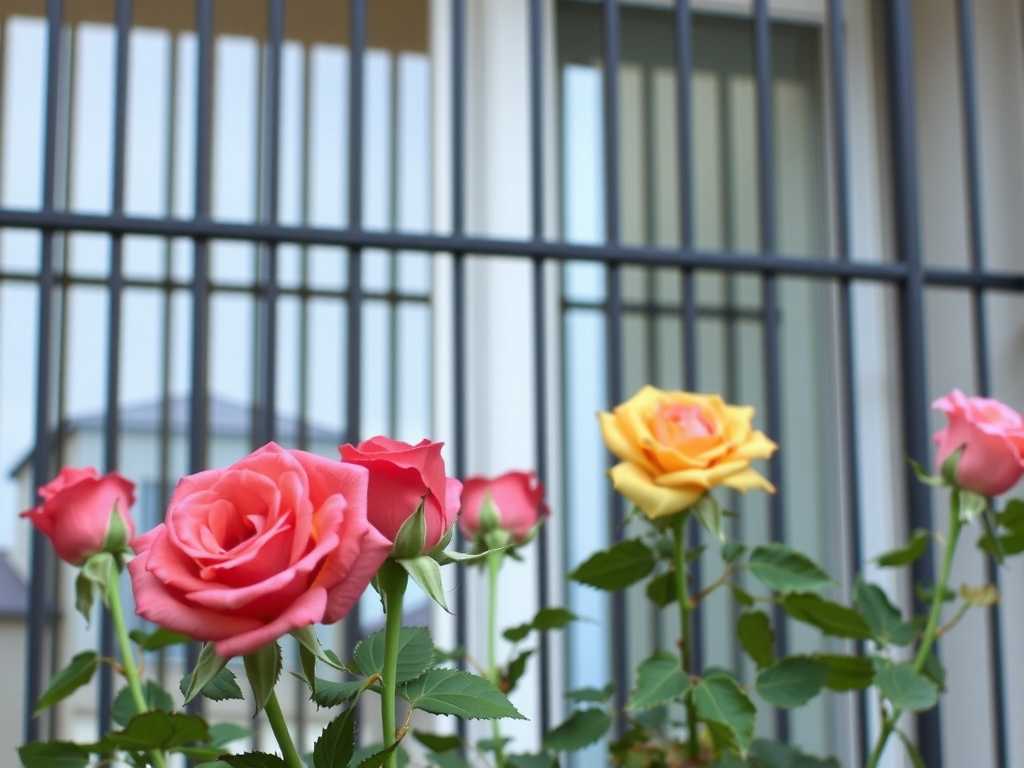
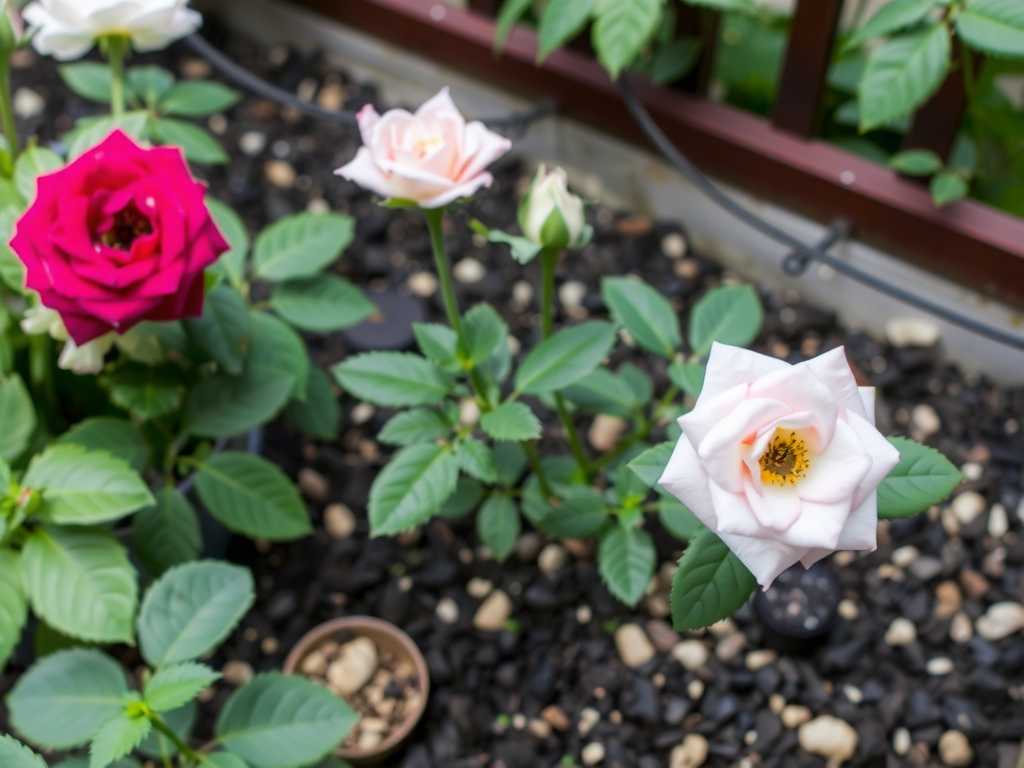
I chose two established but struggling rose varieties on my balcony: a ‘Peace’ climber and a ‘Knock Out’ shrub. Here is my exact process.
Selecting the Right Organic Compost
Not all compost is created equal. I avoided cheap, bagged products that smelled sour or ammonia-like—a sign of incomplete decomposition. Following advice from the American Horticultural Society (AHA), I looked for well-aged, nutrient-rich compost. I settled on a premium, OMRI-listed blend of composted manure, worm castings, and leaf mold. It was dark, crumbly, and had a pleasant, earthy smell—key indicators of quality.
The Gentle Repotting Method
I didn’t want to shock my roses. Instead of a full bare-root repot, I used a top-dressing and partial refresh method. First, I gently loosened the top 2-3 inches of soil in each pot, careful not to damage major surface roots. I then removed about one-third of the old, tired soil from the sides and bottom of the root ball. I created my new planting mix: two parts old potting soil, one part organic compost for roses, and a handful of perlite for extra drainage. I placed some of this new mix in the bottom of the cleaned pot, settled the rose back in, and filled in the gaps and top layer with my compost-enriched blend. A thorough, deep watering helped settle everything in.
The Ongoing Feeding Schedule
My research on balcony gardening with compost revealed that consistency is key. I established a simple weekly routine: Every Monday, I would give each rose a generous drink of compost tea. I made this by steeping a shovel-full of compost in a 5-gallon bucket of water for 24-48 hours, then straining it. Every other week, I added a thin (half-inch) layer of compost as a mulch around the base of the plant, keeping it away from the main stem to prevent rot. This dual approach provided both liquid nutrients and a steady trickle of goodness from the top-down.
")
The 2-Week Observation: A Diary of Transformation
The changes weren’t overnight, but they were measurable and thrilling.
Days 1-3: After the initial repotting and watering, the plants looked… normal. No shock, which was a win.
Days 4-7: The first visible sign! The ‘Knock Out’ rose, which had a few buds stalled for weeks, showed perceptible swelling. The deep green color of the leaves on both plants seemed more vibrant. I also noticed water pooled less on the soil surface after watering; it was being absorbed better—a clear sign of improved soil structure.
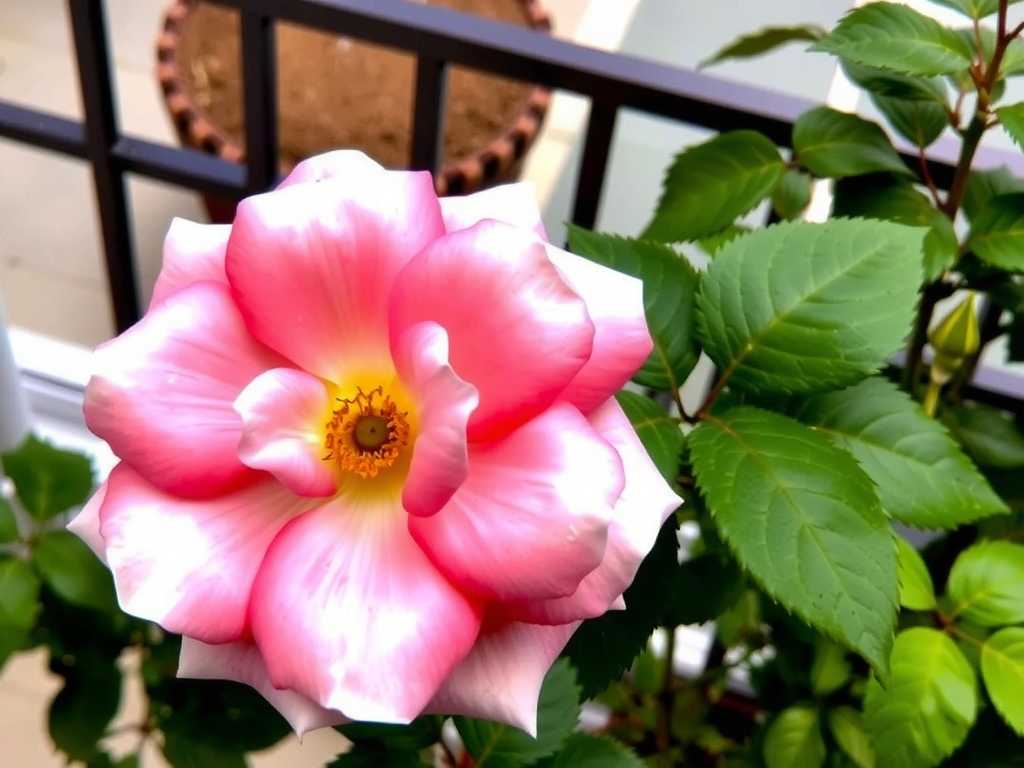
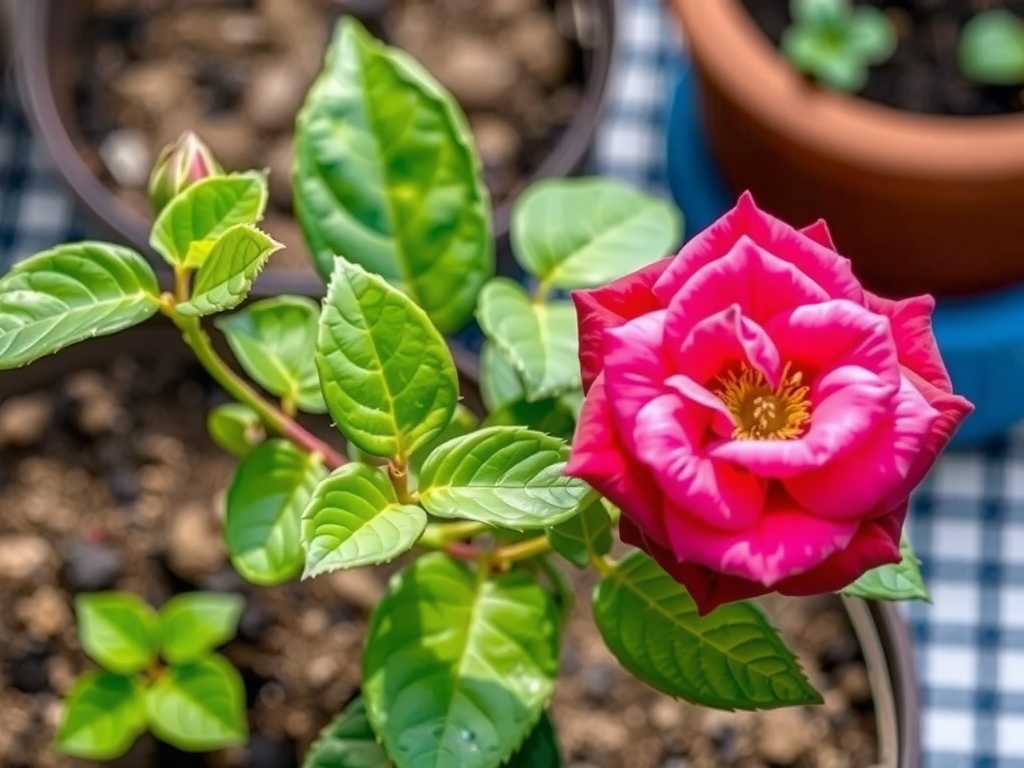
Days 8-14: This is where the magic became undeniable. The stalled buds on the ‘Knock Out’ opened into full, rich pink blooms. The ‘Peace’ rose, which had been prone to yellowing leaves, showed no new discoloration. Most excitingly, I spotted new, red-tinted growth (basal breaks) emerging from the base of the ‘Peace’ rose—a classic sign of a happy, well-fed plant. The foliage felt thicker and more resilient to the touch.
The Pitfalls I Encountered (And How I Fixed Them)
This journey wasn’t without its hiccups. Sharing these is crucial for anyone trying organic container gardening.
The Fungus Gnat Invasion Around day 5, I noticed tiny black flies hovering over the soil. I’d introduced fungus gnats via the compost. They thrive in moist organic matter. My Solution: I let the top layer of soil dry out completely between waterings. I also made yellow sticky traps from index cards and Vaseline, placing them in the pots. Within 4 days, the population crashed. Now, I always let my compost tea brew with the lid on to prevent gnats from laying eggs in it.
The “Too Much of a Good Thing” Temptation After seeing early progress, I was tempted to add more compost as mulch, thinking it would speed things up. My Solution: I remembered reading that excessive, fresh mulch can create a barrier that actually repels water and causes root rot. I stuck to my thin, half-inch schedule. The RHS guidelines on mulching container plants confirmed this was the right call—moderation is essential.
Balancing Moisture in Pots The compost improved water retention so well that my old watering schedule was suddenly too frequent. I nearly overwatered. My Solution: I adopted the “finger test.” I’d stick my finger into the soil up to the second knuckle. If it felt moist, I waited. This simple adjustment prevented waterlogging and taught me to respond to the plant’s new environment, not a rigid calendar.
Your Questions, Answered from My Experience
Can I make my own compost for a balcony? Absolutely, but space is a factor. I use a small, sealed tumbler composter for kitchen scraps (no dairy or meat). It’s odor-free and perfect for an apartment. The process takes months, so it’s best to start a batch while using store-bought compost. The reward of using your own “black gold” is incredible.
How often should I replenish the compost in my rose pots? For maintaining roses in pots, I plan to refresh the top 2-3 inches of soil with a new compost blend at the start of each growing season (early spring). The weekly tea and bi-weekly light mulching will continue through the blooming season. In containers, nutrients are used up or washed out, so this seasonal refresh is non-negotiable.
Will organic compost alone be enough fertilizer? For most of the season, yes. The compost provides a broad spectrum of nutrients. However, during the peak blooming period, roses are extra hungry. I supplement with an organic, liquid seaweed or fish emulsion fertilizer once a month. This gives them a slight boost of phosphorus and potassium for flower formation, working in harmony with the compost base.
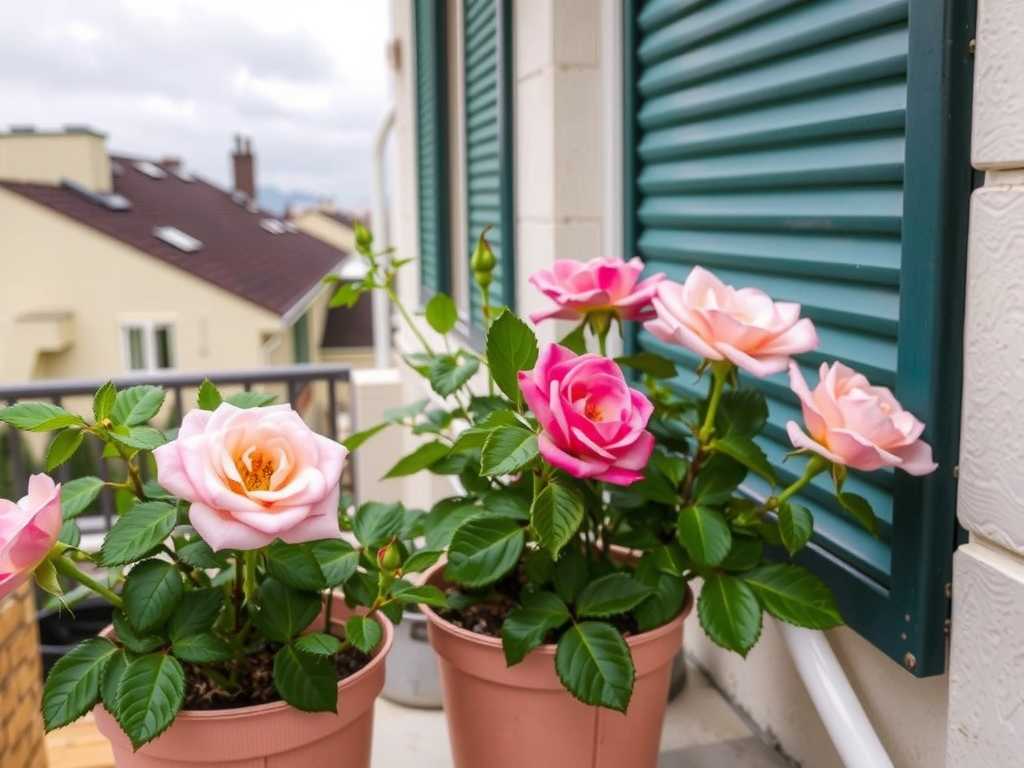
My two-week experiment solidified a fundamental truth: using organic compost for container roses is less about a single feeding and more about cultivating a philosophy. It’s about building soil health, which in turn builds plant resilience. The results—deeper colors, vigorous new growth, and triumphant blooms—speak for themselves. The process requires a bit more observation and patience than pouring blue chemical powder, but the connection it fosters with your plants and the thriving ecosystem you create on a small balcony is infinitely more rewarding. Start with a good compost, listen to your plants, and enjoy the journey.

发表评论