How to Grow Climbing Roses Vertically on Balcony Walls: A City Gardener's 2-Week Diary
I love roses, but for years, I thought my urban balcony was off-limits. The dream of a cascading floral display felt reserved for sprawling gardens. That was until I discovered the magic of growing climbing roses vertically on balcony walls. It’s a space-saving, breathtaking solution that transforms a concrete corner into a private, fragrant oasis. If you’re staring at a blank wall and dreaming of blooms, I’m here to tell you it’s absolutely possible. I just finished a hands-on, two-week intensive setup and observation period, and I’m sharing every step, every surprise, and every lesson learned.
Why Your Balcony is the Perfect Climbing Rose Canvas
Balconies offer unique advantages. They provide abundant sunlight—a non-negotiable for roses—and vertical space is often the most underutilized real estate we have. The Royal Horticultural Society (RHS) notes that climbing roses are excellent for adding height and interest to small spaces, making them ideal for container and vertical gardening. My goal wasn’t just to grow a rose; it was to create a living tapestry.
My Step-by-Step Setup: From Bare Wall to Rose Framework
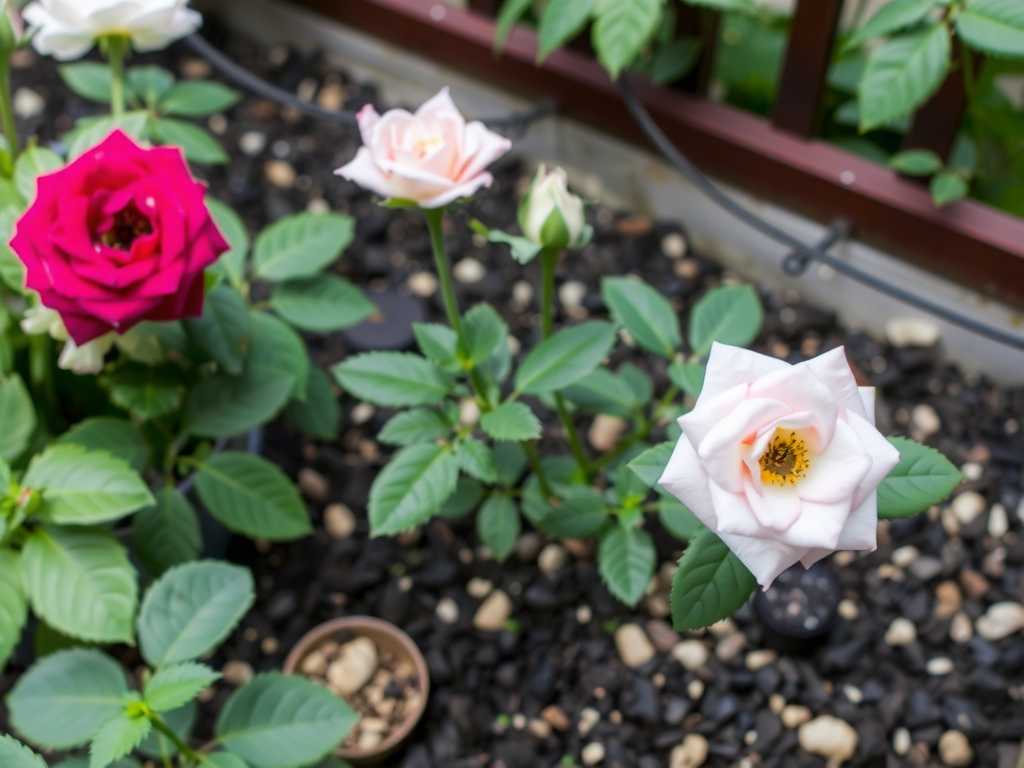
Choosing the Right Rose and Container My first critical decision was plant selection. I opted for a disease-resistant, repeat-flowering variety suitable for containers: ‘Climbing Iceberg’. Its pale blooms and vigorous yet manageable growth promised a good fit. According to the American Rose Society (ARS), selecting a rose bred for your climate zone and space constraints is the single most important factor for success.

The container was next. I chose a deep, 20-inch pot with excellent drainage holes. Roses need room for their roots to anchor and access nutrients. A shallow pot is a recipe for stress and poor growth.
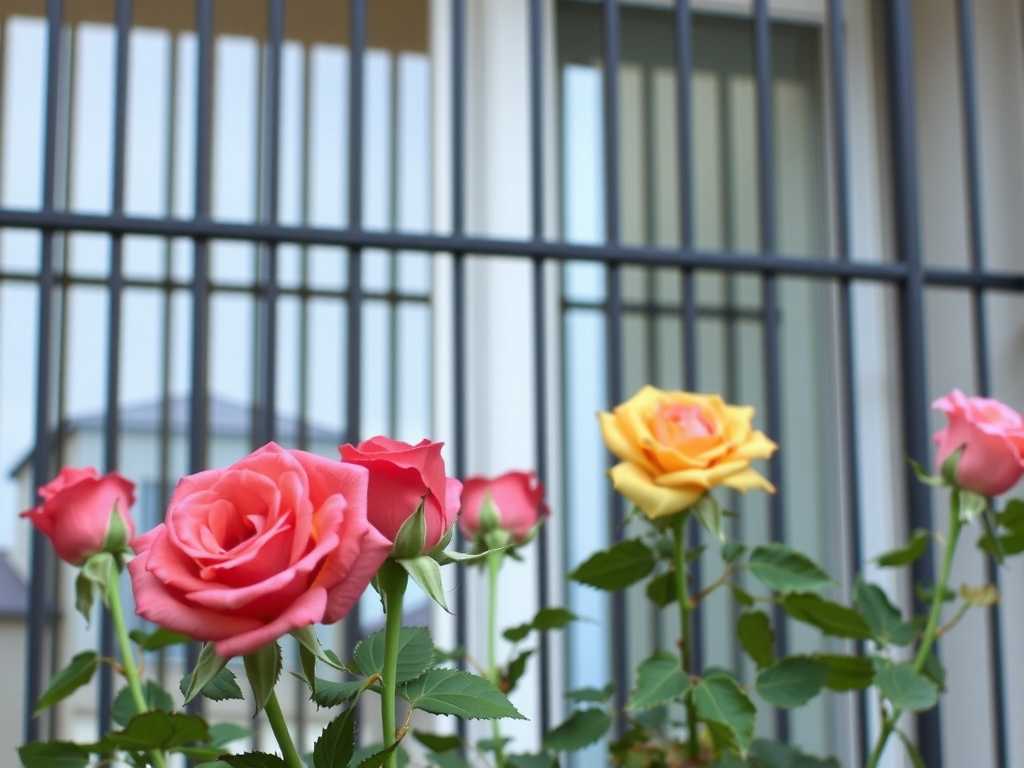
Installing the Vertical Support System This is where vertical gardening for climbing roses truly begins. My brick wall couldn’t have hooks drilled into it, so I got creative. I used a freestanding, modular trellis panel made of powder-coated steel. I secured it firmly to the side railings of my balcony with heavy-duty zip ties and wall anchors designed for masonry, ensuring it could withstand wind and the future weight of the plant.
I positioned the trellis about 6 inches away from the wall itself. This air gap, as emphasized by many gardening experts, is crucial for preventing mildew and allowing for proper air circulation around the leaves and canes.
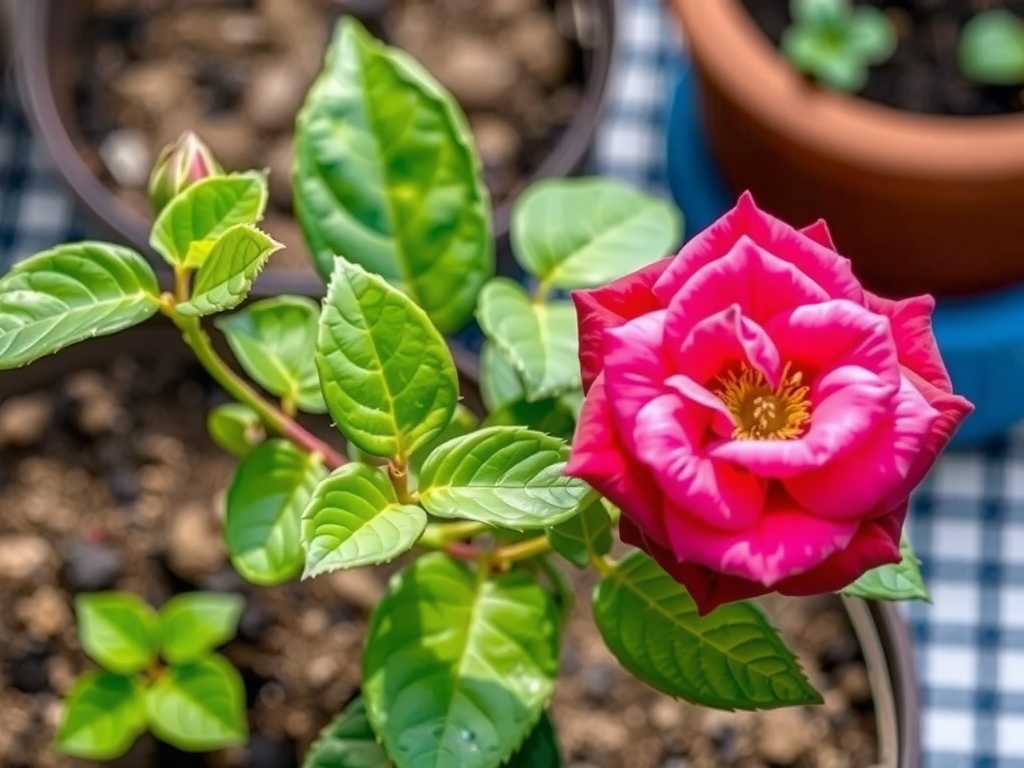
The Planting Process On Day 1, I filled the bottom third of the pot with a layer of gravel for extra drainage. Then, I used a high-quality, loam-based potting mix blended with well-rotted compost. I gently teased out the roots of my bare-root rose, placed it in the center at a slight angle leaning towards the trellis, and backfilled with soil. The graft union (the knobby bump where the rose is joined to the rootstock) ended up just about an inch below the soil surface.
After a thorough watering to settle the soil, I began the initial training. Using soft plant ties, I loosely attached the main, most flexible canes to the lower bars of the trellis in a gentle, horizontal fan shape. Training horizontally, even on a vertical space, encourages more flowering shoots to emerge along the entire length of the cane, not just at the top.
The First Crucial 2 Weeks: Observation and Adjustment
This period was all about monitoring and gentle intervention.
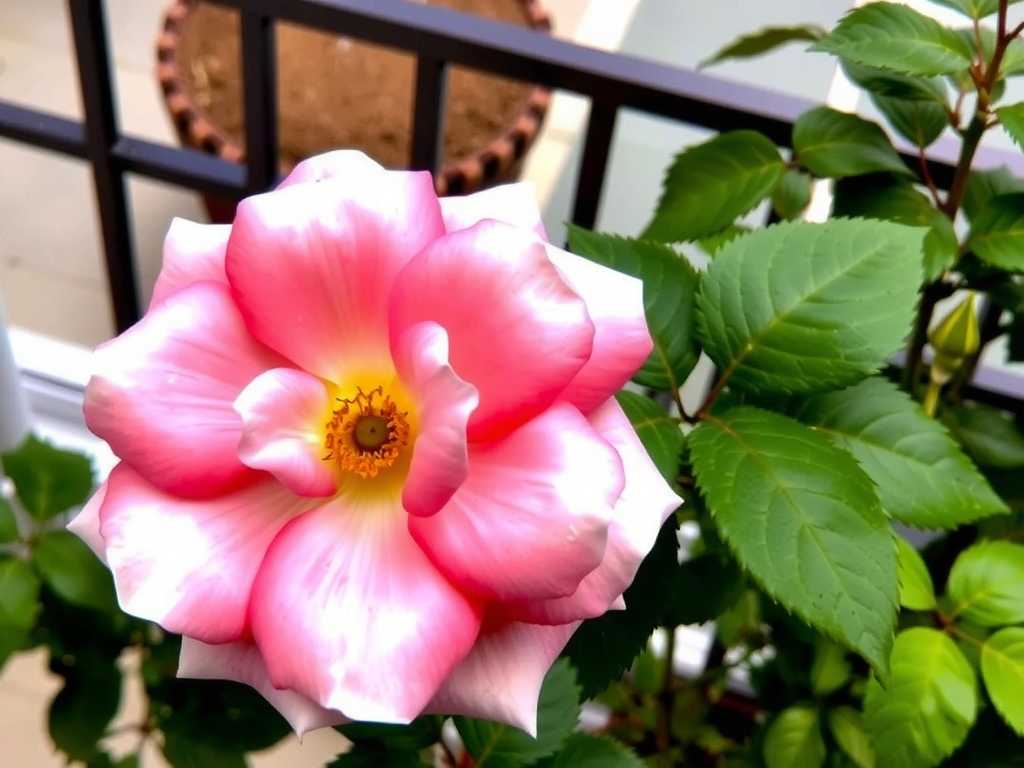
Week 1: Establishment and the First "Gotcha" The first few days were calm. I kept the soil consistently moist but not soggy. By Day 5, I noticed tiny red buds swelling on the canes—a fantastic sign of life! However, by Day 7, I spotted my first problem: aphids. A small colony had found the tender new growth.
- The Fix: I didn’t panic. I mixed a mild solution of insecticidal soap and sprayed it in the evening, carefully coating the undersides of the leaves. Two applications, three days apart, took care of the issue. This reinforced the importance of daily, close inspection.
Week 2: Growth Spurts and Secure Training New shoots started extending visibly, some growing several inches. My daily ritual involved checking soil moisture with my finger and gently guiding new growth towards the trellis. I learned not to pull the canes tight; they need room to thicken. The techniques for training roses on a trellis are about gentle persuasion, not force.
Another challenge emerged: strong afternoon winds on my balcony were causing the new, soft shoots to whip around. I was worried they’d snap.
- The Fix: I added a few more strategic plant ties to secure the main canes more firmly to the trellis structure. For the wobbly new shoots, I used the “loop and loose” method, creating a figure-eight with the tie between the stem and the support. This provided stability without constriction.
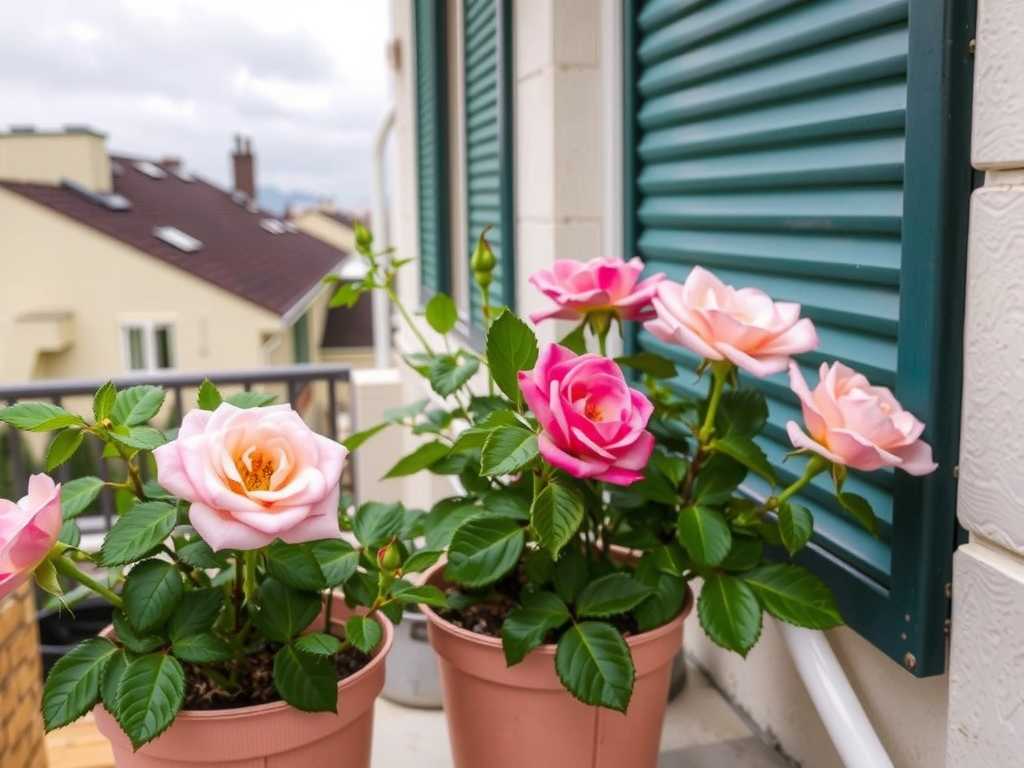
By the end of Week 2, my climbing rose had visibly acclimated. The leaves were a healthy green, new growth was robust, and the initial framework was securely in place. The plant was no longer just sitting in a pot; it was actively engaging with its vertical support system.
Essential Care for Balcony Climbing Roses
Watering and Feeding Container roses dry out fast. I water deeply when the top inch of soil is dry, always in the morning to allow foliage to dry. For feeding, I’ve started with a balanced liquid fertilizer every two weeks to support this early vegetative growth. Once blooming starts, I’ll switch to a formula higher in potassium.
Pruning and Ongoing Training While major pruning happens when dormant, I’m already pinching back the tips of overly vigorous shoots to encourage bushier growth. The ongoing training of climbing roses on a balcony wall is a continuous, rewarding process. As new canes grow, I weave them through the trellis to create a fuller, more beautiful display.
Common Questions Answered
How much sun do balcony climbing roses really need? A minimum of six hours of direct sunlight is essential. My south-facing balcony gets about seven, and the rose is responding beautifully. If your balcony gets less, consider shade-tolerant climbers like some Clematis varieties instead.
What’s the biggest mistake beginners make with vertical rose training? Using harsh materials like wire or string that can cut into growing canes. Always use purpose-made, flexible plant ties. My second mistake was initially tying the canes too tightly, which I corrected in the second week.
")
Can I grow a climbing rose in a pot against a wall if I rent my apartment? Absolutely. My freestanding trellis system is perfect for renters. It requires no permanent modification to the wall. You can use heavy planters to anchor the trellis or, like I did, secure it to existing railings.
Seeing those first bright green shoots firmly clinging to the trellis after just fourteen days was incredibly rewarding. Growing climbing roses vertically on balcony walls is an exercise in patience and attentiveness. It transforms not just a space, but your daily routine. Start with the right rose, invest in a sturdy support, be vigilant in the early days, and you’ll be well on your way to creating your own sky-high garden of fragrance and color. The wall you once overlooked will become the centerpiece of your home.

发表评论