How to Create a Small Garden Landscape with Balcony Roses
I love plants, but for years, I felt limited by my small apartment balcony. I dreamed of a lush, blooming retreat, not just a few pots scattered around. That’s when I decided to master how to create a small garden landscape with balcony roses. It seemed like the perfect challenge: using the vertical and horizontal space to build a layered, beautiful garden that felt intentional and thriving, all centered on the timeless beauty of roses.
If you think roses are only for large gardens, I’m here to tell you—you can absolutely design a stunning rose landscape on a balcony. It requires planning, the right choices, and some attentive care. Let me walk you through my exact process, the stunning results after two weeks, and the valuable lessons I learned the hard way.

My Blueprint for a Balcony Rose Garden
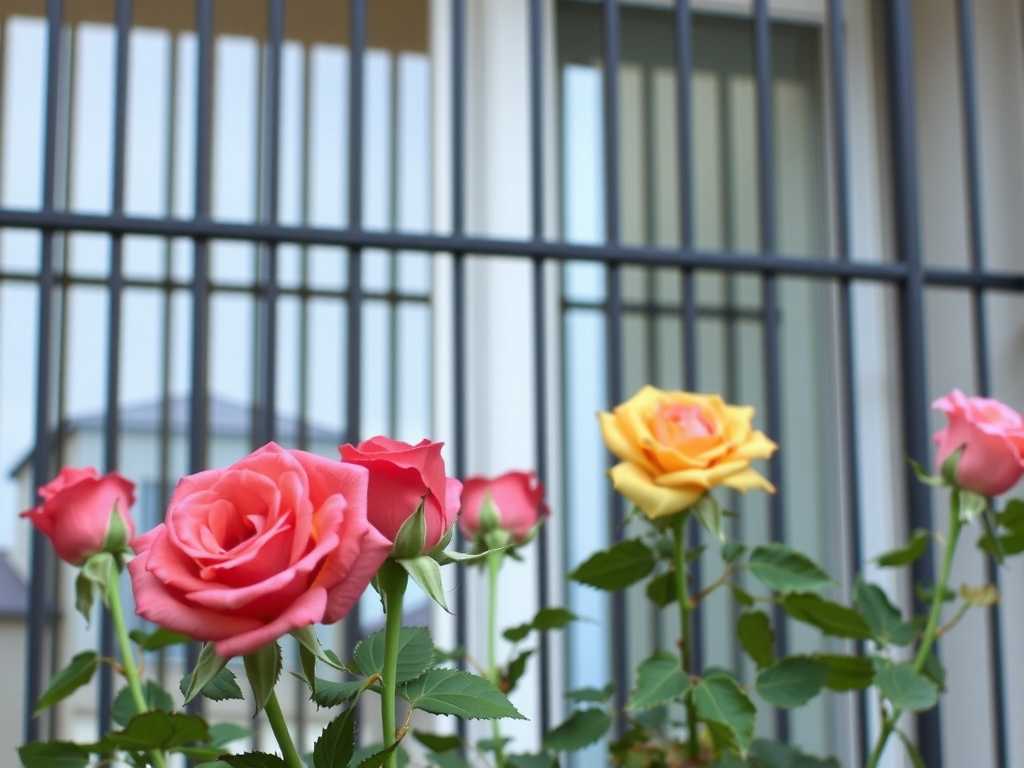
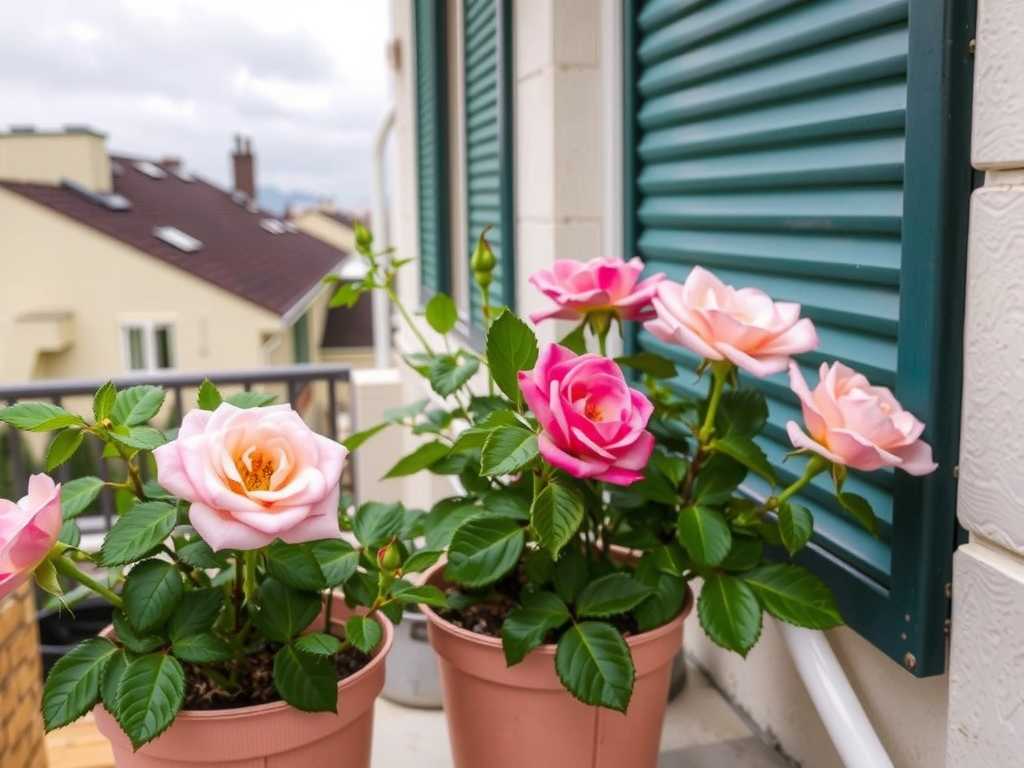
Before buying a single plant, I spent time on my balcony observing the sunlight. Most roses need at least six hours of direct sun daily. My south-facing balcony got about 7 hours, which was perfect. I sketched a simple layout, thinking in three dimensions: ground level (pots), mid-height (larger containers, small climbers on a trellis), and height (hanging elements).
I knew container selection was critical. According to the American Rose Society (ARS), drainage is non-negotiable for healthy roses. I chose deep, wide pots—at least 15-18 inches in diameter and depth—to give roots ample room. Each pot had multiple drainage holes. I also invested in a compact, decorative trellis for a climbing variety to add vertical interest, a key tactic in small garden landscaping.
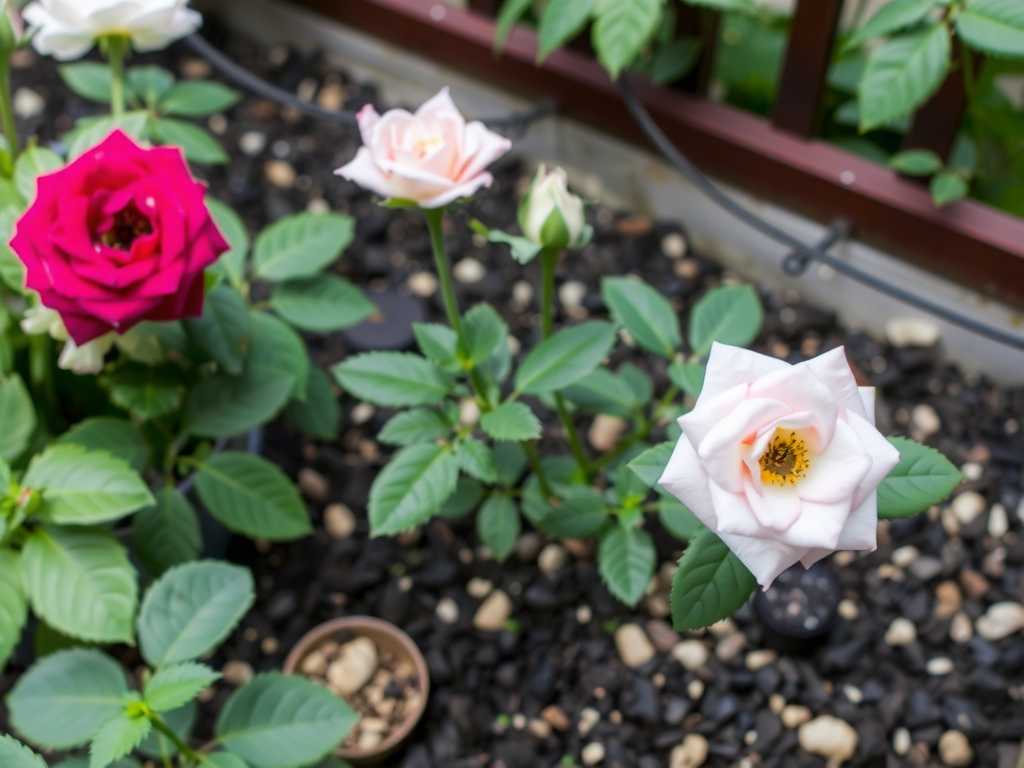
Selecting the Right Roses for Container Life
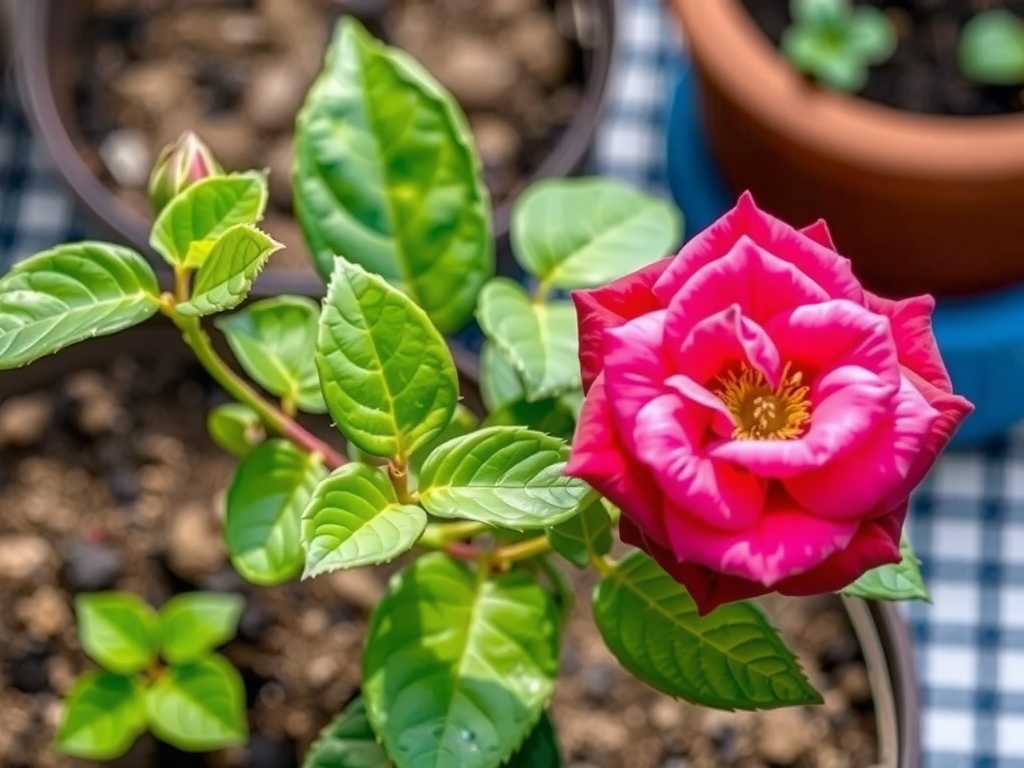
Not all roses are suited for pots. I focused on types recommended for containers by experts like those at the Royal Horticultural Society (RHS). Patio roses, miniature roses, and some smaller shrub roses are ideal. I selected three varieties:
- A ‘Sweet Drift’ groundcover rose for a trailing effect over a pot’s edge.
- A ‘Julia Child’ floribunda rose for its compact, bushy form and fantastic fragrance.
- A ‘Climbing Iceberg’ to train on my trellis; it’s known for being more manageable in confined spaces than vigorous climbers.
This mix gave me different growth habits, bloom colors, and textures, creating the layered landscape feel I wanted.
The Planting Process: Setting the Stage for Success
Here is my step-by-step planting routine, which I followed meticulously:
First, I prepared the pots. I placed a layer of broken pottery shards over the drainage holes to prevent soil washout. Then, I filled each pot about one-third full with a high-quality, well-draining potting mix. I specifically avoided garden soil, as it compacts in containers. I used a mix formulated for roses, which often has a slightly acidic pH and good structure.
For each rose, I gently loosened the root ball. I placed it in the pot, ensuring the graft union (the knobby base) was just above the soil line. I backfilled with more potting mix, firming it gently as I went to eliminate large air pockets. I left about an inch of space at the top for watering.
Immediately after planting, I gave each rose a deep, thorough watering until it ran freely from the bottom of the pot. This settled the soil around the roots. I applied a thin layer of organic mulch, like small bark chips, on the soil surface. This helps retain moisture—a must for containers that dry out quickly.
My Two-Week Observation Diary: The First Signs of Life
The initial days were about consistent care and close observation.
Days 1-3: I kept the soil consistently moist but not soggy. I placed the pots in their final, sunny positions. No visible changes yet, which was expected.
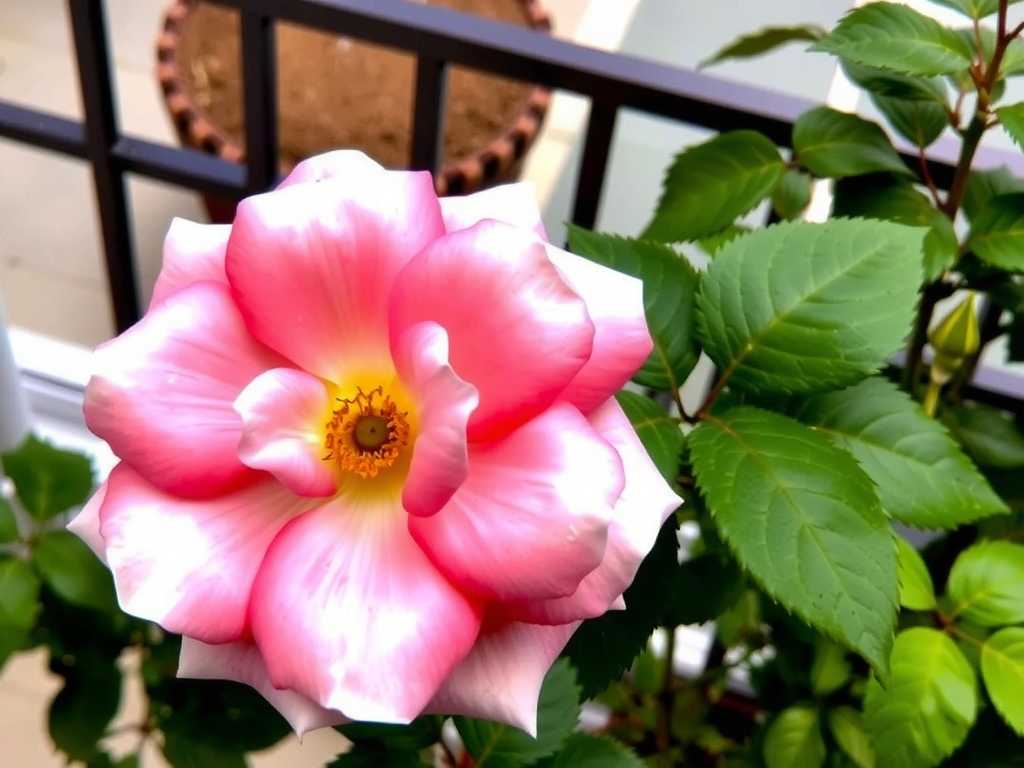
Days 4-7: I noticed the first signs of new, red growth on the ‘Julia Child’ rose! This was incredibly exciting. The other roses still looked stable, with no drooping or yellowing leaves—a good sign they weren’t in transplant shock. I began a weekly feed with a balanced, water-soluble fertilizer, as container plants quickly use up nutrients.
Days 8-14: Growth became more apparent. The ‘Climbing Iceberg’ sent out a flexible new cane, which I gently tied to the trellis. The ‘Sweet Drift’ showed new foliage along its stems. Most importantly, I spotted tiny flower buds forming on both the floribunda and the climber. The landscape was starting to take shape, with green fullness at different heights. I was diligent about checking soil moisture daily, sometimes twice on very hot, windy days.
The Challenges I Faced (And How I Solved Them)
It wasn’t all smooth sailing. I hit two major snags in the first week.
Problem 1: The Wind Tunnel Effect. My balcony is somewhat exposed. A few days after planting, we had a windy afternoon. I came home to find the leaves on my roses looking slightly shredded and desiccated. The wind was drying them out and causing physical damage.
My Solution: I created a simple windbreak. I moved the pots slightly closer to the building’s wall and arranged my taller trellis pot to shield the others. I also installed a transparent balcony wind net on the most exposed side. This drastically reduced the wind speed without blocking sunlight. The new growth that emerged after this was healthy and undamaged.
Problem 2: Suspect Spots on Leaves. Around day 10, I saw a few black spots on the lower leaves of the climbing rose. I feared black spot, a common fungal disease.
My Solution: I didn’t panic. First, I removed and disposed of the affected leaves immediately. I improved air circulation by spacing the pots a little further apart. Crucially, I changed my watering habit. I had been watering from above, wetting the foliage. I switched to watering directly at the soil base, using a watering can with a long spout, early in the morning so any splashes would dry quickly. This simple change prevented any further spread, and the new foliage remained spot-free.
Ongoing Care for a Thriving Landscape
Creating the landscape is just the beginning. Maintenance is what keeps it beautiful. My routine now includes:
- Deep Watering: I check the soil by finger daily. I water deeply when the top inch feels dry, always in the morning.
- Weekly Feeding: I continue with a weekly half-strength liquid fertilizer to support constant blooming.
- Deadheading: As flowers fade, I snip them off just above a five-leaflet leaf. This encourages more blooms, a trick the RHS emphasizes for a long display.
- Monitoring: I inspect leaves weekly for pests or disease, catching issues early.
Frequently Asked Questions
")
Can I really grow roses on a small balcony? Absolutely. The key is choosing the right roses—patio, miniature, or compact shrub varieties. With sufficient sunlight (6+ hours), large enough pots with excellent drainage, and regular care, you can create a breathtaking rose-focused landscape.
How often do balcony roses need water? There’s no fixed schedule. Container roses, especially in sun and wind, can dry out very fast. In my summer climate, I check the soil every single day. Water deeply when the top inch is dry. It’s better to check and water as needed than to follow a rigid calendar.
What is the biggest mistake to avoid? Using a pot that’s too small or without proper drainage. This leads to root rot, stunted growth, and stressed plants. Always choose the largest pot you can accommodate, ensure it has drainage holes, and use a premium, well-draining potting mix. It’s the foundation of everything.
Watching my balcony transform over those two weeks from a bare space to a living, budding rose landscape was deeply rewarding. It proved that with thoughtful design, the right plant choices, and attentive problem-solving, you can cultivate a stunning garden in even the smallest of spaces. The fragrance, the bursts of color, and the daily joy of tending to them have made my balcony my favorite room. Start with one pot, learn as you go, and soon you’ll have your own flourishing oasis.

发表评论