How to Improve Transplant Survival Rate for Balcony Roses: A Gardener's 2-Week Diary
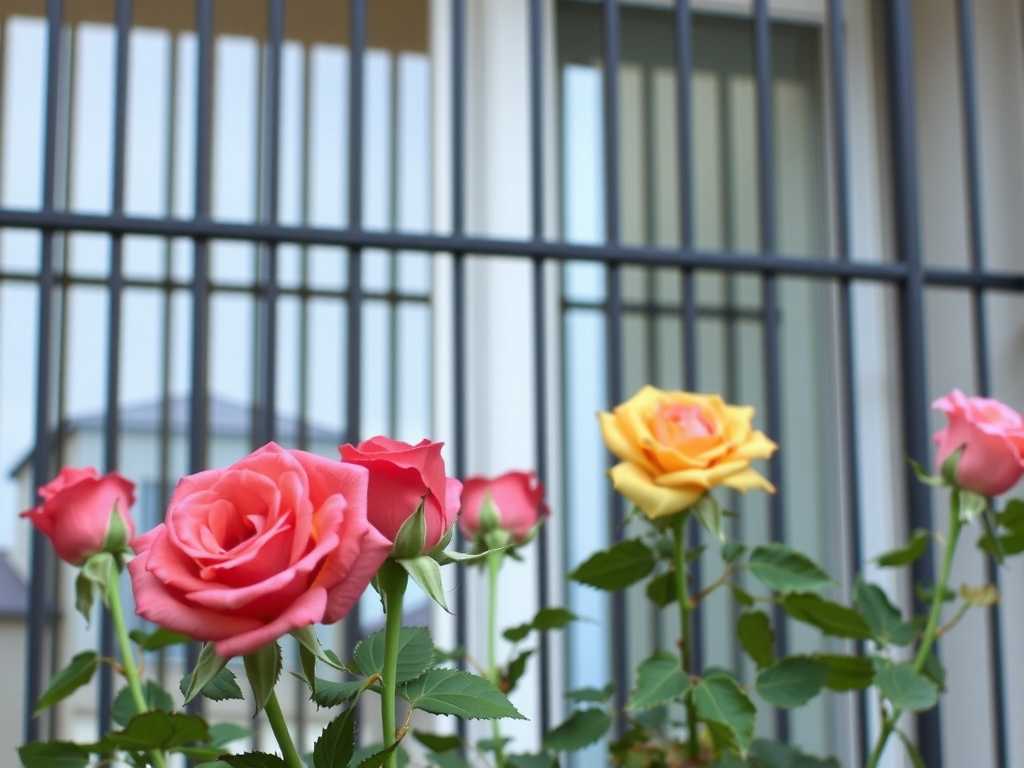
I love my balcony roses. They bring a slice of the English countryside to my urban apartment. But for years, moving a new rose from its nursery pot to its permanent balcony home felt like a gamble. Too often, I’d watch in despair as leaves yellowed, buds dropped, and my hopeful new addition entered a state of permanent shock. The transplant survival rate for balcony roses became my personal gardening obsession. After extensive research, trial, and significant error, I developed a meticulous process. This isn't just theory; it's my hands-on, two-week journey from careful preparation to witnessing vibrant new growth. Let me walk you through exactly what I did, what went wrong, and how you can dramatically boost your own success.
The Foundation: Why Preparation is Everything
You wouldn't move house without packing carefully. Your rose deserves the same consideration. The Royal Horticultural Society (RHS) emphasizes that minimizing root disturbance is the single most critical factor for transplant success. My goal was to make the transition as seamless as possible.
")
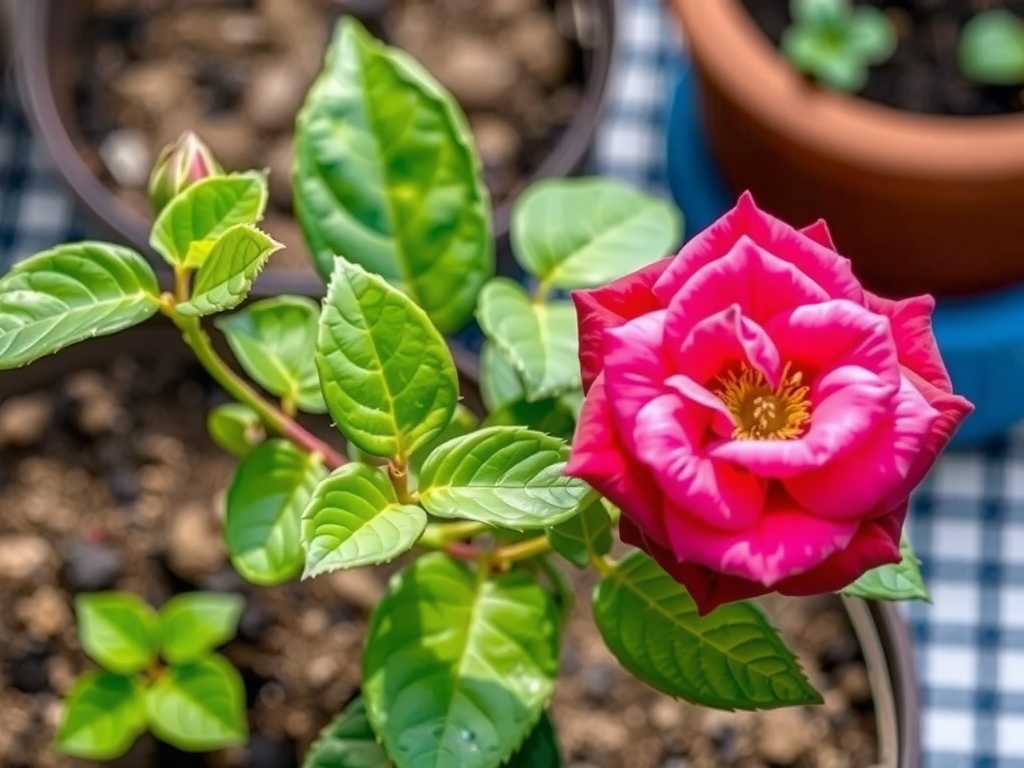
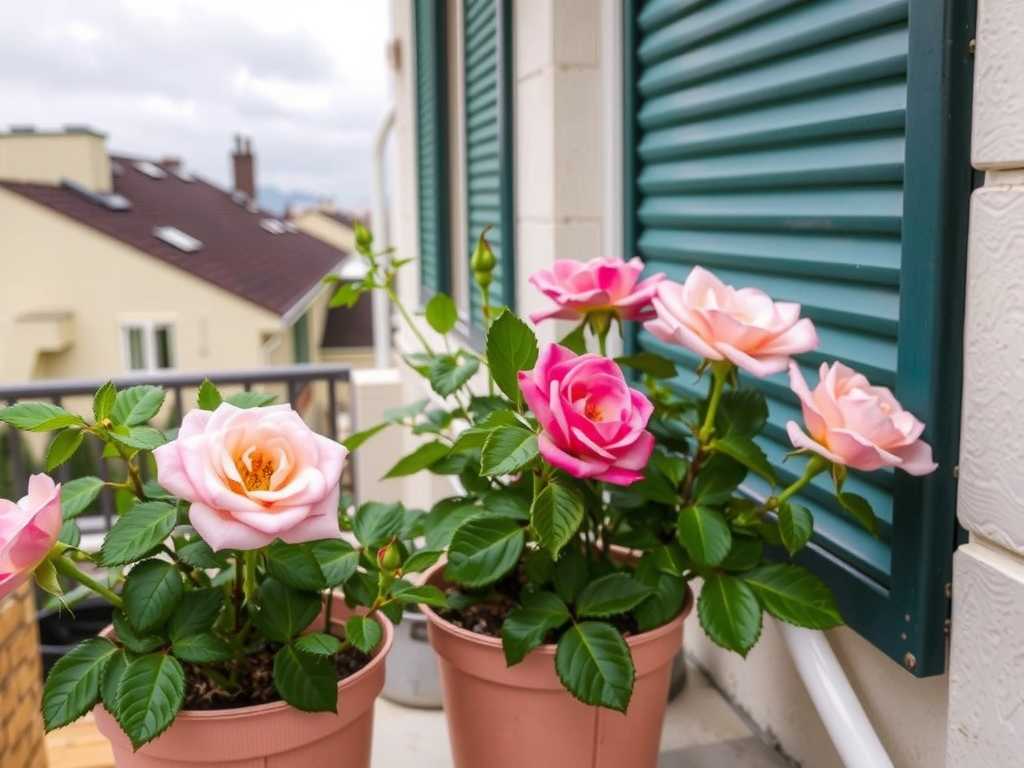
My preparation started days before the actual move. I selected a dwarf, patio-appropriate floribunda rose, perfect for container life. The key long-term step here is choosing the right container for balcony roses. I opted for a pot at least 18 inches wide and deep, with multiple drainage holes—non-negotiable for preventing fatal root rot.

Here was my pre-transplant checklist:
- The Right Soil: I used a high-quality, loam-based potting mix specifically formulated for roses. It provides the perfect balance of drainage and moisture retention.
- Hydration is Key: The night before transplanting, I thoroughly watered both the new rose in its nursery pot and the fresh soil in my large container. A hydrated plant is a resilient plant.
- Location Scouting: I pre-positioned the empty, soil-filled final pot on my balcony in a spot that receives at least 6 hours of direct morning sun, sheltered from harsh afternoon winds.
The Transplant Day: A Step-by-Step Guide to Gentle Handling
This is where the magic—and the anxiety—happens. My process for transplanting roses to containers is now a slow, deliberate ritual.
Step 1: The Gentle Extraction. I did not pull the rose by its stems. Instead, I laid the nursery pot on its side, gently squeezed the sides to loosen the root ball, and carefully slid the entire plant out. To my dismay, the roots were tightly wound in a dense circle—a classic case of being "pot-bound." This was my first "pitfall."
- Pitfall & Solution: Teasing Bound Roots. Ignoring these circling roots is a common mistake that can strangle the plant later. Using my fingers (never a tool that could slice through vital roots), I gently teased apart the outer layer of the root mass. I made shallow vertical cuts down the sides of the root ball to encourage new roots to grow outward into their new space. It felt scary, but it's essential.
Step 2: Perfect Placement. I placed the rose in the center of its new home, ensuring the graft union (the knobby bump where the rose is joined to the rootstock) was just above the soil line. Burying it can lead to problems.
Step 3: Backfilling with Care. Holding the rose steady, I backfilled around the root ball with the pre-moistened potting mix, firming it gently with my hands to eliminate large air pockets. I left about an inch of space from the soil to the rim of the pot for watering.
Step 4: The Initial Soak. I gave the newly potted rose a deep, slow watering until it freely ran out of the drainage holes. This settles the soil around the roots.
Step 5: The Recovery Zone. Contrary to instinct, I did not place it in full sun immediately. I moved it to a partially shaded spot on the balcony for 48 hours to recover from the ordeal without the added stress of intense sunlight.
The Critical 2-Week Observation Window: What to Expect and Monitor
Transplant shock is real, and your rose will tell you how it's feeling. Here’s my day-by-day log of the post-transplant care for balcony roses.
Days 1-3: The rose looked… okay. A little droopy, which is normal. I resisted the urge to overwater. I simply kept the soil consistently moist, not soggy, and ensured it stayed in its shaded recovery spot.
Days 4-7: I gradually introduced it to more morning sun. This is when I faced my second major scare. Several lower leaves began to yellow dramatically. Panic set in. Was it dying?
- Pitfall & Solution: Yellowing Leaves (Transplant Shock). After consulting resources from the American Rose Society (ARS), I learned this leaf drop is a classic stress response. The plant is sacrificing older foliage to focus energy on root regeneration. The solution is patience and proper care. I carefully removed the yellowing leaves to improve air circulation and prevent potential disease. I did not fertilize—this is a crucial mistake many make. Fresh potting mix has nutrients, and fertilizing a stressed plant can burn its tender new roots.
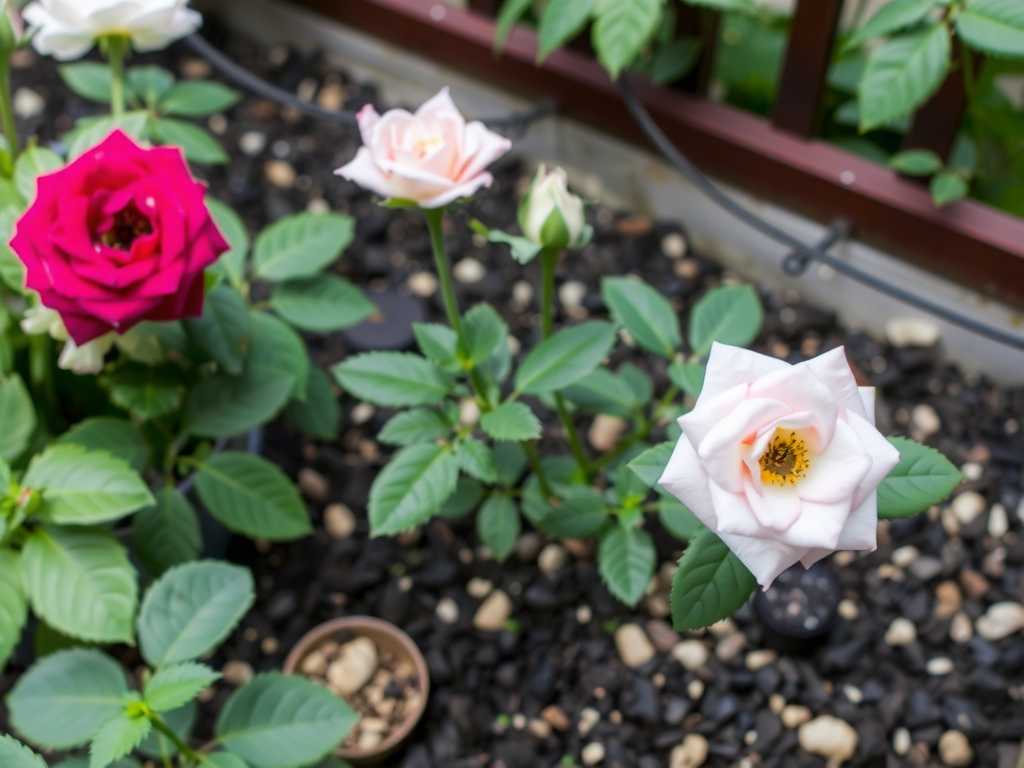
Days 8-14: This was the turning point. By the end of the first week, the drooping stopped. In the second week, I began to see the unmistakable signs of success: tiny, red new growth emerging from the stems. This is the ultimate signal that the rose has accepted its new home and its roots are actively exploring the container. I continued with morning sun and regular watering, only when the top inch of soil felt dry.
Beyond Survival: Ensuring Thriving Growth
Once you see that new growth, you're past the critical survival phase. But the work isn't over. To transition from survival to thriving:
- Begin a Feeding Schedule: After 4 weeks, I started a diluted, balanced liquid fertilizer every two weeks to support the new blooms.
- Mulch: I added a thin layer of organic mulch (like fine bark chips) to the soil surface to conserve moisture and keep roots cool.
- Vigilance: I inspected leaves regularly for pests like aphids, which are attracted to tender new growth. A strong spray of water usually dislodges them.
Your Questions, Answered
Should I prune my rose right after transplanting? No. Do not do a hard prune. I only removed any clearly dead or damaged wood during the transplant. Pruning stimulates top growth, which diverts energy away from the critical task of root establishment. Wait until you see consistent new growth, or follow seasonal pruning guidelines.
How often should I water my newly transplanted balcony rose? Forget a fixed schedule. The goal is consistently moist soil. I stuck my finger into the soil up to the first knuckle. If it felt dry, I watered deeply. In my balcony's climate, this was every 2-3 days initially. Overwatering is a faster killer than underwatering at this stage.
My rose hasn't shown new growth after two weeks. Is it dead? Not necessarily. Some varieties or more stressed plants take longer. Check the stems. If they are still green and pliable when you scratch them lightly with a fingernail, the plant is still alive and working underground. Continue with patient, careful care and avoid the temptation to dig it up or over-fertilize.
Watching a rose settle into its new home is a lesson in patience and attentive care. The process hinges on understanding what the plant needs beneath the soil. By preparing meticulously, handling roots gently, managing the post-transplant environment wisely, and interpreting the plant's signals—like those initial yellowing leaves—you shift the odds dramatically in your favor. That moment you spot those first crimson shoots of new growth, knowing your care guided it through the stress, is the true reward of balcony gardening. Your thriving rose bush is the proof.


发表评论