How to Address Stunted Growth in Balcony Roses: My 2-Week Rescue Mission
There's a special kind of gardener's heartbreak that comes from watching a balcony rose, full of potential, simply stop trying. The new leaves are smaller, the stems seem to have given up stretching for the sun, and the promise of blooms feels like a distant memory. I know this feeling intimately. For years, I struggled with stunted growth in balcony roses, treating it as a single problem when it's almost always a complex puzzle. Last month, I decided to tackle this issue head-on with a systematic, two-week intervention on my own languishing 'Julia Child' floribunda. What I learned transformed not just that one plant, but my entire approach to container rose care.
")
My Diagnostic Checklist: Uncovering the Root Causes

Before you can fix stunted rose growth, you must play detective. I started my rescue mission not with fertilizer or pruning shears, but with a notepad.
First, I examined the roots. Gently tipping the pot, I slid the root ball out. What I found was a classic, yet often overlooked, culprit for balcony roses not growing: severe root binding. The roots had formed a dense, circular mat, with very little fresh soil visible. They were essentially choking themselves, unable to access new nutrients or water efficiently.
Next, I assessed the soil. It was compacted and exhausted. When I watered it, the water pooled on the surface for a few seconds before slowly draining, a clear sign of poor structure and depleted organic matter.
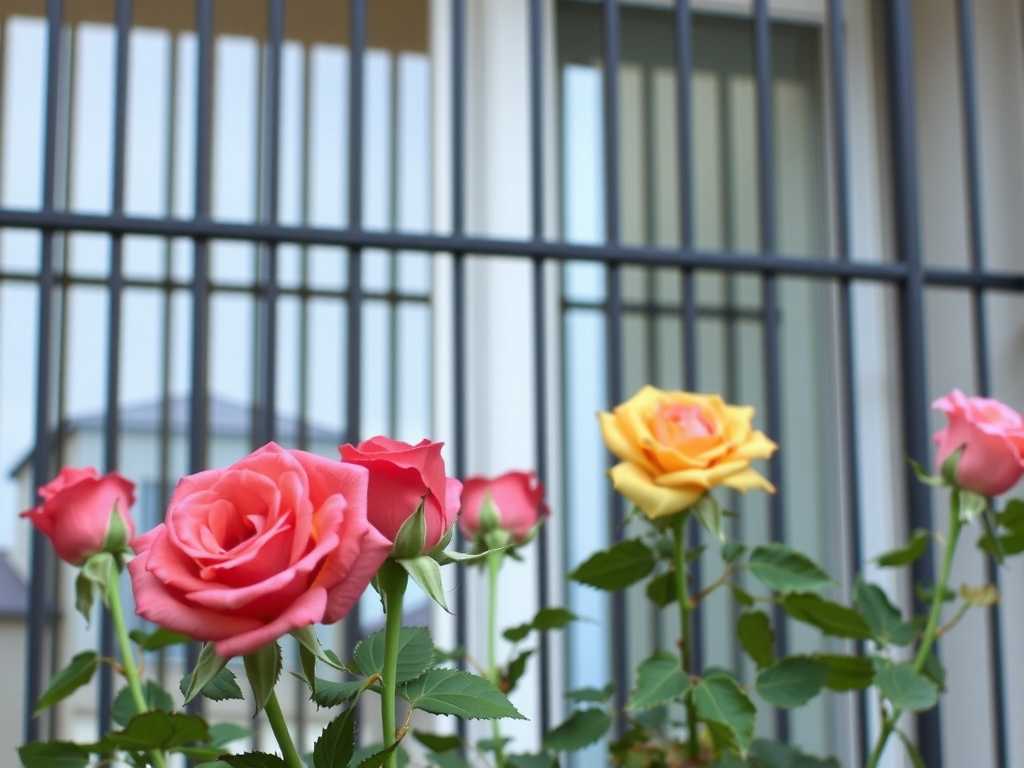
Finally, I checked for pests and light. While I found a few aphids (a common stress indicator), the main issue was subtle. My balcony gets about 5 hours of direct sun, but I realized the rose's position meant the lower canopy was perpetually shaded by the railing and its own upper growth. Insufficient light, especially to the lower buds, is a prime driver of weak, stunted development.
The 4-Step Intervention Plan I Executed
Armed with my diagnosis, I implemented a focused plan over a single weekend.
Step 1: The Courageous Repot This was the most critical step. I selected a new container that was only 2 inches wider and deeper than the old one—going too large can lead to waterlogged soil. I prepared a premium, well-draining potting mix specifically formulated for roses, blending it with a handful of perlite for extra aeration. Gently, I teased apart the outer layer of the root ball, loosening those circling roots. I didn't aggressively cut them, just encouraged them outward. I placed the rose at the correct height in the new pot, filled it with my fresh mix, and watered thoroughly until it ran from the drainage holes.
Step 2: Strategic Pruning for Energy Redirection Instead of a hard prune, I performed a "renewal" prune. I removed any thin, spindly canes smaller than a pencil diameter. I then carefully pruned out branches that were growing inward or crossing, focusing on opening up the plant's center to light and air. My goal was to redirect the plant's energy from maintaining poor growth to producing vigorous new basal breaks.
Step 3: A Balanced Nutritional Boost I held off on heavy fertilizer immediately. According to the American Rose Society's guidelines, a stressed plant needs to settle before being fed. After one week, I applied a balanced, water-soluble fertilizer (with an equal N-P-K ratio like 10-10-10) at half strength. This provided a gentle, complete nutrient supply to support root recovery and new growth without causing burn.
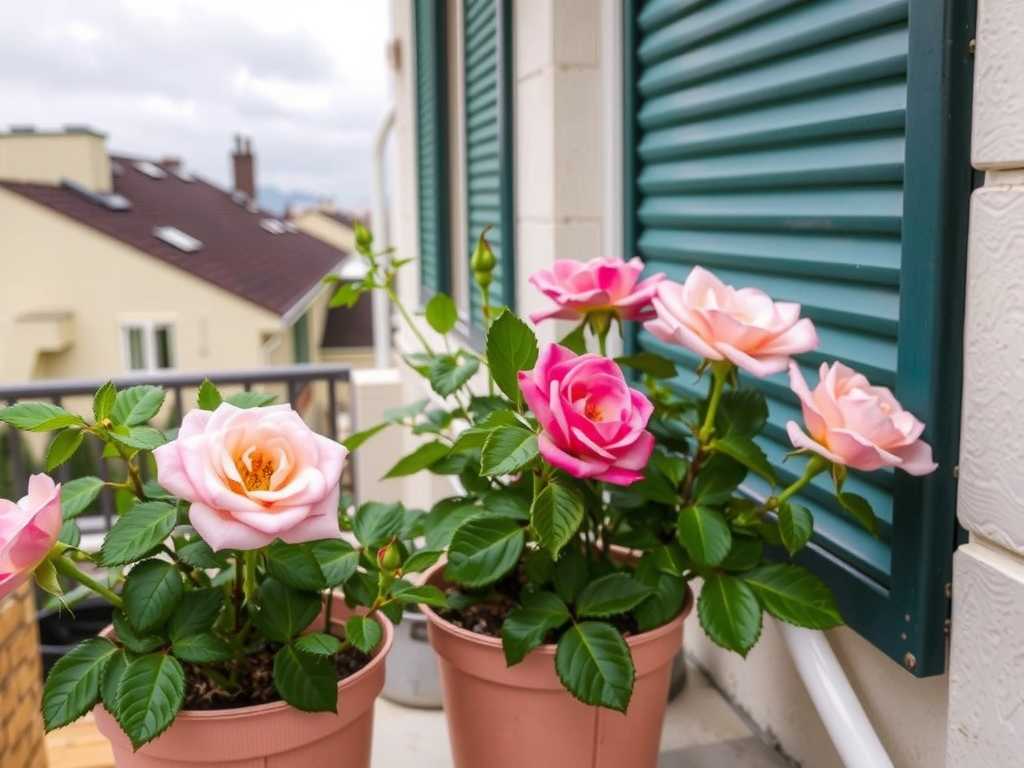
Step 4: Sunlight Optimization I used a simple wooden stand to elevate the pot by 6 inches. This small change had a dramatic effect, raising the entire plant above the balcony railing and allowing the lower buds to bathe in direct morning sun for an extra hour each day.
The 2-Week Observation: From Stalled to Sprouting
The first week required patience. The plant looked largely the same, which I expected as it focused energy below the soil. I maintained consistent moisture—not wet, but never bone-dry.
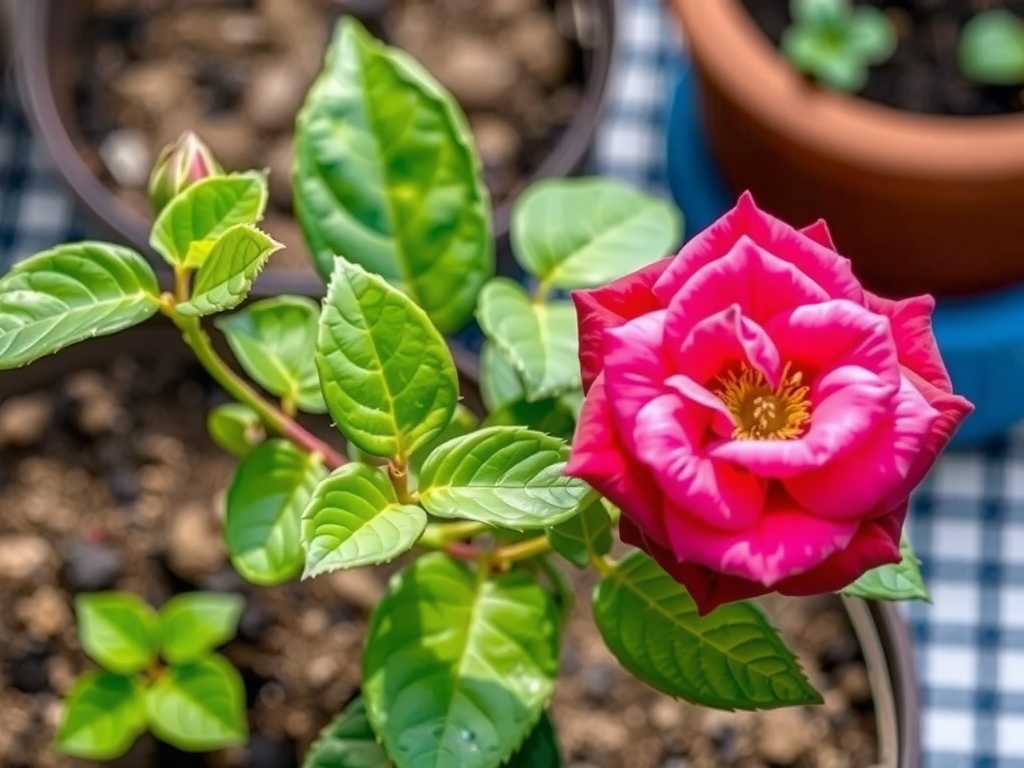
Around Day 10, I saw the first undeniable sign of success: a small, red, and incredibly vigorous-looking bud swelling at the base of the plant—a classic "basal break." This is the holy grail for a rose recovering from stunting, signaling a direct surge of energy from the roots.
By Day 14, that basal shoot had grown nearly 3 inches. Furthermore, several existing canes showed new, healthy red growth at their tips. The leaves on this new growth were darker green and larger than the older, stunted leaves. The plant's posture seemed different—more upright, as if re-engaged with its purpose.
The Pitfalls I Encountered and How I Solved Them
My process wasn't flawless. I hit two significant snags.
Pitfall 1: Overwatering After Repotting. In my zeal to help, I watered too frequently after the repot, fearing the new soil would dry out. By Day 5, the lower leaves showed slight yellowing. I corrected this immediately by sticking my finger 2 inches into the soil to test moisture before watering. I let the top inch dry out completely, which restored balance within a few days.
Pitfall 2: Ignoring Micro-Pests. The aphids I initially saw as minor exploded on the tender new growth by the end of Week 1. Instead of reaching for harsh chemicals, I used a method recommended by horticulturalists: a strong, daily blast of water from a spray bottle to knock them off. For persistent clusters, I used a cotton swab dipped in diluted rubbing alcohol. This targeted approach controlled the infestation without harming the plant's recovery.
Sustaining the Momentum: Beyond the Rescue
Addressing stunted growth isn't a one-time fix; it's a change in regimen. Now, I feed my balcony roses with a balanced fertilizer every two weeks during the growing season and ensure an annual soil refresh or repot. I've become vigilant about light patterns as the seasons change, rotating pots when necessary. This proactive care prevents the conditions that lead to stunting in the first place.
Will repotting shock my rose and make things worse? It can, if done brutally or at the wrong time (like peak summer heat). My gentle root-teasing and repotting in mild, cloudy weather minimized shock. The short-term stress of careful repotting is far less damaging than the long-term stress of being root-bound.
Can I just use more fertilizer to fix stunted growth? This was my biggest mistake for years. Fertilizing a root-bound or diseased plant is like giving espresso to someone with a broken leg—it adds stress. Always diagnose the root cause (often literal roots!) first. Fertilizer is the supporting act, not the main treatment, for stunting.
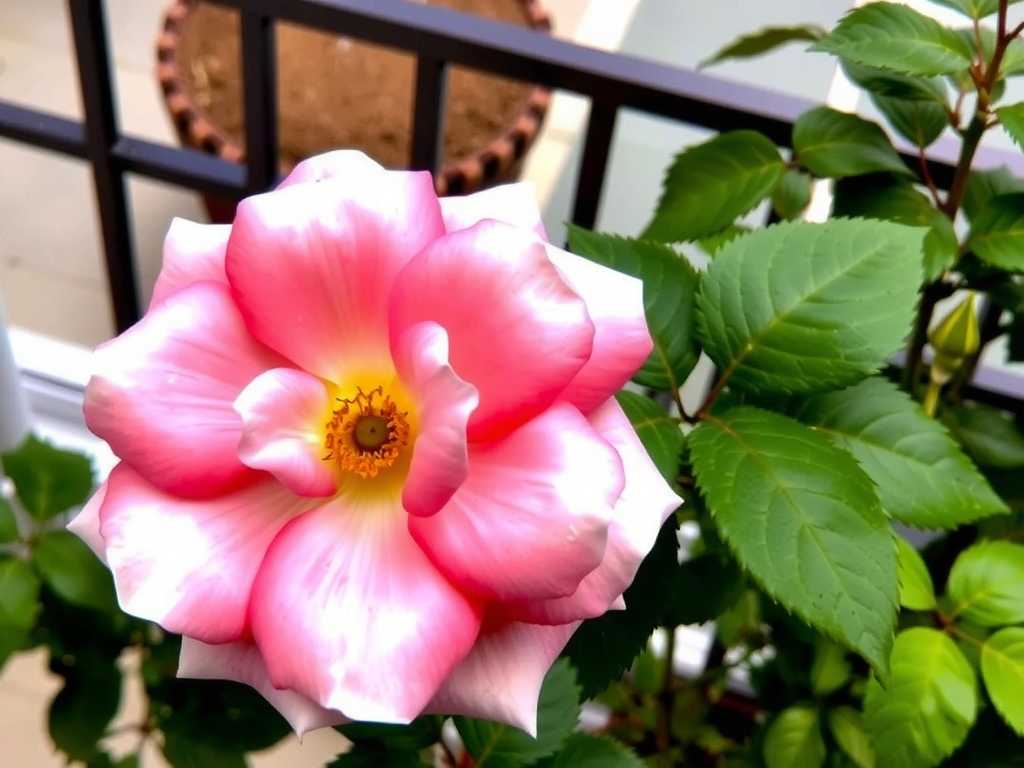
How long until I see blooms after addressing stunting? Prioritize growth over flowers initially. My plant focused on canes and leaves for the first 4-5 weeks. Once I saw strong, 12-inch new canes, I switched to a bloom-booster fertilizer. The first bud appeared about 7 weeks after my intervention—a small but perfectly formed flower that symbolized a complete turnaround.
Watching a stunted rose reclaim its vitality is one of the most rewarding experiences in container gardening. It requires observation, a willingness to look below the surface, and consistent, informed care. The transformation of my 'Julia Child' rose proved that with the right steps, even the most discouraged plant can find its strength again, turning a balcony corner from a place of frustration into a showcase of resilience and beauty.

发表评论